

Freestyle Shark Thesher User Manual
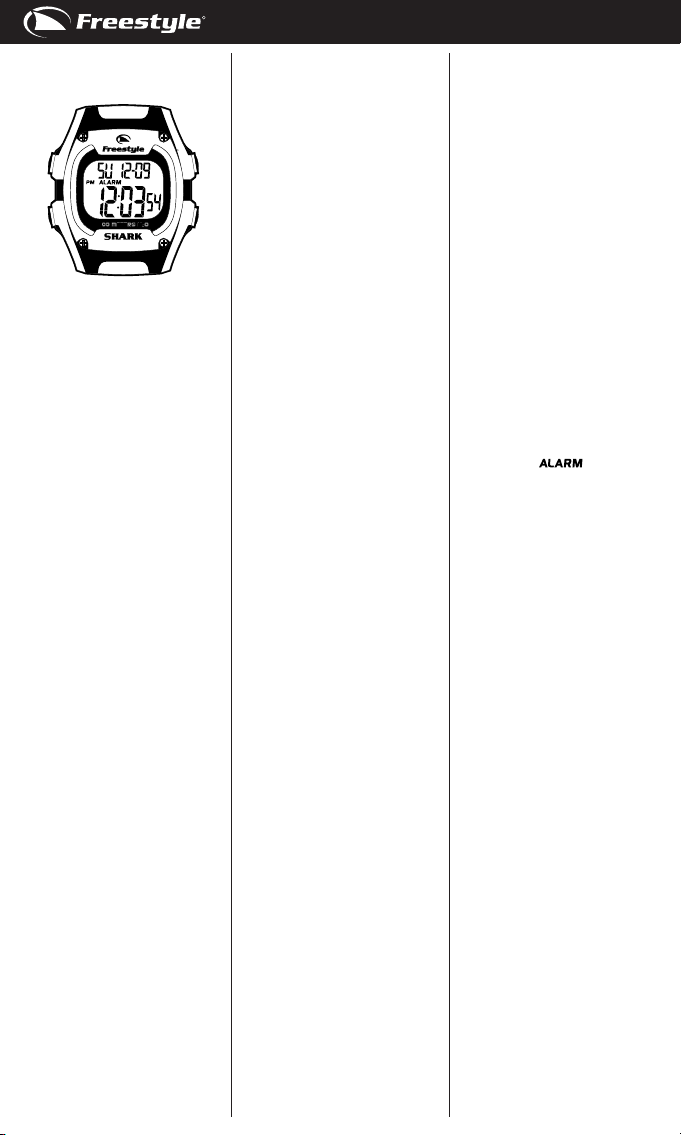
SHARK THRESHER
S4
S3
S1. Set/recall button
S2. Start/lap button
S3. Mode button
S4. Light/stop/reset button
DISPLAY MODES:
The watch has four display modes:
HOME TIME (T1) / FOREIGN TIME (T2),
ALARM, CHRONOGRAPH (CHRONO)
and TIMER.
To change from one display mode to
another, press S3 button once.
NOTE: In any setting mode, when there
is no button pressed for approximately
150 seconds, the watch will automatically save the entered data and exit the
setting procedure.
HOME AND FOREIGN TIME DISPLAY:
To display FOREIGN TIME mode, press
and hold S2 button when HOME TIME
mode is displayed. The mode description (T2) will be displayed and blink
for approximately 5 seconds before
switching to FOREIGN TIME mode. To
change back to HOME TIME mode,
press and hold S2 button again.
TO SET THE TIME AND CALENDAR:
1. Press S3 button to select HOME
TIME / FOREIGN TIME mode.
2. Press and hold S1 button, the
message “HOLD TO SET” will
be displayed for approximately 3
seconds and the time zone setting
will blink.
4. Press S2 or S4 button to toggle
between HOME TIME (TIME 1) and
FOREIGN TIME (TIME 2) to set.
5. Press S3 button, the hour digits will
blink. Press S2 button to increase
or S4 button to decrease the value.
Holding down the button will speed
up the process.
6. Press S3 button, the minute
digits will blink. Press S2 button to
increase or S4 button to decrease
S1
S2
the value. Holding down the button
will speed up the process.
7. Press S3 button, the second digits
will blink. Press S2 or S4 button to
reset the second digits to zero.
8. Press S3 button, the day (of the
week) will blink. Press S2 or S4
button to cycle forward or backward
through the 7 days.
9. Press S3 button, the month digits
will blink. Press S2 button to increase or S4 button to decrease the
value. Holding down the button will
speed up the process.
10. Press S3 button, the date digits will
blink. Press S2 button to increase
or S4 button to decrease the value.
Holding down the button will speed
up the process.
11. Press S3 button, the hour format
setting will blink. Press S2 or S4
button to toggle between 12-hour
and 24-hour format. The A.M. (A) or
P.M. (P) indicator may be displayed
to indicate the time period 12:00
A.M. – 11:59 A.M. or 12:00 P.M. –
11:59 P.M. respectively in 12-hour
format.
12. Press S3 button, the calendar
format setting will blink. Press
S2 or S4 button to toggle between
month-date (MM-DD) and datemonth (DD-MM) format.
13. Press S3 button, the hourly chime
(CHIME) setting will blink. Press
S2 or S4 button to toggle between
ON and OFF for the hourly chime
setting.
14. Press S3 button, the “BEEP” setting
will blink. The “BEEP” option will
cause the watch to beep anytime a
button is pressed. Press S2 or S4
button to toggle between ON and
OFF for the beep setting.
15. When nished making all the settings, press S1 button to conrm.
NOTE: The hourly chime and beep
settings will apply to both HOME TIME
mode and FOREIGN TIME mode.
TO SET THE ALARM TIME:
1. Press S3 button to select ALARM
mode.
2. Press S1 button, the message “SET”
will be displayed and the hour
digits will blink. Press S2 button to
increase or S4 button to decrease
the value. Holding down the button
will speed up the process.
3. Press S3 button, the minute digits
will blink. Press S2 button to increase or S4 button to decrease the
value. Holding down the button will
speed up the process.
ENGLISH ENGLISH
4. Press S3 button, the A.M. (AM) or
P.M. (PM) indicator will blink. Press
S2 or S4 button to toggle between
A.M. and P.M.
5. Press S3 button, the alarm frequency setting will blink. Press S2 or S4
button to cycle forward or backward
through daily (DAILY), weekdays
only (WKDAYS) and weekends only
(WKENDS).
6. When nished making all the settings, press S1 button to conrm.
NOTE: The A.M. / P.M. setting is available only when 12-hour format is selected for the HOME TIME / FOREIGN
TIME mode currently displayed.
NOTE: The alarm will automatically be
activated after being set.
TO TURN ON/OFF THE ALARM:
In ALARM mode, press S2 button to
toggle between ON and OFF for the
alarm. When the alarm is ON, the
alarm indicator
WHEN AN ALARM GOES OFF:
A 20-second alarm tune will be emitted
at the designated time when the alarm
is activated. To stop the tune, press
any button.
If the alarm tune is done without any
user interruption, the watch will automatically enter a snooze mode. The
alarm will go off again after 5 minutes
but for only once.
TO USE CHRONOGRAPH:
1. Press S3 button to select CHRONOGRAPH mode.
2. The chronograph will then be displayed in its current state – stopped,
running, or reset.
3. To resume a stopped counting, press
S2 button to resume from where
it left off.
4. To start a new counting, reset the
chronograph to zero rst.
Press S4 button to stop counting,
then press and hold S4 button. The
message “HOLD TO RESET” will be
displayed for approximately 2 seconds and the counter will be reset to
zero.
For changing the chronograph display
format:
In CHRONOGRAPH mode,
1. Make sure the chronograph is in the
reset state and there is no previous
lap record.
2. Press S1 button, the message
“FORMAT” will be displayed for
approximately 2 seconds and the
will appear.

chronograph display format setting
will blink.
3. Press S2 or S4 button to toggle between LAP/SPL (lap time on top line
and split time on bottom line) and
SPL/LAP (split time on top line and
lap time on bottom line) format.
4. When nished making the setting,
press S1 button to conrm.
NOTE: Denitions of lap time and
split time:
a) Lap time – individual lap time.
b) Split time – cumulative lap time.
NOTE: The selected chronograph
display format will apply to both chronograph counting and chronograph
recall function.
For the measurement of elapsed time:
In CHRONOGRAPH mode,
1. Press S2 button to start counting.
2. To stop counting, press S4 button.
3. To restart counting and resume from
where it left off, press S2 button
again.
4. To reset to zero, press S4 button to
stop counting and press and hold
S4 button. The message “HOLD
TO RESET” will be displayed for
approximately 2 seconds and the
counter will be reset to zero.
For the measurement of split time:
In CHRONOGRAPH mode,
1. Press S2 button to start counting.
2. While the chronograph is running,
press S2 button once to register a
lap. The lap time and split time of
the registered lap will be displayed
and the lap number will be displayed
intermittently. The chronograph is
still running in the background.
After approximately 10 seconds, the
lap time and split time of the current
lap will be displayed.
3. Repeat the last step until all the laps
have been registered.
4. To stop counting, press S4 button.
5. To restart counting and resume from
where it left off, press S2 button
again.
6. To reset to zero, press S4 button to
stop counting and press and hold
S4 button. The message “HOLD
TO RESET” will be displayed for
approximately 2 seconds and the
counter will be reset to zero.
NOTE: In a chronograph counting, the
watch can register up to a maximum of
99 laps before start counting from lap
1 again. However, only the rst 50 lap
records will be stored and available for
checking in recall function.
NOTE: You can leave the chronograph
running while switching over to other
operating modes.
NOTE: You can leave the chronograph
running while switching over to other
operating modes. The chronograph indicator
TIME mode and FOREIGN TIME mode
when the chronograph is in use.
will be displayed in HOME
TO USE THE RECALL FUNCTION:
In CHRONOGRAPH mode,
1. Press S1 button to select the recall
function.
2. Press S2 or S4 button to cycle
forward or backward through the
stored lap records.
3. Press S1 button to return to CHRONOGRAPH mode.
NOTE: The recall function is available
only when there is more than 1 lap
record stored.
NOTE: The lap record will be cleared
when the chronograph is reset.
TO SET THE TIMER:
1. Press S3 button to select TIMER
mode.
2. Press S1 button, the message “SET”
will be displayed and the hour
digits will blink. Press S2 button to
increase or S4 button to decrease
the value. Holding down the button
will speed up the process.
3. Press S3 button, the minute digits
will blink. Press S2 button to increase or S4 button to decrease the
value. Holding down the button will
speed up the process.
4. Press S3 button, the second digits
will blink. Press S2 button to increase or S4 button to decrease the
value. Holding down the button will
speed up the process.
5. Press S3 button, the “Action-at-End”
setting will blink. Press S2 or S4
button to toggle between STOP AT
END (STOP) and REPEAT AT END
(REPEAT).
6. When nished making all the settings, press S1 button to conrm.
NOTE: Denitions of Action-at-End
setting option:
a) STOP AT END – the timer will stop
when the countdown reaches zero.
b) REPEAT AT END – the timer will
repeat the countdown when the countdown reaches zero.
TO USE THE TIMER:
1. Press S3 button to select TIMER
mode.
2. The timer will then be displayed in
its current state – stopped, running,
or reset.
3. To resume a stopped counting, press
S2 button to resume from where
it left off.
4. To start a new counting, reload the
timer rst.
Press S4 button to stop counting,
then press S4 button again to reload
the timer.
5. When reaching zero in a countdown,
a tune will be emitted. To stop the
tune, press any button.
TO USE THE BACKLIGHT:
Press S4 button to turn on the backlight for 3 seconds.
To reduce carbon foot print, these
Freestyle instructions are printed with
soy inks on recycled paper.
FS1061&62-SHARK THRESHER-AG6760-R02
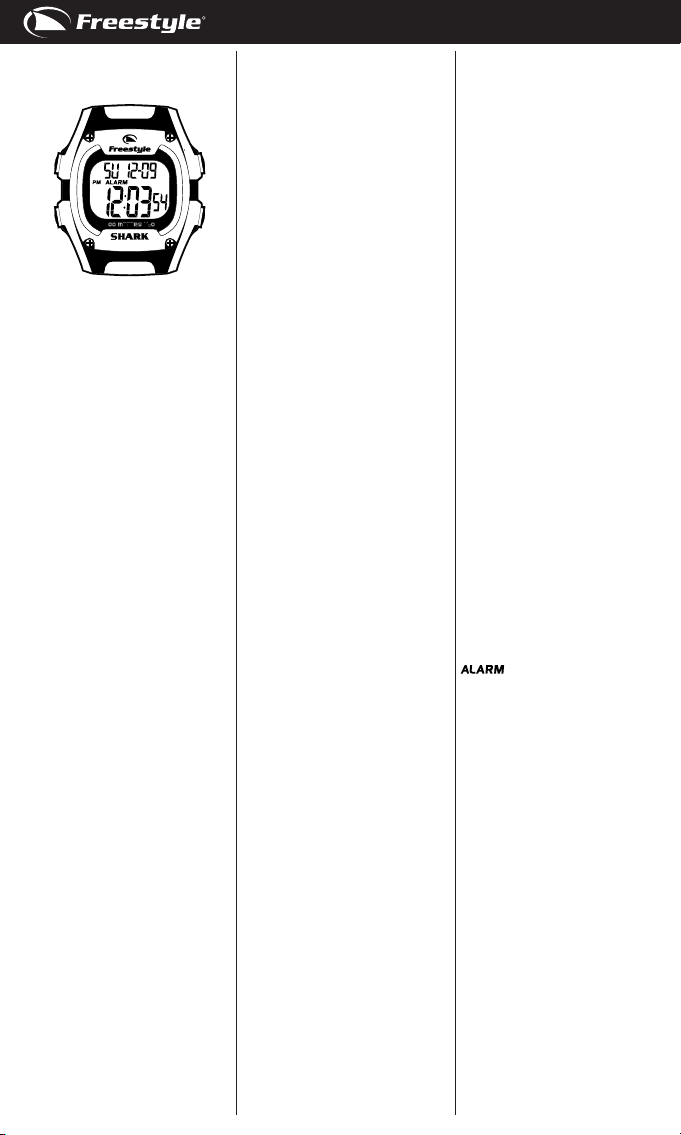
SHARK THRESHER
S4
S3
S1. Botón de ajustes/recordatorio
S2. Botón para iniciar/dar una vuelta
S3. Botón de modo
S4. Botón de luz/parar/resetear
MODOS DE VISUALIZACIÓN:
El reloj tiene cuatro vistas: HORA EN
CASA (T1) / HORA EN EL EXTRANJERO (T2), ALARMA, CRONÓMETRO
(CHRONO) Y TEMPORIZADOR.
Para cambiar de una vista a otra, pulse
el botón S3 una vez.
NOTA: En cualquier vista de conguración, si no se manipula ninguna
tecla durante 150 segundos, el reloj
guardará automáticamente los datos
introducidos y saldrá del modo conguración.
PANTALLA PARA CASA Y EL
EXTRANJERO:
Para ver el modo HORA EN EL
EXTRANJERO, mantenga pulsado el
botón S2 cuando esté en la HORA EN
CASA. La descripción del modo (T2)
aparecerá brevemente en la pantalla
y parpadeará 5 segundos antes de
cambiar al modo de la HORA EN EL
EXTRANJERO. Para volver a HORA EN
CASA, mantenga pulsado el botón S2.
CÓMO AJUSTAR LA HORA Y EL
CALENDARIO:
1. Pulse el botón S3 para seleccionar
el modo de HORA EN CASA / HORA
EN EL EXTRANJERO.
2. Mantenga pulsado el botón S1
durante unos 3 segundos. Verá
el mensaje “HOLD TO SET”, y la
selección de zona horaria parpadeará.
3. Pulse el botón S2 ó S4 para
cambiar entre los modos de HORA
EN CASA (TIME 1) y HORA EN EL
EXTRANJERO (TIME 2) y congurarlos.
4. Pulse el botón S3. Los dígitos de
las horas parpadearán. Pulse el
botón S2 o S4 para ajustar los
S1
S2
dígitos. Mantenga pulsado el botón
para acelerar el proceso.
5. Pulse el botón S3. Los dígitos de
los minutos parpadearán. Pulse
el botón S2 o S4 para ajustar los
dígitos. Mantenga pulsado el botón
para acelerar el proceso.
6. Pulse el botón S3. Los dígitos de
los segundos parpadearán. Pulse
el botón S2 ó S4 para volver a
poner los dígitos de los segundos a
cero.
7. Pulse el botón S3. Los dígitos del
día de la semana parpadearán.
Pulse el botón S2 ó S4 ver los 7
días de la semana.
8. Pulse el botón S3. Los dígitos del
mes parpadearán. Pulse el botón
S2 o S4 para ajustar los dígitos.
Mantenga pulsado el botón para
acelerar el proceso.
9. Pulse el botón S3. Los dígitos de la
fecha parpadearán. Pulse el botón
S2 o S4 para ajustar los dígitos.
Mantenga pulsado el botón para
acelerar el proceso.
10. Pulse el botón S3. Los dígitos de la
hora parpadearán. Para congurar
el formato de la hora, pulse el
botón S2 ó S4 para cambiar entre
los formatos de 12 y de 24 horas. El
indicador de A.M. (A) ó P.M. (P) se
mostrará para señalar el periodo
de tiempo 12:00 am – 11:59 A.M. ó
12:00 P.M. – 11:59 P.M. respectivamente en el formato de 12 horas.
11. Pulse el botón S3. La conguración del formato de calendario
parpadeará. Pulse los botones S2
ó S4 para cambiar entre mes-día
(MM-DD) y día-mes (DD-MM).
12. Pulse el botón S3. La conguración
de la alarma de la hora parpadeará. Pulse el botón S2 ó S4
para cambiar entre ON y OFF
(encender y apagar) en la alarma.
13. Pulse el botón S3. Parpadeará
la conguración de “PITIDO”. La
opción de “PITIDO” hará que el
reloj pite cada vez que se pulse
un botón. Pulse el botón S2 ó S4
para cambiar entre ON y OFF su
conguración.
14. Después de hacer todos los ajustes
necesarios, pulse el botón S1 para
conrmarlo.
NOTA: La conguración de la alarma y
del pitido se usarán tanto para el modo
de HORA EN CASA como para el de
HORA EN EL EXTRANJERO.
CÓMO CONFIGURAR LA HORA DE LA
ALARMA:
1. Pulse el botón S3 para seleccionar el
modo de ALARMA.
ESPAÑOL ESPAÑOL
2. Pulse el botón S1. Verá la palabra
“SET” y los dígitos de la hora
parpadearán. Pulse el botón S2 o S4
para ajustar los dígitos. Mantenga
pulsado el botón para acelerar el
proceso.
3. Pulse el botón S3. Los dígitos de
los minutos parpadearán. Pulse
el botón S2 o S4 para ajustar los
dígitos. Mantenga pulsado el botón
para acelerar el proceso.
4. Pulse el botón S3. El indicador de
A.M. (AM) ó P.M. (PM) parpadeará.
Pulse los botones S2 ó S4 para
cambiar entre A.M. y P.M.
5. Pulse el botón S3. La frecuencia
de la alarma parpadeará. Pulse
el botón S2 ó S4 para cambiar
entre diario (DAILY), entre semana
(WKDAYS) y nes de semana sólo
(WKENDS).
6. Después de hacer todos los ajustes
necesarios, pulse el botón S1 para
conrmarlo.
NOTA: El indicador de A.M. /P.M. está
disponible sólo cuando se selecciona
el formato de 12 horas para el modo
HORA EN CASA / HORA EN EL EXTRANJERO que esté visualizando.
NOTA: La alarma se encenderá automáticamente tras su conguración.
CÓMO ENCENDER Y APAGAR LAS
ALARMAS:
En el modo de ALARMA, pulse el
botón S2 para cambiar entre ON y OFF
en la alarma. Aparecerá el
indicador de alarma [insertar el icono
de la alarma] cuando esté encendida
(ON).
CUANDO LA ALARMA SALTA:
Con la alarma activada, el sonido de
alarma saltará a la hora jada durante
20 segundos. Para parar el tono, pulse
cualquier botón.
Si la melodía de la alarma termina
sin que el usuario haga nada, el reloj
pasará automáticamente a modo
repetición. La ALARMA se repetirá al
cabo de 5 minutos, pero sólo una vez.
CÓMO USAR EL CRONÓMETRO:
1. Pulse el botón S3 para seleccionar
el modo de CRONÓMETRO.
2. Aparecerá el cronómetro en el
estado en que esté: en marcha, a
cero o parado.
3. Pulse el botón S2 para retomar la
cuenta ahí donde se quedó.
4. Para iniciar una cuenta nueva, prim-
ero hay que poner el cronómetro
a cero.
Pulse el botón S4 para interrumpir
la cuenta. Después mantenga pulsado el botón S4. Verá el mensaje
“HOLD TO RESET” durante unos 2
segundos y el cómputo volverá a
cero.
Para cambiar el formato de visualización del cronómetro:
En modo CRONÓMETRO,
1. Asegúrese de que el cronómetro
está a cero, y que no está grabada
ninguna vuelta anterior.
2. Pulse el botón S1 durante unos 2 segundos. Verá el mensaje “FORMAT”,
y el formato de visualización del
cronómetro parpadeará.
3. Pulse los botones S2 ó S4 para
cambiar entre LAP/SPL (tiempo de
vuelta en la línea superior y tiempo
dividido en la línea inferior) y SPL/
LAP (tiempo dividido en la línea
superior y tiempo de vuelta en la
línea inferior).
4. Después de hacer todos los ajustes
necesarios, pulse el botón S1 para
conrmarlo.
NOTA: Ejemplo de tiempo de vuelta y
tiempo dividido:
a) Tiempo de vuelta – tiempo de vuelta
individual.
b) Tiempo dividido – tiempo de vuelta
acumulado.
NOTA: El formato de visualización
del cronómetro se verá al usar el
cronómetro para contar y como
recordatorio.
Para medir el tiempo transcurrido,
En modo CRONÓMETRO,
1. Pulse el botón S2 para empezar a
contar.
2. Pulse el botón S4 para interrumpir
la cuenta.
3. Pulse el botón S2 para retomar la
cuenta ahí donde se quedó.
4. Para volver a cero, pulse el botón
S4 para interrumpir la cuenta y
después mantenga pulsado el botón
S4. Verá el mensaje “HOLD TO
RESET” durante unos 2 segundos y
el cómputo volverá a cero.
Para medir el tiempo dividido,
En modo CRONÓMETRO,
1. Pulse el botón S2 para empezar a
contar.
2. Mientras el cronómetro está en
marcha, pulse el botón S2 un vez
para registrar una vuelta. Se verán
el tiempo y el tiempo dividido de
la vuelta grabada, y el número de
vuelta se verá intermitentemente.
El cronómetro seguirá contando por
detrás.
Al cabo de 10 segundos, verá el ti-
empo acumulado hasta el momento
y el tiempo de la vuelta actual.
3. Repita el último paso hasta que se
hayan guardado todas las vueltas.
4. Pulse el botón S4 para interrumpir
la cuenta.
5. Pulse el botón S2 para retomar la
cuenta ahí donde se quedó.
6. Para volver a cero, pulse el botón
S4 para interrumpir la cuenta y
después mantenga pulsado el botón
S4. Verá el mensaje “HOLD TO
RESET” durante unos 2 segundos y
el cómputo volverá a cero.
NOTA: Con el cronómetro, el reloj
graba un máximo de 99 vueltas antes
de empezar con la vuelta 1 otra vez. Sin
embargo, en el modo recordatorio sólo
se grabarán los primeros 50 registros
de vuelta.
NOTA: Puede dejar el cronómetro
en marcha y cambiar a otros modos
operativos. El indicador del cronómetro
se verá en el modo de HORA EN
CASA y HORA EN EL EXTRANJERO
cuando lo esté usando.
CÓMO USAR LA FUNCIÓN DE
RECORDATORIO:
En modo CRONÓMETRO,
1. Pulse el botón S1 para seleccionar la
función de recordatorio.
2. Pulse el botón S2 ó S4 para cambiar
entre as vueltas grabadas.
3. Pulse el botón S1 para volver al
modo de CRONÓMETRO.
NOTA: La función de recordatorio sólo
está disponible con más de un registro
de vuelta grabado.
NOTA: El registro de la vuelta se borrará al resetear el cronómetro.
CÓMO CONFIGURAR EL
TEMPORIZADOR:
1. Pulse el botón S3 para seleccionar el
modo de TEMPORIZADOR.
2. Pulse el botón S1. Verá la palabra
“SET” y los dígitos de la hora
parpadearán. Pulse el botón S2 o S4
para ajustar los dígitos. Mantenga
pulsado el botón para acelerar el
proceso.
3. Pulse el botón S3. Los dígitos de
los minutos parpadearán. Pulse
el botón S2 o S4 para ajustar los
dígitos. Mantenga pulsado el botón
para acelerar el proceso.
4. Pulse el botón S3. Los dígitos de
los segundos parpadearán. Pulse
el botón S2 o S4 para ajustar los
dígitos. Mantenga pulsado el botón
para acelerar el proceso.
5. Pulse el botón S3. Parpadeará la
conguración de “Action-at-End”.
Pulse el botón S2 ó S4 para cambiar
entre STOP AT END (parar al nal) y
REPEAT AT END (repetir al nal).
6. Después de hacer todos los ajustes
necesarios, pulse el botón S1 para
conrmarlo.
NOTA: Ejemplos de las opciones de
conguración Action-at-End:
a) PARAR AL FINAL: el temporizador
parará cuando la cuenta atrás llegue
a cero.
b) REPETIR AL FINAL: el temporizador
repetirá la cuenta atrás cuando llegue
a cero.
CÓMO USAR EL TEMPORIZADOR:
1. Pulse el botón S3 para seleccionar
el modo de TEMPORIZADOR.
2. Aparecerá el temporizador en el
estado en que esté: en marcha, a
cero o parado.
3. Pulse el botón S2 para retomar la
cuenta ahí donde se quedó.
4. Para iniciar una cuenta nueva,
primero hay que recargar el temporizador.
Pulse el botón S4 una vez para
interrumpir la cuenta. Ahora pulse
el botón S4 para volver a cargar el
temporizador.
5. Después de haber llegado a cero
en la cuenta atrás, sonará un tono.
Para parar el tono, pulse cualquier
botón.
CÓMO USAR LA LUZ DE FONDO:
Pulse el botón S4 para encender la luz
de fondo durante 3 segundos.
Para reducir la huella del carbono,
las instrucciones de Freestyle se han
imprimido con tinta de soja en papel
reciclado.
FS1061&62-SHARK THRESHER-AG6760-R02
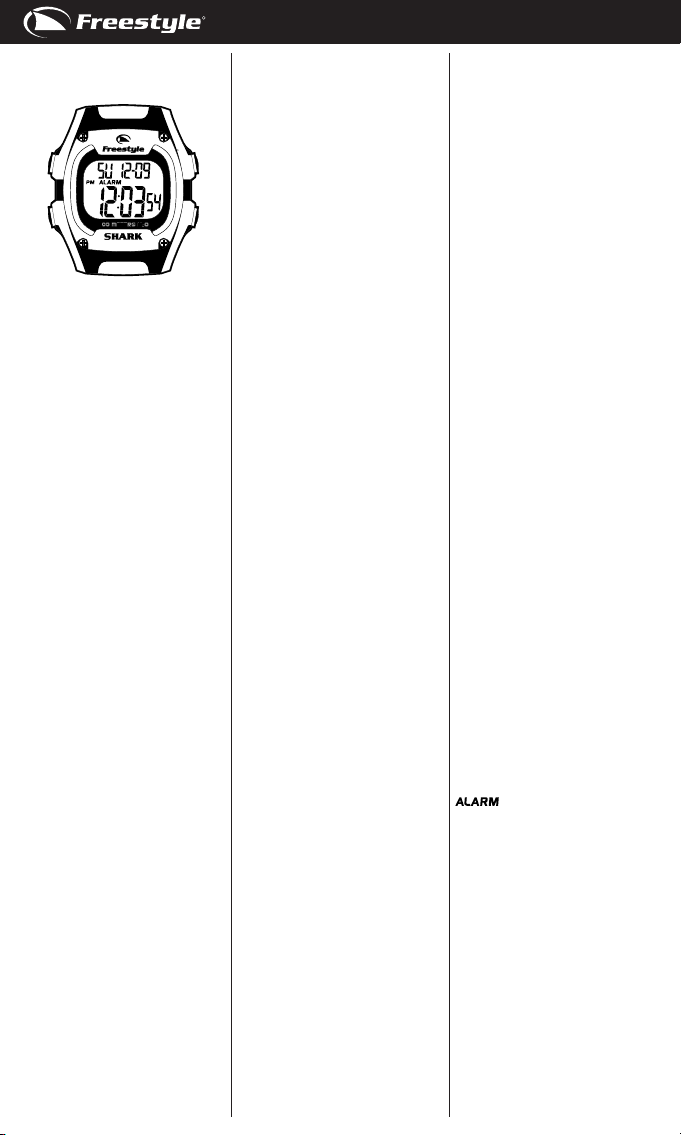
SHARK THRESHER
S4
S3
S1. Taste: “Einstellen/Abrufen”
S2. Taste: Start/Runde
S3. Taste: Modus
S4. Taste: Licht/Stopp/Zurücksetzen
ANZEIGEMODI:
Die Uhr hat vier Anzeigemodi:
ORTSZEIT (T1) / FREMDZEIT (T2),
ALARM, CHRONOGRAPH (CHRONO)
und TIMER.
Zum Wechsel von einem Anzeigemodus zu einem anderen, drücken Sie
einmal Taste S3.
HINWEIS: Wenn in einem Einstellmodus für ca. 150 Sekunden keine Taste
gedrückt wird, speichert die Uhr
automatisch die eingegebenen Daten
und verlässt den Einstellvorgang.
ORTS- UND FREMDZEIT ANZEIGE:
Zur Anzeige des FREMDZEIT Modus,
drücken und halten Sie die Taste S2
wenn sich die Uhr im ORTSZEIT Modus
bendet. Die Modusbeschreibung (T2)
wird angezeigt und blinkt für ca. 5
Sekunden, bevor in den FREMDZEIT
Modus umgeschaltet wird. Um in den
ORTSZEIT Modus zurückzuschalten,
drücken und halten Sie nochmals die
Taste S2.
EINSTELLUNG DER ZEIT UND DES
KALENDERS:
1. Drücken Sie die Taste S3, um den
ORTSZEIT / FREMDZEIT Modus zu
wählen.
2. Drücken Sie Taste S1 und halten
sie diese ca. 3 Sekunden, bis die
Nachricht “HOLD TO SET” (Einstellen) angezeigt wird; die Zeitzonenauswahl beginnt zu blinken.
3. Drücken Sie die Taste S2 oder S4,
um zwischen ORTSZEIT (TIME
1) und FREMDZEIT (TIME 2) zu
wählen.
4. Drücken Sie die Taste S3, worauf
die Stundenanzeige zu blinken
beginnt. Zur Erhöhung der Stundenziffer drücken Sie die Taste
S2, zur Reduzierung die Taste S4.
Halten Sie die Taste gedrückt, um
S1
S2
die Anzeige schneller vorlaufen zu
lassen.
5. Betätigen Sie die Taste S3, worauf
die Minutenanzeige zu blinken
beginnt. Zur Erhöhung der Minutenziffer drücken Sie die Taste
S2, zur Reduzierung die Taste S4.
Halten Sie die Taste gedrückt, um
die Anzeige schneller vorlaufen zu
lassen.
6. Betätigen Sie die Taste S3, worauf
die Sekundenanzeige zu blinken
beginnt. Drücken Sie Taste S2 oder
S4, um die Sekundenziffer auf Null
zu setzen.
7. Drücken Sie die Taste S3, worauf
der Tag (der Woche) zu blinken
beginnt. Drücken Sie anschließend
die Taste S2 oder S4, um zwischen
den 7 Tagen zu wählen.
8. Betätigen Sie die Taste S3, worauf
die Monatsziffer zu blinken beginnt.
Zur Erhöhung der Ziffer drücken
Sie die Taste S2, zur Reduzierung
die Taste S4. Halten Sie die Taste
gedrückt, um die Anzeige schneller
vorlaufen zu lassen.
9. Drücken Sie die Taste S3, worauf
die Datumsanzeige zu blinken
beginnt. Zur Erhöhung der Ziffer
drücken Sie die Taste S2, zur Reduzierung die Taste S4. Halten Sie
die Taste gedrückt, um die Anzeige
schneller vorlaufen zu lassen.
10. Drücken Sie die Taste S3, worauf
die Auswahl des Stundenformats
zu blinken beginnt. Drücken Sie
die Taste S2 oder S4, um zwischen
dem 12- und 24-Stundenformat
zu wählen. Die A.M. (A) oder P.M.
(P) Anzeige erscheint, um das
Zeitraum 12:00 A.M. - 11:59 PM
oder 12:00 P.M. - 11:59 P.M., bzw.
das 12-Stundenformat anzuzeigen.
11. Drücken Sie die Taste S3, worauf
die Kalenderformat Anzeige zu
blinken beginnt. Drücken Sie Taste
S2 oder S4, um zwischen dem
Monat-Datum (MM-DD) und dem
Datum-Monat (DD-MM) zu wählen.
12. Drücken Sie die Taste S3, worauf
die Einstellung des stündlichen
Zeitsignals (CHIME) zu blinken
beginnt. Drücken Sie die Taste S2
oder S4, um zwischen EIN und
AUS des stündlichen Zeitsignals
zu wählen.
13. Drücken Sie die Taste S3, worauf
die Einstellung des Pieptones
“BEEP” zu blinken beginnt. Wenn
die Option “BEEP” eingeschaltet
ist, wird bei jeder Tastenberührung
ein Piepton ertönen. Drücken
Sie die Taste S2 oder S4, um die
“BEEP”-Option EIN und AUS zu
schalten.
14. Wenn Sie alle Einstellungen abgeschlossen haben, drücken Sie zur
Bestätigung die Taste S1.
HINWEIS: Die Einstellung des stündlichen Zeitsignals sowie die “BEEP”-
DEUTSCH DEUTSCH
Option sind sowohl im ORTSZEIT- und
FREMDZEIT-Modus möglich.
EINSTELLUNG DER ALARMZEIT
1. Wählen Sie mit der Taste S3, den
ALARM-Modus.
2. Drücken Sie Taste S1 bis die Nachricht “SET” (Einstellen) angezeigt
wird und die Stundenanzeige blinkt.
Zur Erhöhung der Ziffer drücken
Sie die Taste S2, zur Reduzierung
die Taste S4. Halten Sie die Taste
gedrückt, um die Anzeige schneller
vorlaufen zu lassen.
3. Drücken Sie die Taste S3, worauf die
Minutenanzeige zu blinken beginnt.
Zur Erhöhung der Ziffer drücken
Sie die Taste S2, zur Reduzierung
die Taste S4. Halten Sie die Taste
gedrückt, um die Anzeige schneller
vorlaufen zu lassen.
4. Drücken Sie die Taste S3, worauf die
A.M. (AM) oder P.M. (PM) Anzeige
zu blinken beginnt. Drücken Sie die
Taste S2 oder S4, um zwischen A.M.
und P.M. zu wählen.
5. Drücken Sie Taste S3, worauf die
Einstellung der Alarmfrequenz
zu blinken beginnt. Drücken Sie
anschließend die Taste S2 oder S4,
um zwischen täglich (DAILY), nur an
Werktagen (WKDAYS) oder nur an
Wochenenden (WKENDS) zu wählen.
6. Wenn Sie alle Einstellungen abgeschlossen haben, drücken Sie zur
Bestätigung die Taste S1.
HINWEIS: Die Einstellung A.M. / P.M.
ist nur möglich, wenn das 12-Stunden
Format im ORTSZEIT / FREMDZEIT
Modus eingestellt ist.
HINWEIS: Der Alarm wird automatisch
nach der Eingabe aktiviert.
EIN/AUSSTELLEN DES ALARMS:
Im ALARM Modus drücken Sie
die Taste S2, um EIN oder AUS zu
schalten. Wenn der Alarm auf EIN
gestellt ist, erscheint das Alarmsymbol
.
WENN DER ALARM ERTÖNT:
Wenn die Alarmfunktion aktiviert ist,
wird ein Alarmton zur vorbestimmten Zeit 20 Sekunden lang ertönen.
Drücken Sie eine beliebige Taste, um
den Ton abzustellen.
Wenn der Alarmton nicht unterbrochen
wird, stellt sich die Uhr automatisch
in einen Schlummermodus. Der
Alarmton ertönt dann nur noch einmal
nach 5 Minuten.
VERWENDUNG DES CHRONOGRAPHS:
1. Wählen Sie mit der Taste S3, den
CHRONOGRAPH-Modus.
2. Der Chronograph zeigt den laufenden Status an - gestoppt, in Betrieb
oder zurückgesetzt.
 Loading...