


CYBERSCAN DO 5000
Instruction Manual
CyberScan DO 5000
Bench Dissolved Oxygen Meter
(Also Applicable for CyberScan PCD 5500)
Technolo
g
y
M
ade
E
as
y
.
.
.
68X292330
Rev. 2 07/03

PREFACE
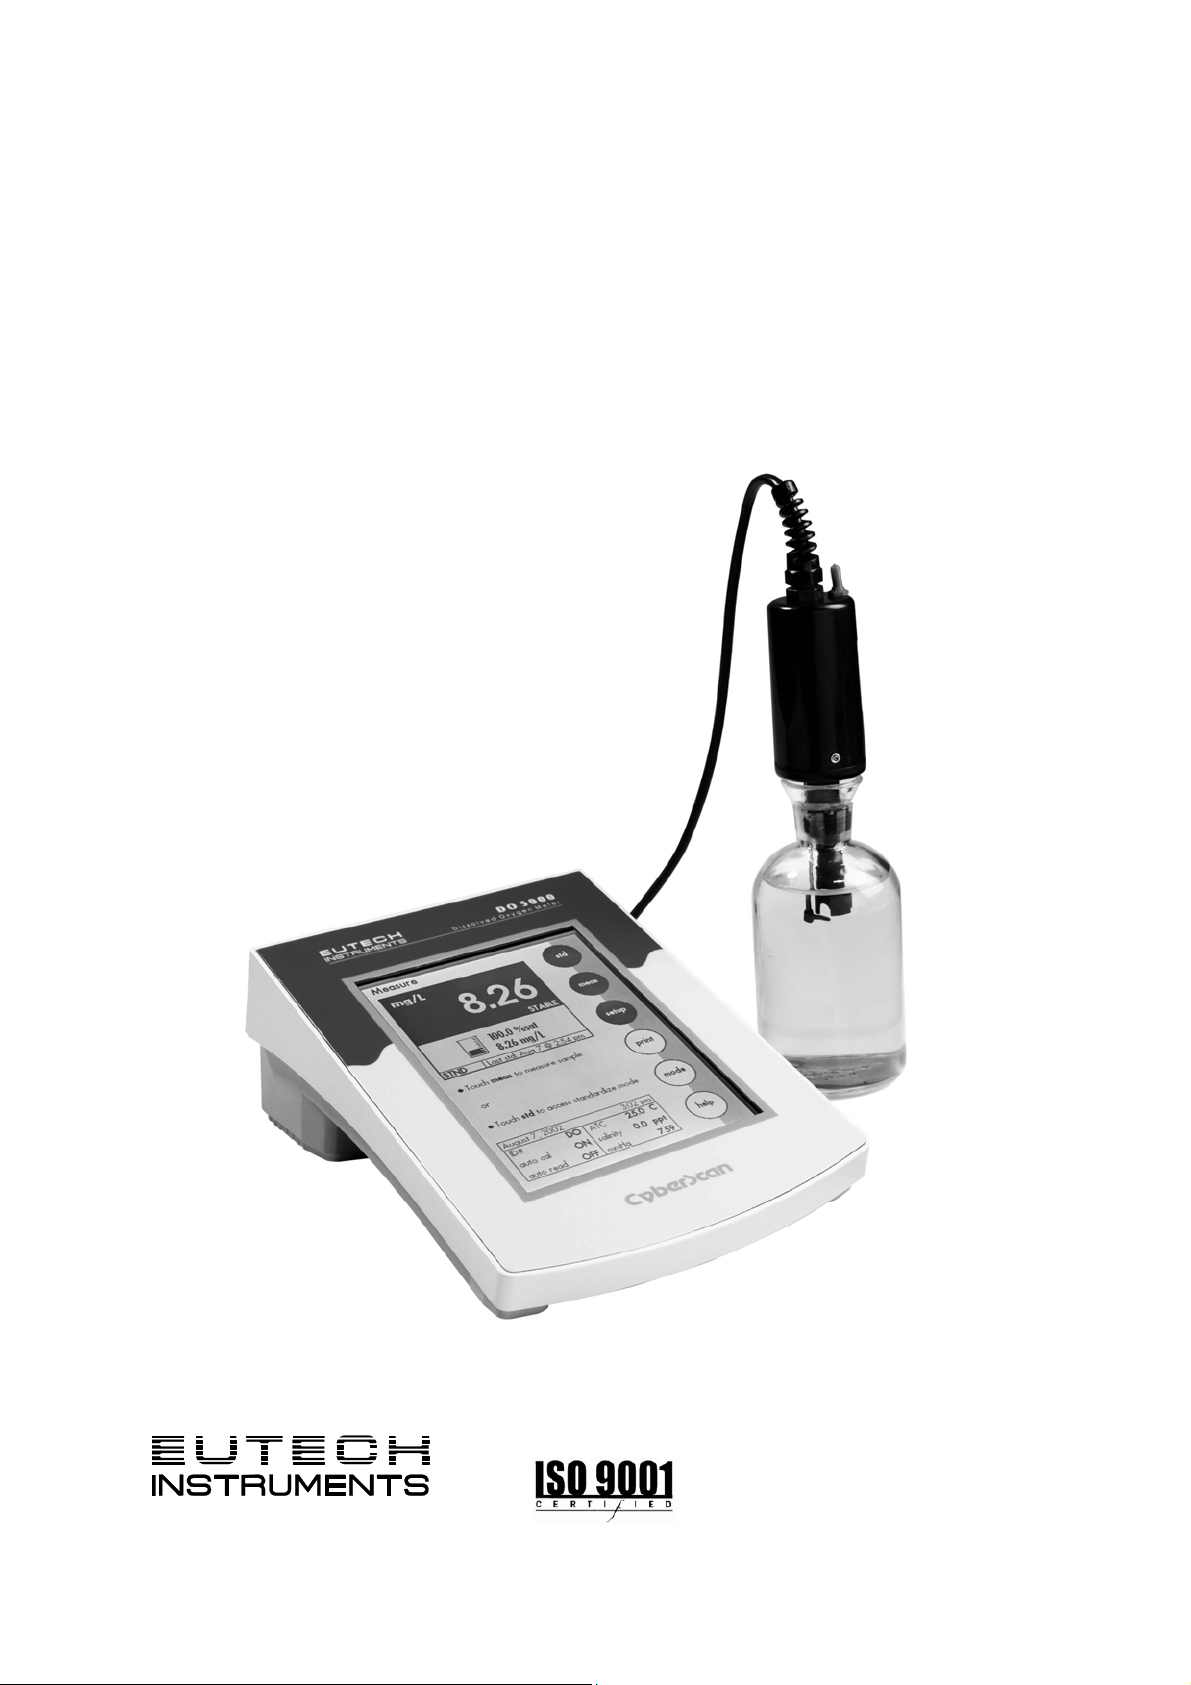
Thank you for selecting the Eutech Instruments CyberScan DO 5000
bench meter. This meter measures dissolved oxygen and
temperature (°C/ °F).
This instruction manual serves to explain the use of the CyberScan
DO 5000 bench meter as a step-by-step operational guide to help
you familiarize with the meter’s features and functions. It is structured
sequentially with illustration of diagrams that explains the various
functions and setup menus available.
This manual is written to cover as many anticipated applications and
uses of the CyberScan DO 5000 Bench meter as possible. If there
are doubts in the use of the meter, please do not hesitate to contact
the nearest Eutech Instruments’ Authorized Distributors or call us at
(65) 6778-6876 for Eutech Instruments’ Customer Service Dept. for
assistance.
Kindly remember to complete the warranty card and mail it back to
your Authorized Distributors or Eutech Instruments Pte Ltd.
Eutech Instruments reserve the rights to change, make improvement
and modify specifications without prior notice and cannot accept any
responsibility for damage or malfunction to the instrument caused by
improper use.
Copyright
©
2002 Eutech Instruments Pte. Ltd.
All rights reserved.
Rev 2 07/03

TABLE OF CONTENTS
1 INTRODUCTION 1
1.1 Introducing the CyberScan Series 1
2 UNPACKING THE METER 3
3 GETTING STARTED 4
3.1 Connectors 4
3.2 Dissolved Oxygen Probe 5
3.3 Touch Screen Operation 9
3.4 Button functions 10
4 SYSTEM SETUP 12
4.1 Set Date 15
4.2 Set Time 17
4.3 Set Beeper Status 19
4.4 Set Print Configuration 21
4.4.1 Set Baud Rate 23
4.4.2 Set Number of Bits 24
4.4.3 Set Stop Bits 25
4.4.4 Set Parity 26
4.4.5 Set Serial Output Mode 27
4.5 Set Barcode Configuration 28
4.6 Set Operator 29
4.7 Set Display Contrast 31
4.8 Display Meter Information 33
4.9 Reset to Factory Defaults 34
5 D.O. / BOD/ OUR/ SOUR SETUP 35
5.1 To Access Setup 36
5.2 Set Sample ID# 37
5.3 Select Calibration Mode 41
5.4 Select Auto Read Mode (Only available in D.O. mode) 42
5.5 Set Configurations for BOD/ OUR and SOUR 43
(Not applicable in D.O. mode) 43
5.6 Set Stability Criteria 45
5.7 Set Temperature Units 46
5.8 Set Measurement Units 47
5.9 Set the Salinity Value of Your Sample 48
5.10 Set Barometer 49
5.11 Set Alarm Limits 51
5.12 Set Print Criteria 53
5.13 Set Print Interval 55
5.14 Set Data Storage Criteria 57
5.15 Set Display Resolution 59
5.16 Set Display Configuration 61
5.17 View Stored Data 63
6 D.O. OPERATION 67
6.1 DO Standardization 68
6.2 Biological Oxygen Demand (BOD) Measurement 76
6.3 Oxygen Uptake Rate (OUR) Measurement 88
6.4 Specific Oxygen Uptake Rates (SOUR) 90
7 CLEANING 92
8 TROUBLE SHOOTING 92
9 DATA MANAGEMENT 93
10 DO FUNDAMENTALS 95
11 METER SPECIFICATIONS 96
12 ACCESSORIES 99
12.1 Replacement Meters and Accessories 99
12.2 Dissolved Oxygen / BOD Electrode 99
13 WARRANTY 100

Instruction Manual CyberScan DO5000
1
1 INTRODUCTION
1.1 Introducing the CyberScan Series
Thank you for selecting a Eutech Instruments CyberScan Bench
meter. This manual describes the operation of the CyberScan DO
5000 bench meter. The state-of-art meter that you have purchased is
easy to operate and will guide you through the various functions by
displaying easy to understand prompts. This instruction manual
should answer any questions that might arise in operating your meter,
however, do not hesitate to call our Technical Support at (65)
67786876 or fax at (65) 67730836.
The CyberScan DO 5000 bench meter provides microprocessor
precision in a compact benchtop design that is easy to use. One
touch screen controls all procedures, letting you:
Measure dissolved oxygen and temperature (°C/ °F)
Customise your display screen and operating parameters
Assign operator and sample identification numbers
Store 250 data points in the meter’s memory or transfer data to a
computer or printer.
Access extensive online help with just a touch a button
It all adds up to rapid, completely automatic, intuitive operation.
You will find this symbol appearing in this manual; it indicates useful
tips that ease your meter operation.
Instruction Manual CyberScan DO5000
2

Instruction Manual CyberScan DO5000
3
2 UNPACKING THE METER
The following is a listing of what you should have received with your
new CyberScan DO 5000 meter.
Meter with kit includes
Meter
Power adapter (120 VAC/ 12VDC) OR (220 VAC/ 12 VDC)
depending on order code.
BOD Probe
Instruction Manual
If any of these items are missing, please contact your nearest
Authorized Distributor.
Accessory conductivity probes and ion selective electrodes are
available and can be ordered by contacting any Authorized
Distributor or Eutech Instruments Marketing (65) 67786876.
Instruction Manual CyberScan DO5000
4
3 GETTING STARTED
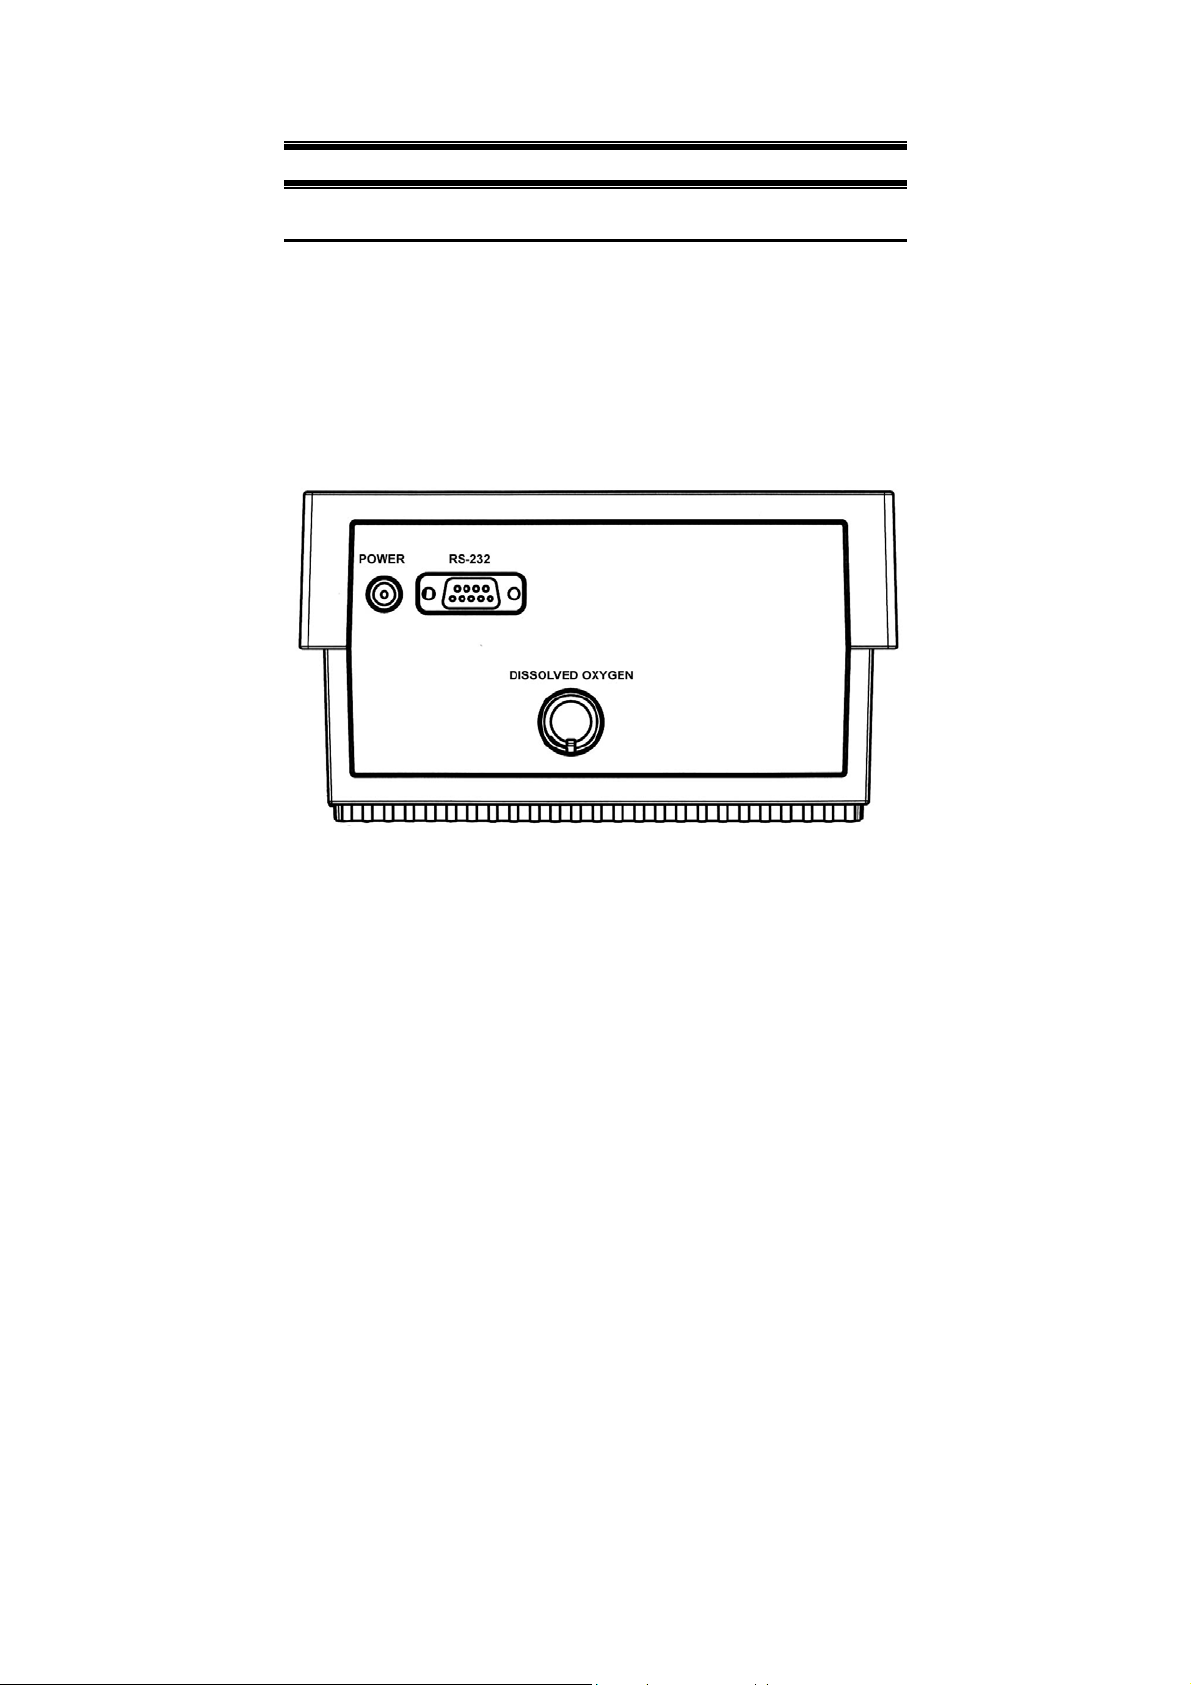
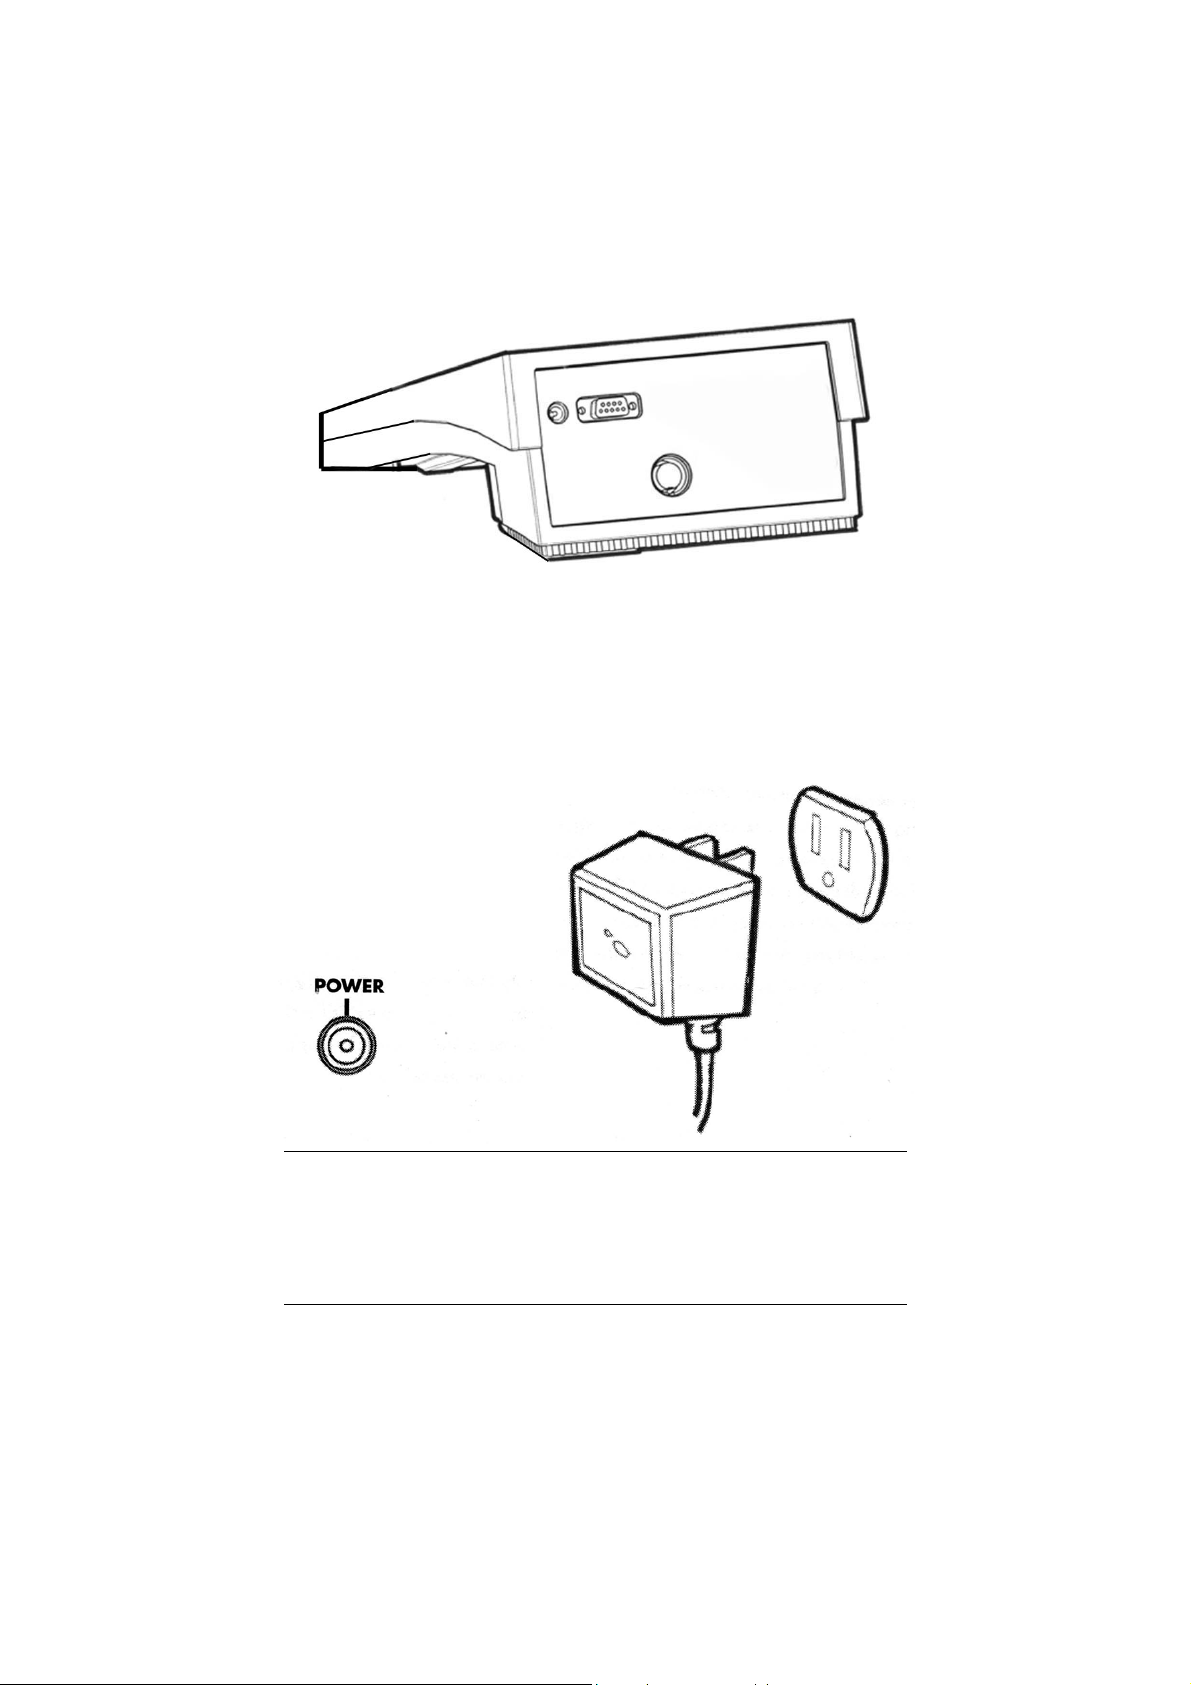
3.1 Connectors
1. Review the layout and arrangement of the rear connector panel.
2. Connect the power cable to the rear connector panel power jack
and to a powers source.
Instruction Manual CyberScan DO5000
5
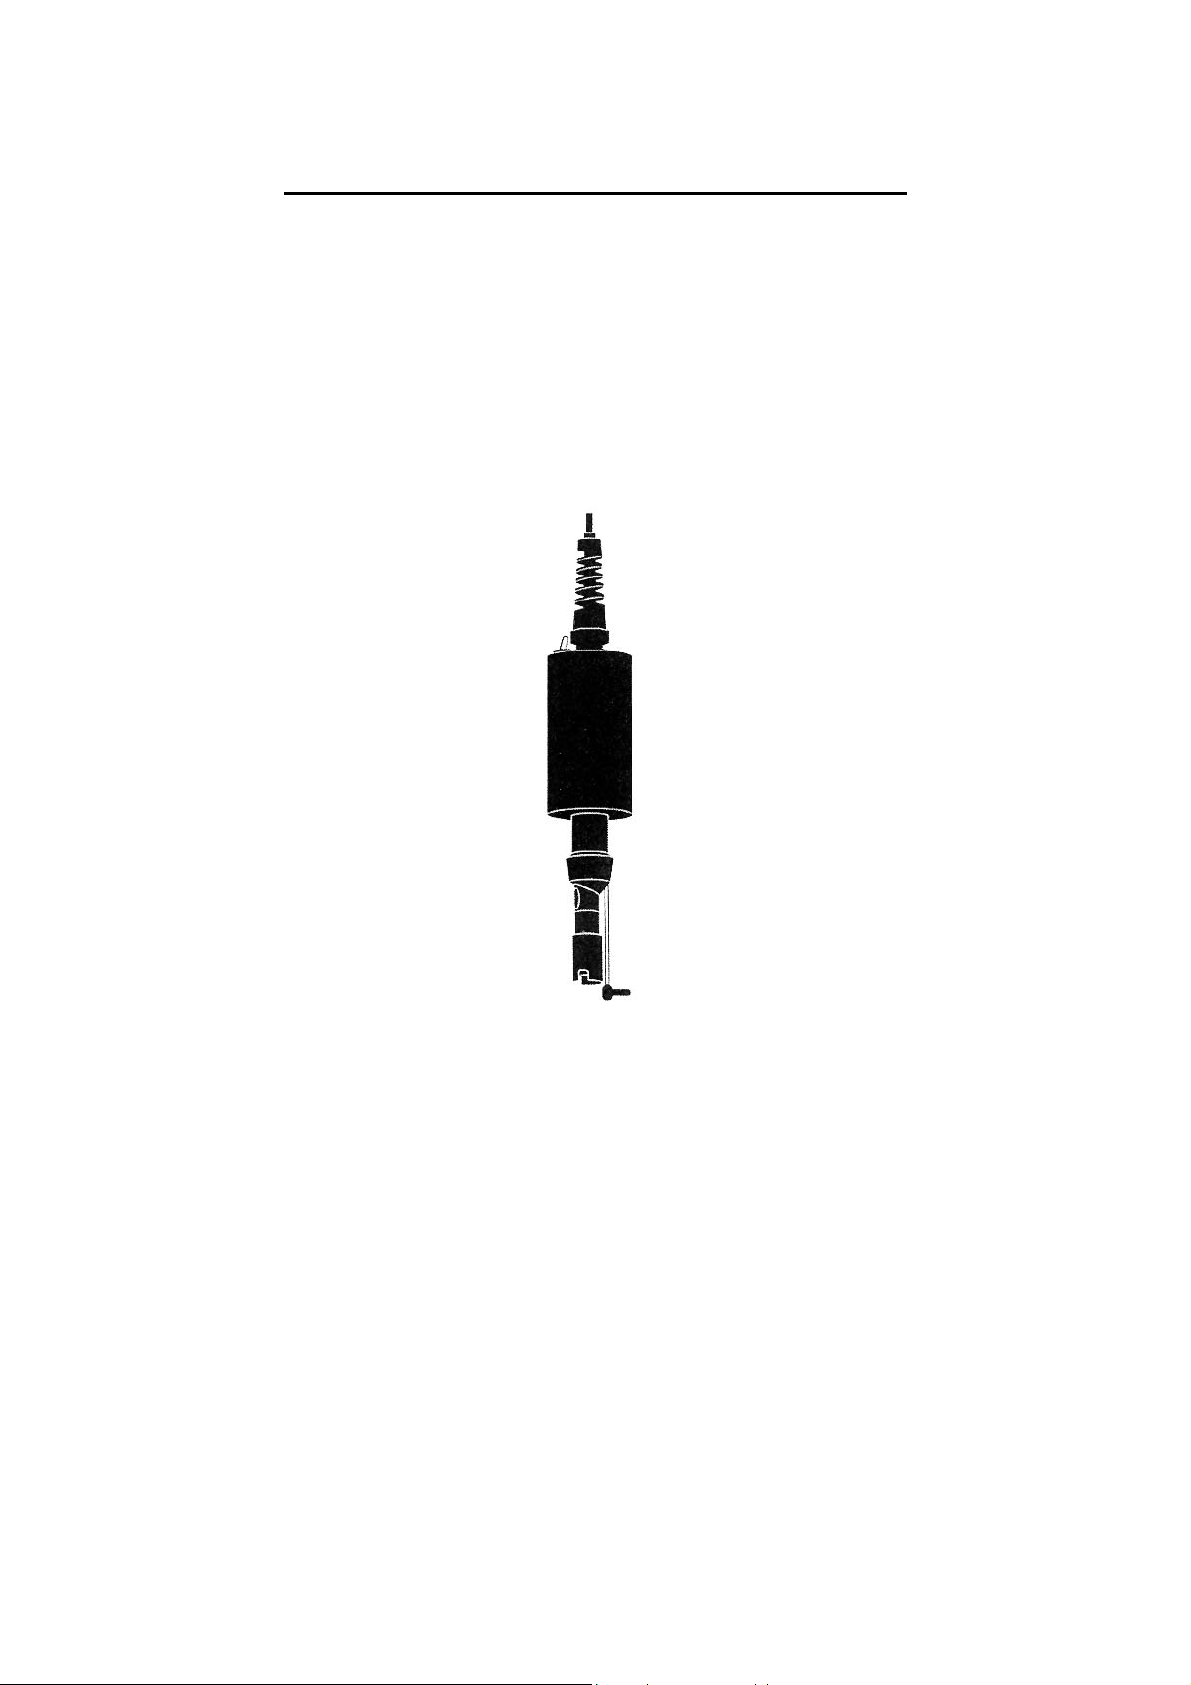
3.2 Dissolved Oxygen Probe
This meter is equipped to use the BOD probe.
1. Carefully review the instruction sheet accompanying the probe for
setup and conditioning information.
2. Connect the probe to the meter by plugging it into the DIN
connector on the back of the meter. Permit the probe to warm up
for 30 minutes.
3. Store the DO probe in a BOD bottle filled with 1 inch of water.
Instruction Manual CyberScan DO5000
6
1. Connect the electrode arm to the base.
2. Connect the power cable to the connector cable to the rear
connector panel power jack and to a power source.
To connect RS232, see Data Management on Section 9 below, page
93.
Instruction Manual CyberScan DO5000
7
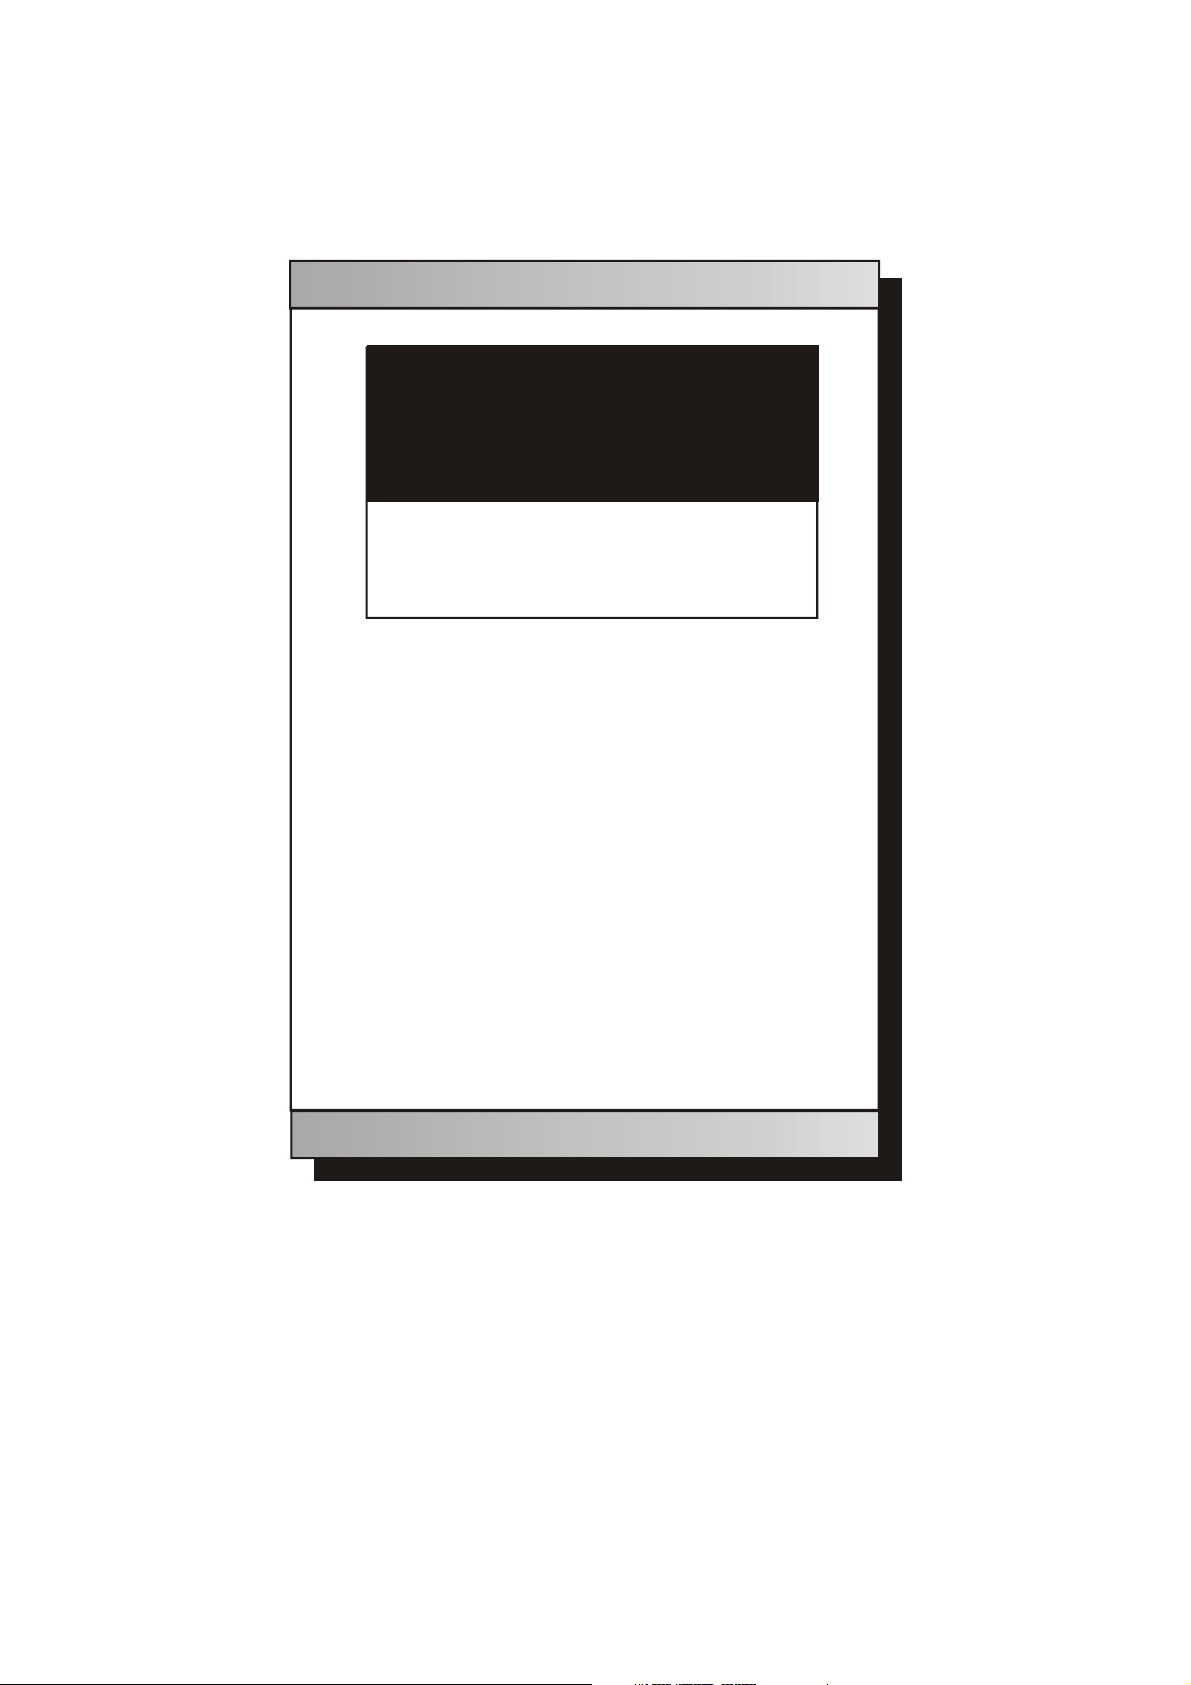
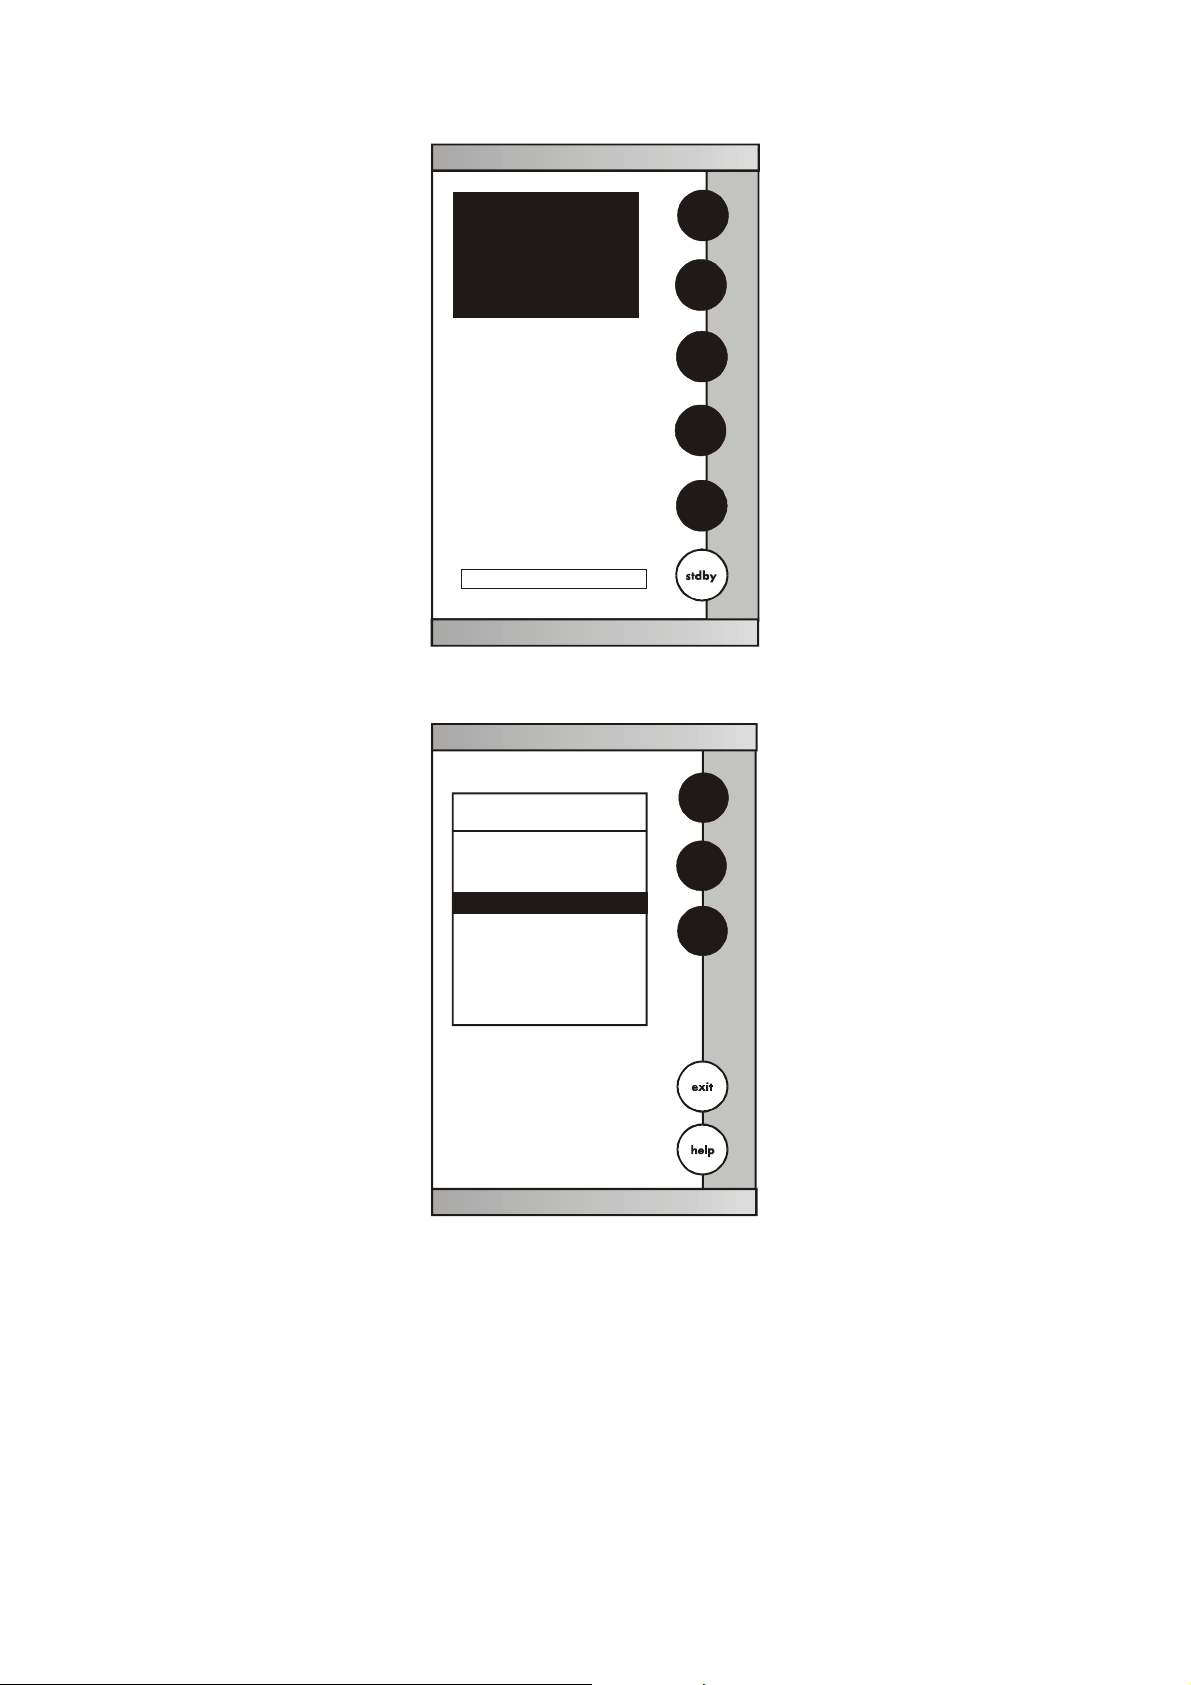
Standby screen
Touch anywhere to resume
E U T E C H
INSTRUMENTS
11:11 am
Instruction Manual CyberScan DO5000
8
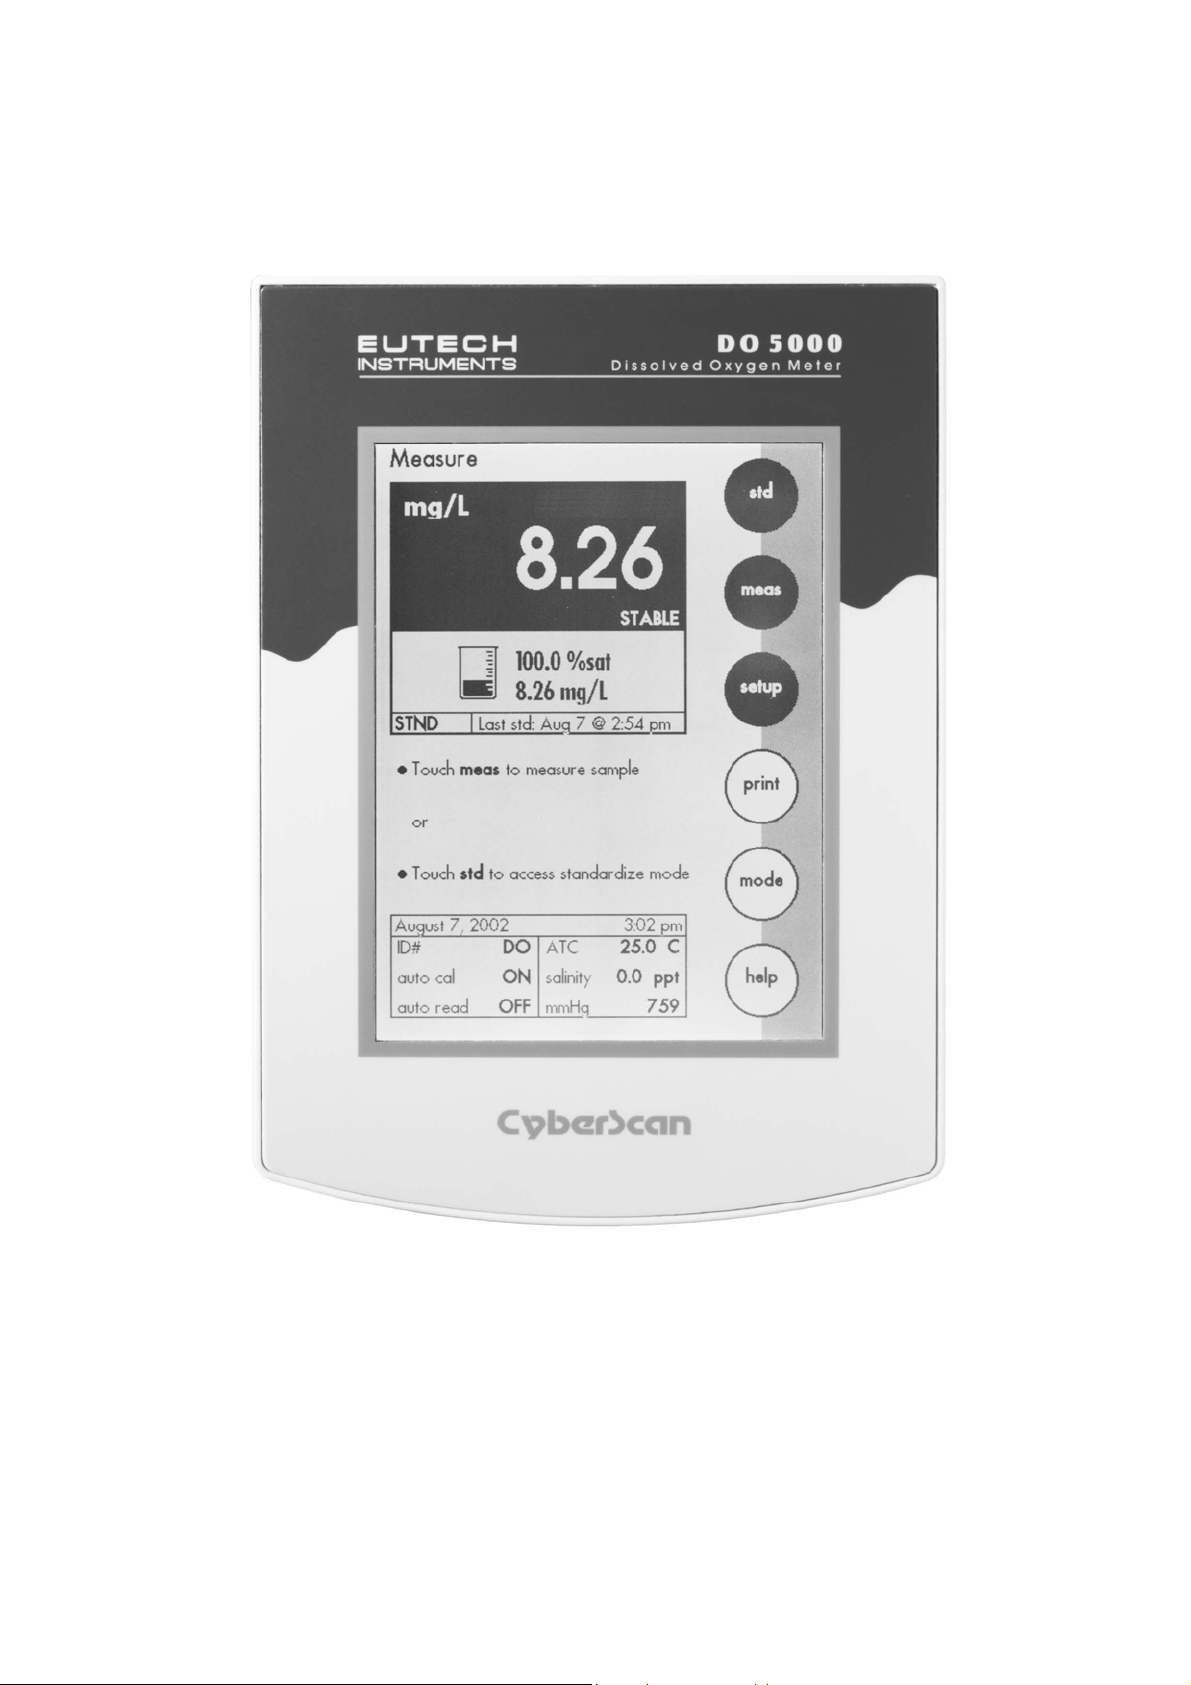
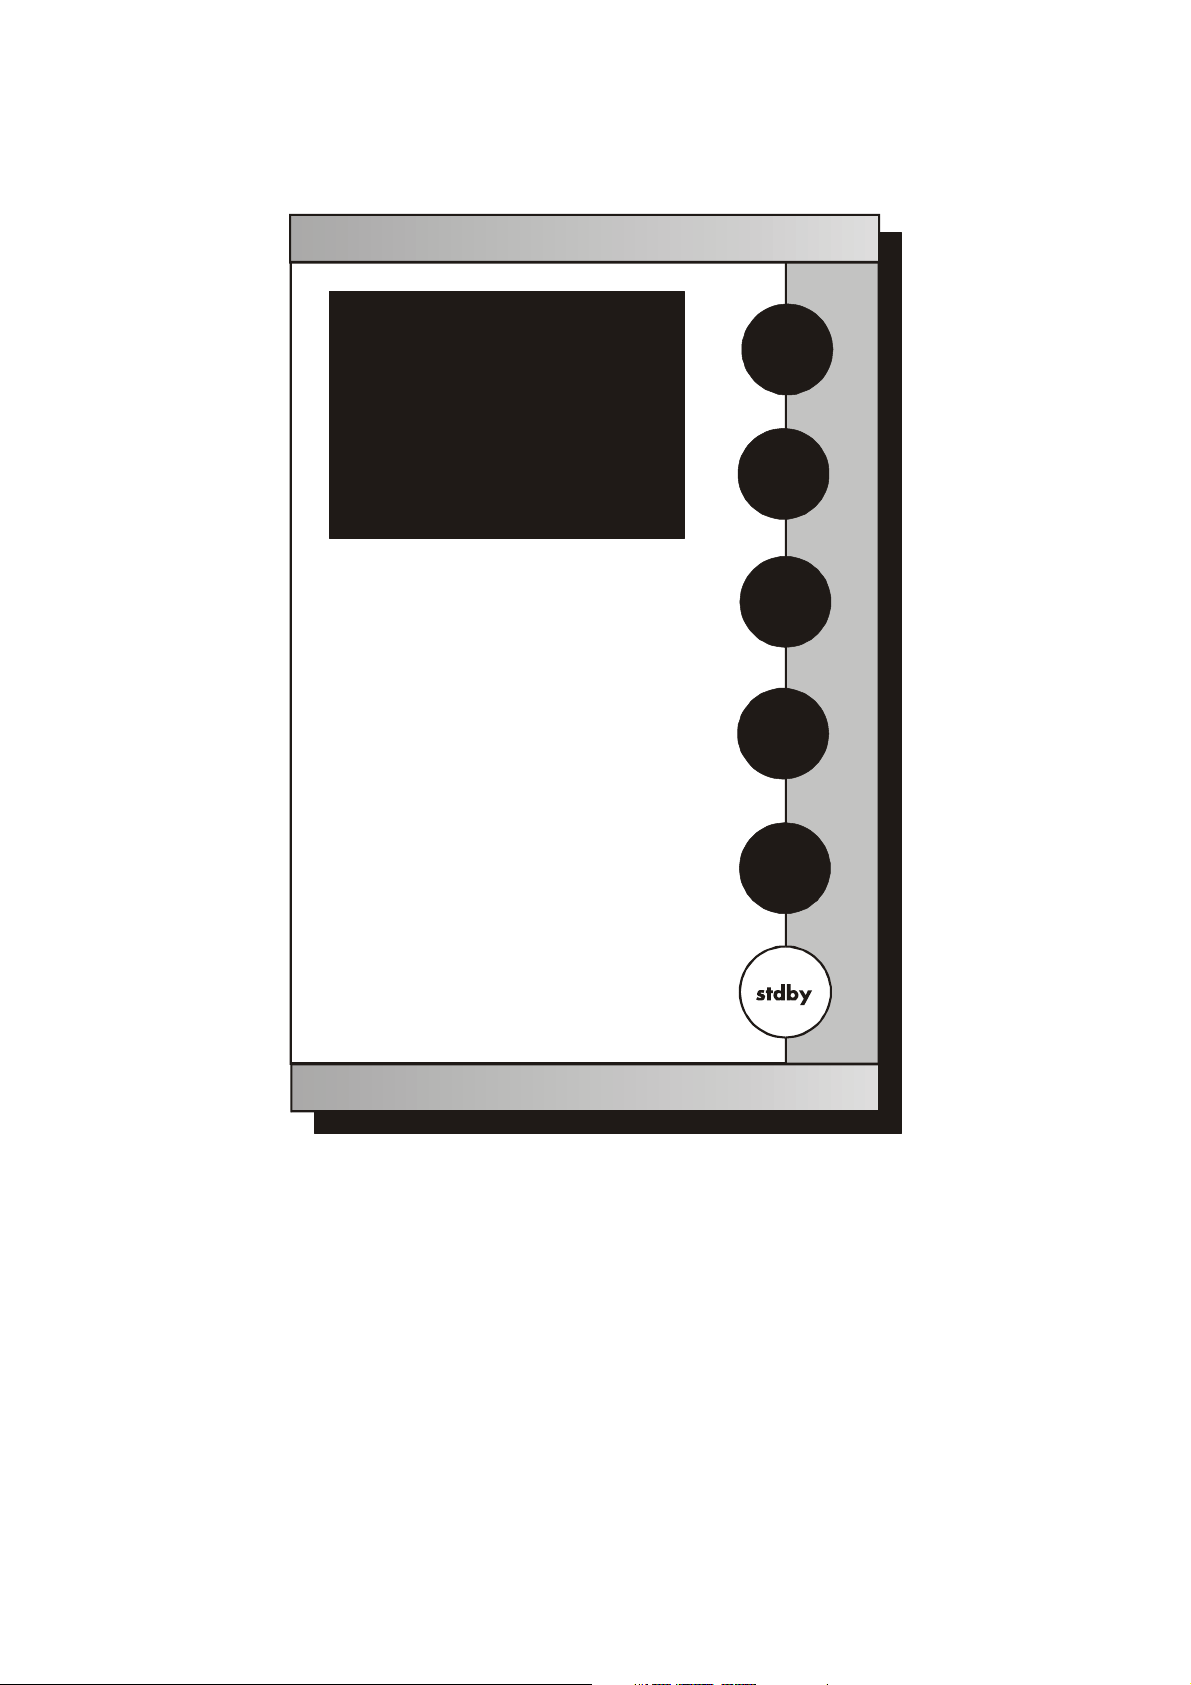
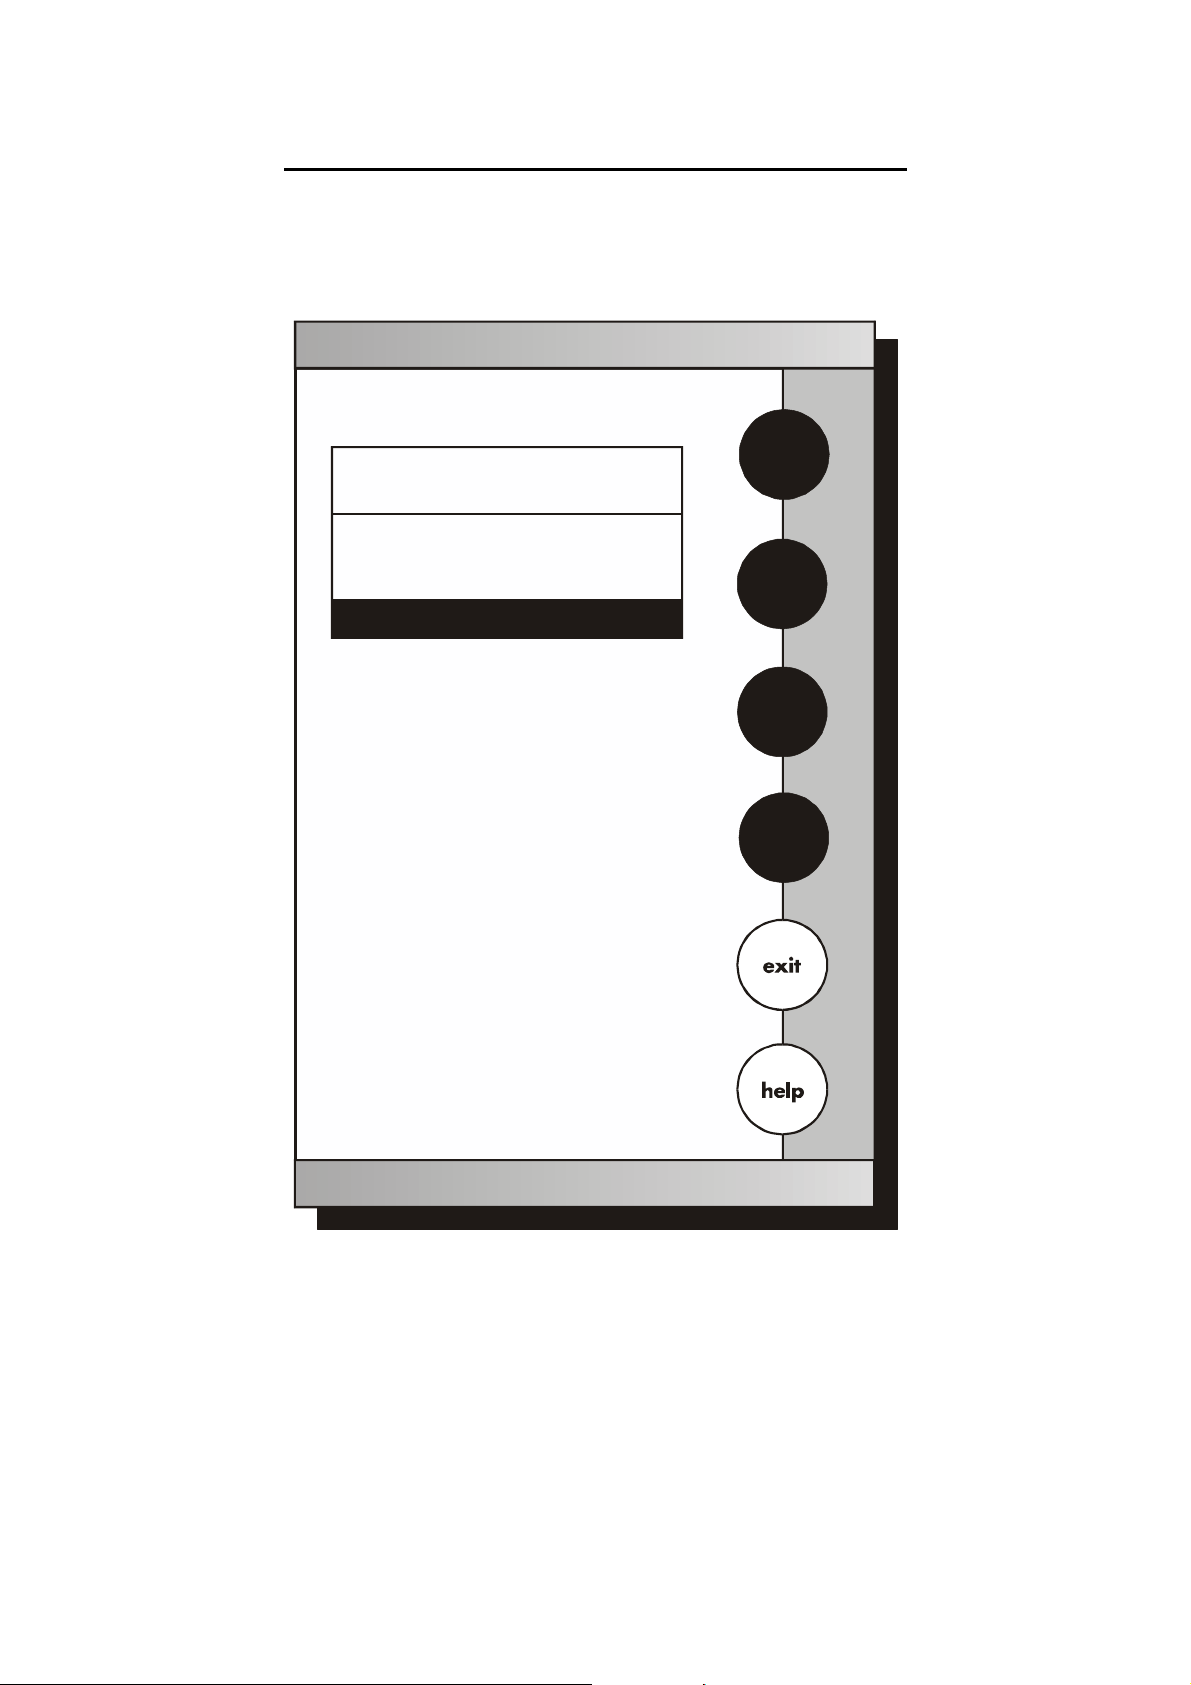
Meter Main Screen
Select from the options to the right
DO
BOD
OUR
SOUR
system
E U T E C H
INSTRUMENTS
CyberScan DO 5000

Instruction Manual CyberScan DO5000
9
3.3 Touch Screen Operation
The CyberScan DO 5000 meter operates with a state of art touch
screen. The touch screen makes this the easiest meter on the market
to operate and care for. When this meter is first plugged in, the
STANDBY screen will appear. Touch anywhere on this screen to
access the functions of the meter.
The buttons on the right side of the screen control all of the functions
of the meter. Alight touch on the screen is all you need to access the
various functions. Once you touch a button you will get an audible
tone; the screen will not change until you lift your finger.
This design prevents rapid uncontrolled scrolling through the various
function screens. Easy to understand prompts guide you through the
operation of the meter in the selected mode. If you are ever in doubt
about what to do, just touch help on the bottom right corner of the
screen for detailed information about the screen.
The touch screen is made of a durable polyester material that is
chemically resistant. Maintenance is simple with this meter. To clean
the screen you just need to wipe it with a damp cloth and dry it with a
clean dry towel. For additional information, see Cleaning and
Troubleshooting sections of the manual (page 92).
Instruction Manual CyberScan DO5000
10
save
mode
enter
close
more
back
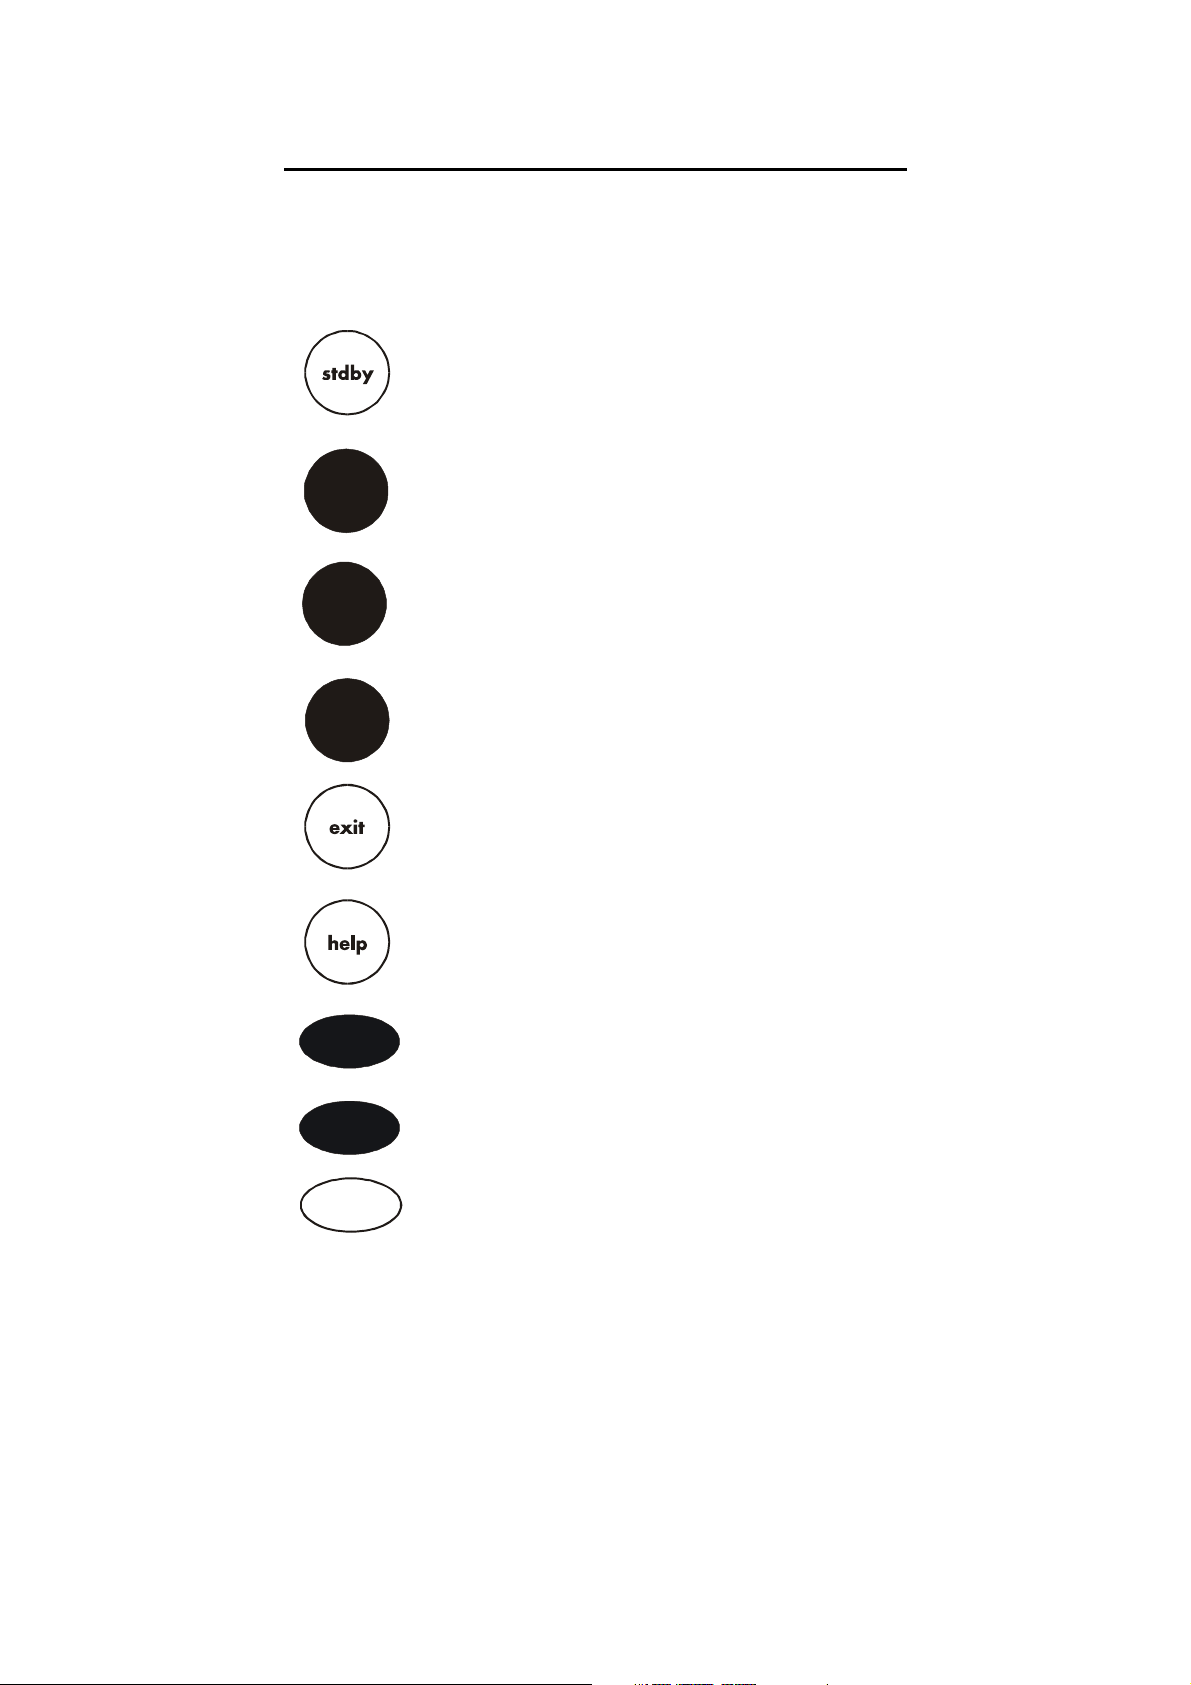
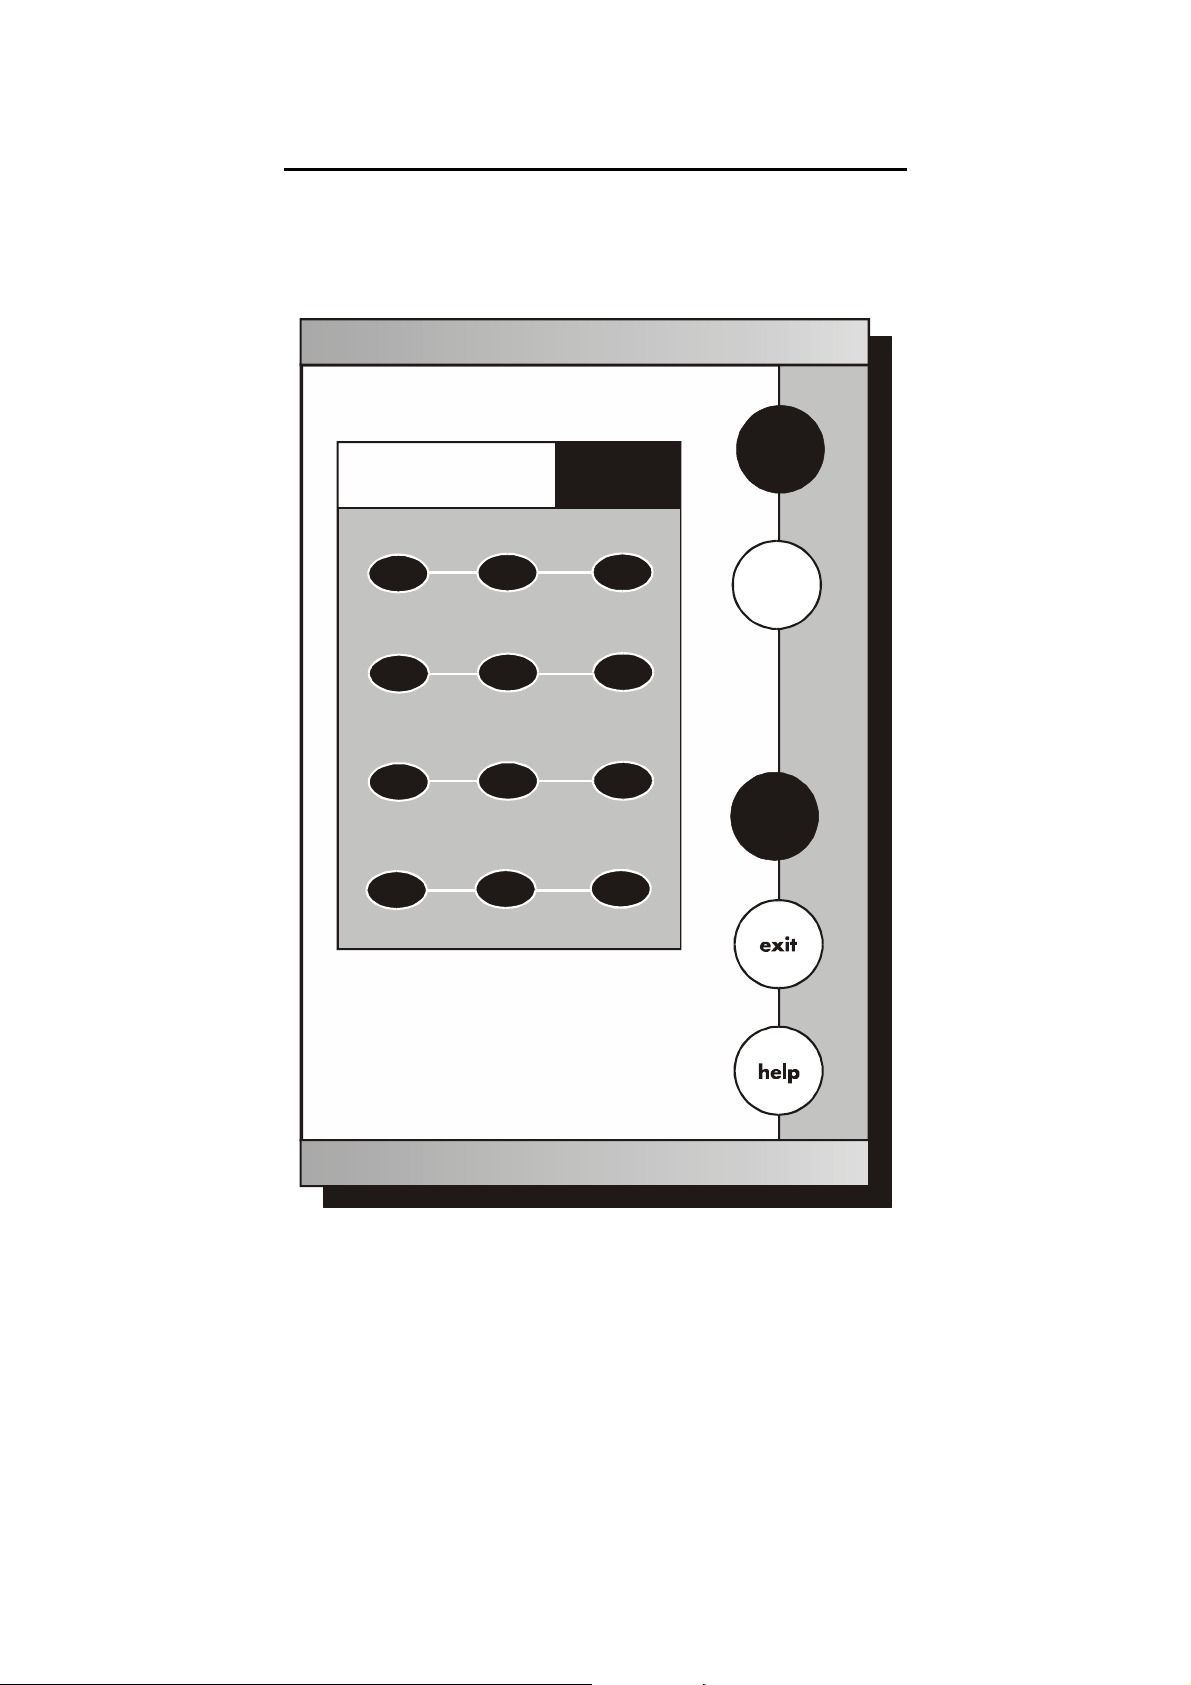
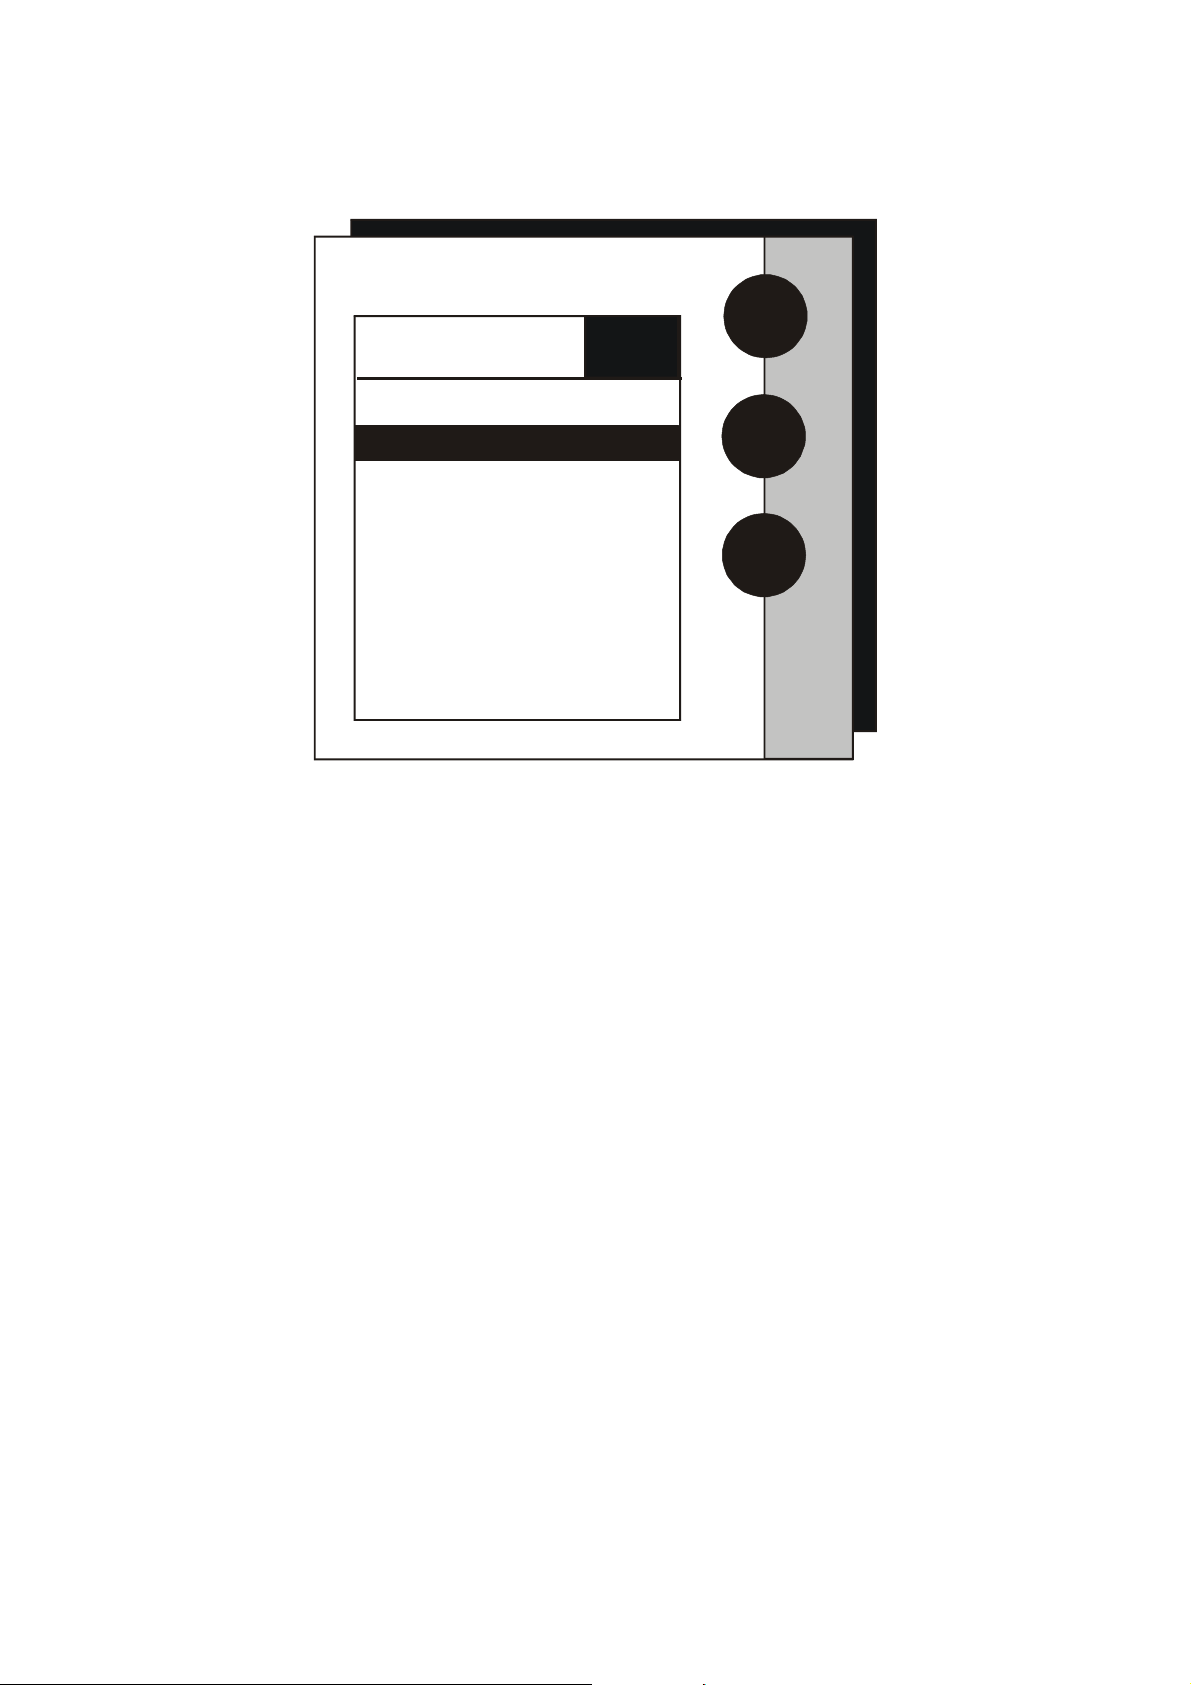
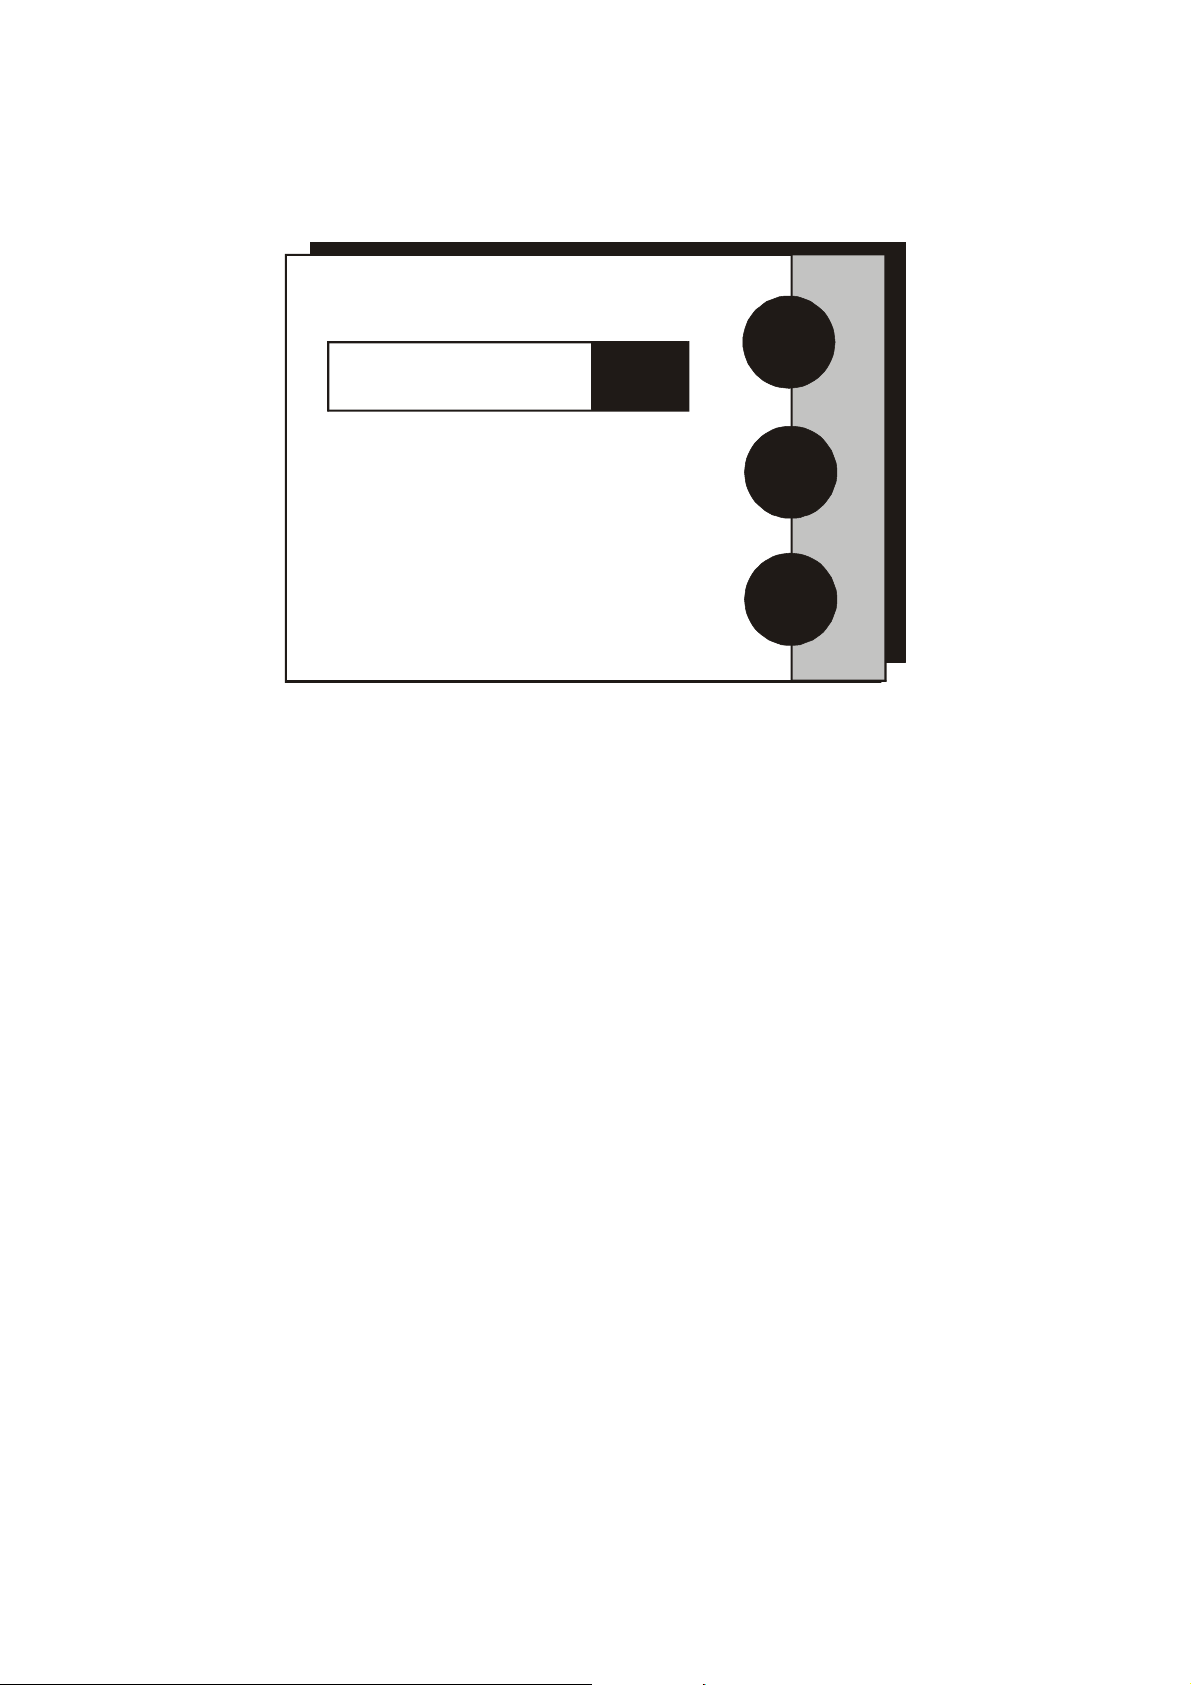
3.4 Button functions
The touch screen of your CyberScan research DO meter has
“buttons” along the right side of the screen that are common to many
of the screens. The following indicates the function of these common
buttons.
This is the standby button and it allows you to access the
standby mode. When in standby, the meter will not take
measurements. It is in a state of rest. When you touch
stdby the meter will return to the standby screen which
says “Eutech Instruments” and displays the time.
The mode button allows you to switch between the various
operations of the meter. These operations include DO,
BOD, OUR, SOUR, setup, and stdby.
The enter button allows you to accept any changes that
you have made on one setup screens or accept values that
you have input with keypads. When touched, enter will
save the changes and return you to the previous screen.
The save button allows you to save multiple changes that
you have made on one screen as a group. It functions like
the enter button does for an individual changes.
The exit button allows you to leave the screen you are
currently viewing and return to the previous screen without
making any changes.
The help button allows you to access helpful information
on any screen. When you touch the help button,
information about the current screen appears. This
information will include step by step instructions for
operating the meter from the current screen and possible
applications information for that screen.
The close key appears on the bottom of all help screens
and allows you to exit the help screen and return to the
previous screen.
The more button appears on the help screens and allows
you to advance to the next help screen for additional
information.
The back button appears on the help screen and allows
you to move back to a previous help screen.

Instruction Manual CyberScan DO5000
11
prev
next
print
meas
setup
edit
clear
std
T
BS
BS
delete
This button accesses the standardization screen from the
various measurement modes and initiates standardization
of the meter once the standardization screen is accessed.
This button is the measure button and directs the meter to
measure your sample when in the Auto Read mode.
This button will access he setup screens for the measuring
mode that you are currently using. It can also be used to
access the system setup screen that allows you to set
parameters that are not related to measurements such as
the times and the date.
The print button sends information to the output device
that you have connected to your CyberScan meter. The
output device can be a printer, data logger or a computer.
In addition to this, touching the print button will also send
data to the data storage center of the meter if a sample ID
has been assigned to your sample.
The arrow keys on the screen move the cursor up and
down in order to highlight parameters that you would like to
review or edit.
The edit button appears on the setup screens. After you
have highlighted a parameter that you would like to change,
the edit button allows you to access the available options
for that parameter.
The clear button allows you to remove a setup parameter
or standard buffer value from the meter’s memory that may
have been entered at a previous time or by a previous user
that is no longer of value to you. Touching the clear button
erases the value so you may enter a new one. It can also
erase the data from the memory of the meter.
The BS button is a backspace button. It appears on keypad
screens and it allows you to back up and delete a character
entered in error.
The delete button appears on the “View Stored Data”
screens. This button allows you to erase the data from the
memory of the meter.
The prev button appears on the Data Screens when the
data stored in the meter’s memory has been accessed. It
allows you to scroll through data points sorted and stored
prior to the current data point displayed.
The next button appears on the Data Screens when the
data stored in the meter’s memory has been accessed. It
allows you to scroll through data points sorted and stored
prior to the current data point displayed.

Instruction Manual CyberScan DO5000
12
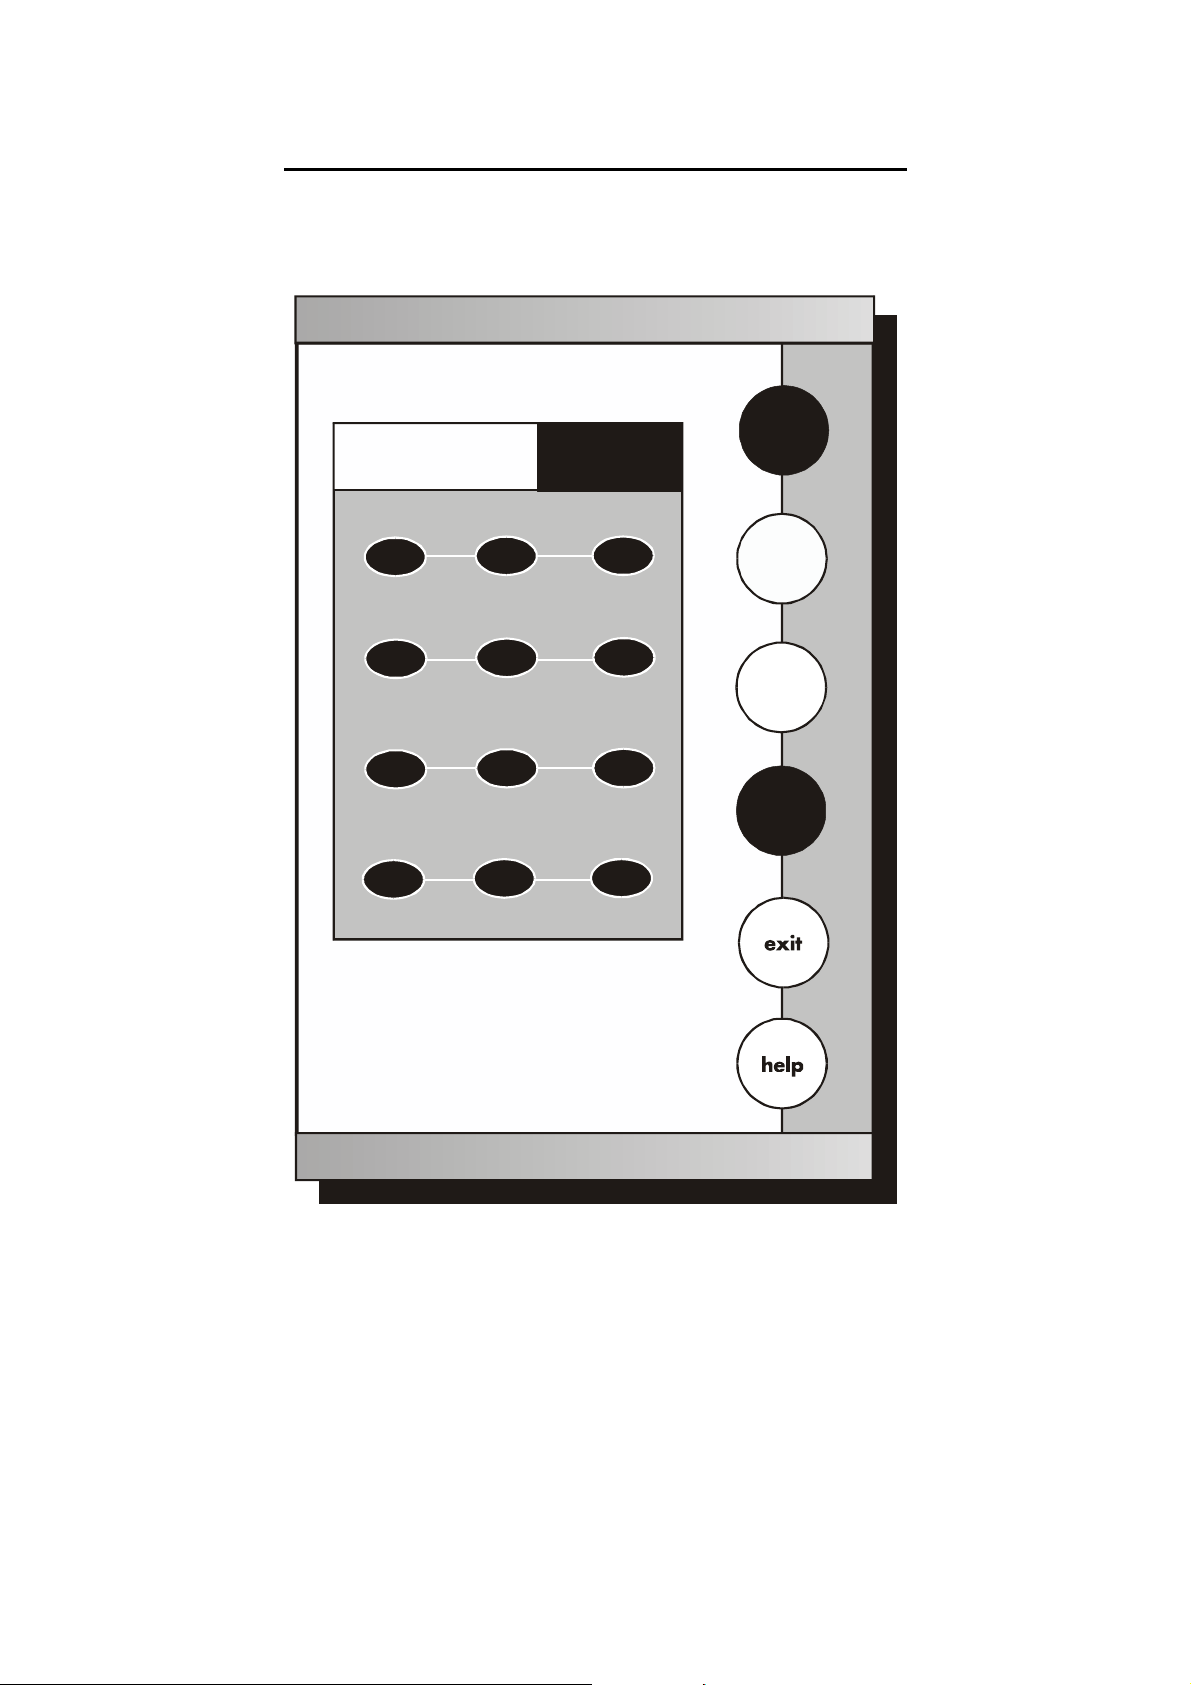
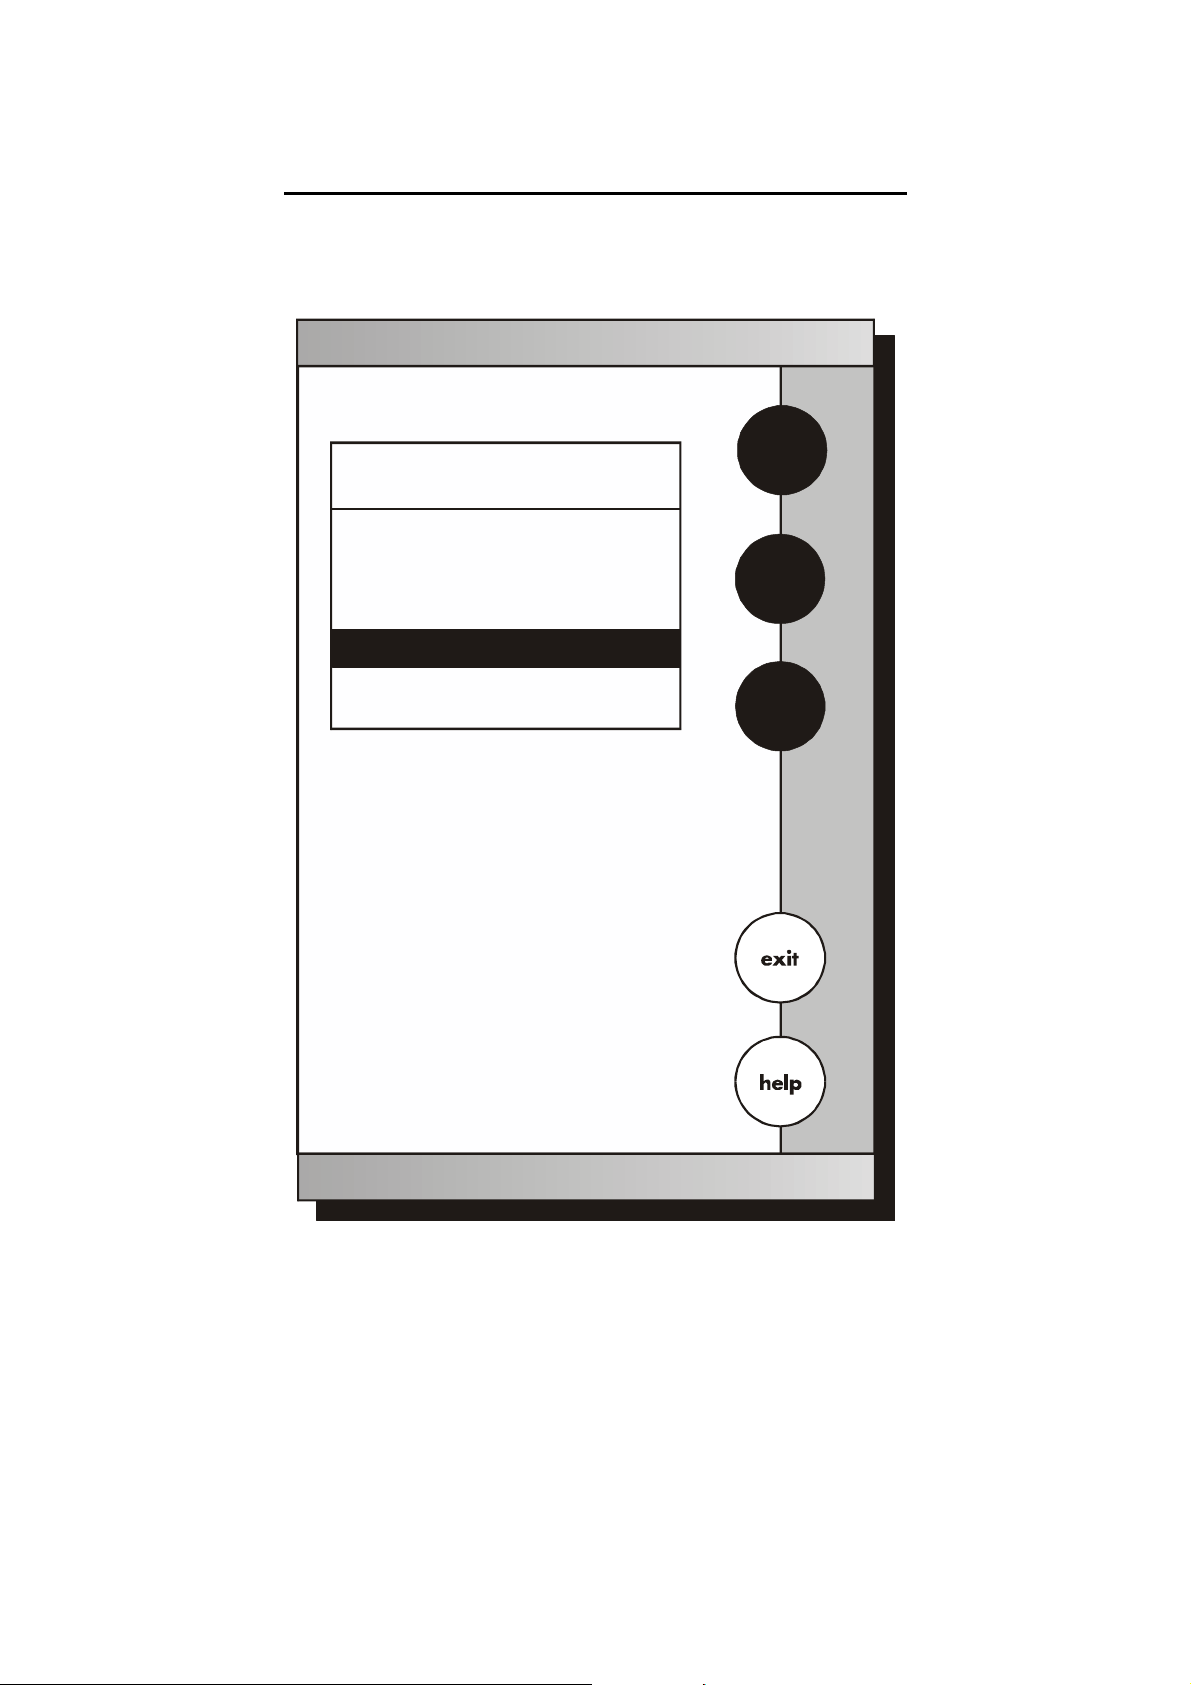
4 SYSTEM SETUP
SYSTEM SETUP OPTIONS
-
Set
- Set
- Set
- Set
- Set
- Set
- Display
- Reset to
Date
Beeper Status
Barcode Configuration
Operator
Display Contrast
Meter Information
Factory Defaults
Time
- Set
Print Configuration
System Setup
S
T
edit
Instruction Manual CyberScan DO5000
13
SYSTEM SETUP OPTIONS
- Set
- Set
- Set
-
- Set
- Set
- Set
- Display
- Reset to
Date
Beeper Status
Barcode Configurati on
Operator
Display Contrast
Meter Information
Factory D efaults
Time
Set
Print Configuration
System Setup
S
T
edit
Select from the options to the right
DO
BOD
OUR
SOUR
system
E U T E C H
INSTRUMENTS
CyberScan DO 5000
January 15, 2002 11:11 am

Instruction Manual CyberScan DO5000
14
Access system setup
System setup can be accessed from the Setup screen (Page 12).
The system setup function allows you to customise the meter display
options to meet your personal preference. Once set, these will rarely
need to be changed.
To Access System Setup
1. Touch anywhere on the standby screen
2. Touch system on the setup screen
The system setup options are now displayed on the screen.
To Access a System Setup Option
1. Use the arrow keys to scroll through the setup options and
highlight the option to be reviewed.
2. Touch edit to view the current status of the selected option.
The following is a detailed description of the system setup option
screens
Instruction Manual CyberScan DO5000
15
4.1 Set Date
1-15-02
Set
Date
Current MM/DD/YY
clear
Touch to delete current date
Use to input the new
date and then touch to accept
clear
numeric touchpad
enter
enter
D/M/Y
1 2 3
4 5 6
7 8 9
BS 0 /

Instruction Manual CyberScan DO5000
16
This screen can be used to set the present date which will be
displayed on the measure screens. This date will also be printed on
demand and stored in the data storage center of the meter when data
is saved. There are two format options for the date: month/ day/ year
(M/ D/ Y) or the European format of day/ month/ year (D/ M/ Y)
To set date
1. Access the Set Date screen from the System Setup screen. The
current date and numeric keypad are displayed on the screen.
2. Touch clear to delete the current entry.
3. Touch D/ M /Y or M/ D/ Y to set the date format.
4. Use the numeric touch pad to enter the desired date, separating
the day, the month and the year by touching the “/” key on the
keypad.
5. Touch enter to accept the date in the current format.
OR
Touch exit to return to the system setup screen, without making
any changes.
If you do not use “/”, the meter will not accept the date entry.
Instruction Manual CyberScan DO5000
17
4.2 Set Time
Set
Time
Current 12HR:
clear
Touch to delete current time
Use to input the new
time and then touch to accept
clear
numeric touchpad
enter
enter
24hr
1 2 3
4 5 6
7 8 9
BS 0 :
10:40 am
pm
Instruction Manual CyberScan DO5000
18
This screen can be used to set the present time which will be
displayed on the measure screens. This time will also be printed on
demand and stored in the data storage center of the meter when data
is saved. There are two formats options for the time. The clock can
be set as either a 12 hour clock or a 24 hour clock.
To set time
1. Access the set time screen from the System Setup screen. The
current time and numeric keypad are displayed on the screen.
2. Touch clear to delete the current entry.
3. Touch the 24hr or 12hr button to format the clock as either a 12
hour or a 24 hour clock.
4. Touch am or pm to set the appropriate time.
5. Use the numeric touch pad to enter desired time, separating the
hour and the minutes by touching the “:” key in the keypad.
6. Touch enter to accept the time in the current format.
OR
Touch exit to return to the System Setup screen, without making any
changes.
If you do not use the “ : ”, the meter will not accept the time.
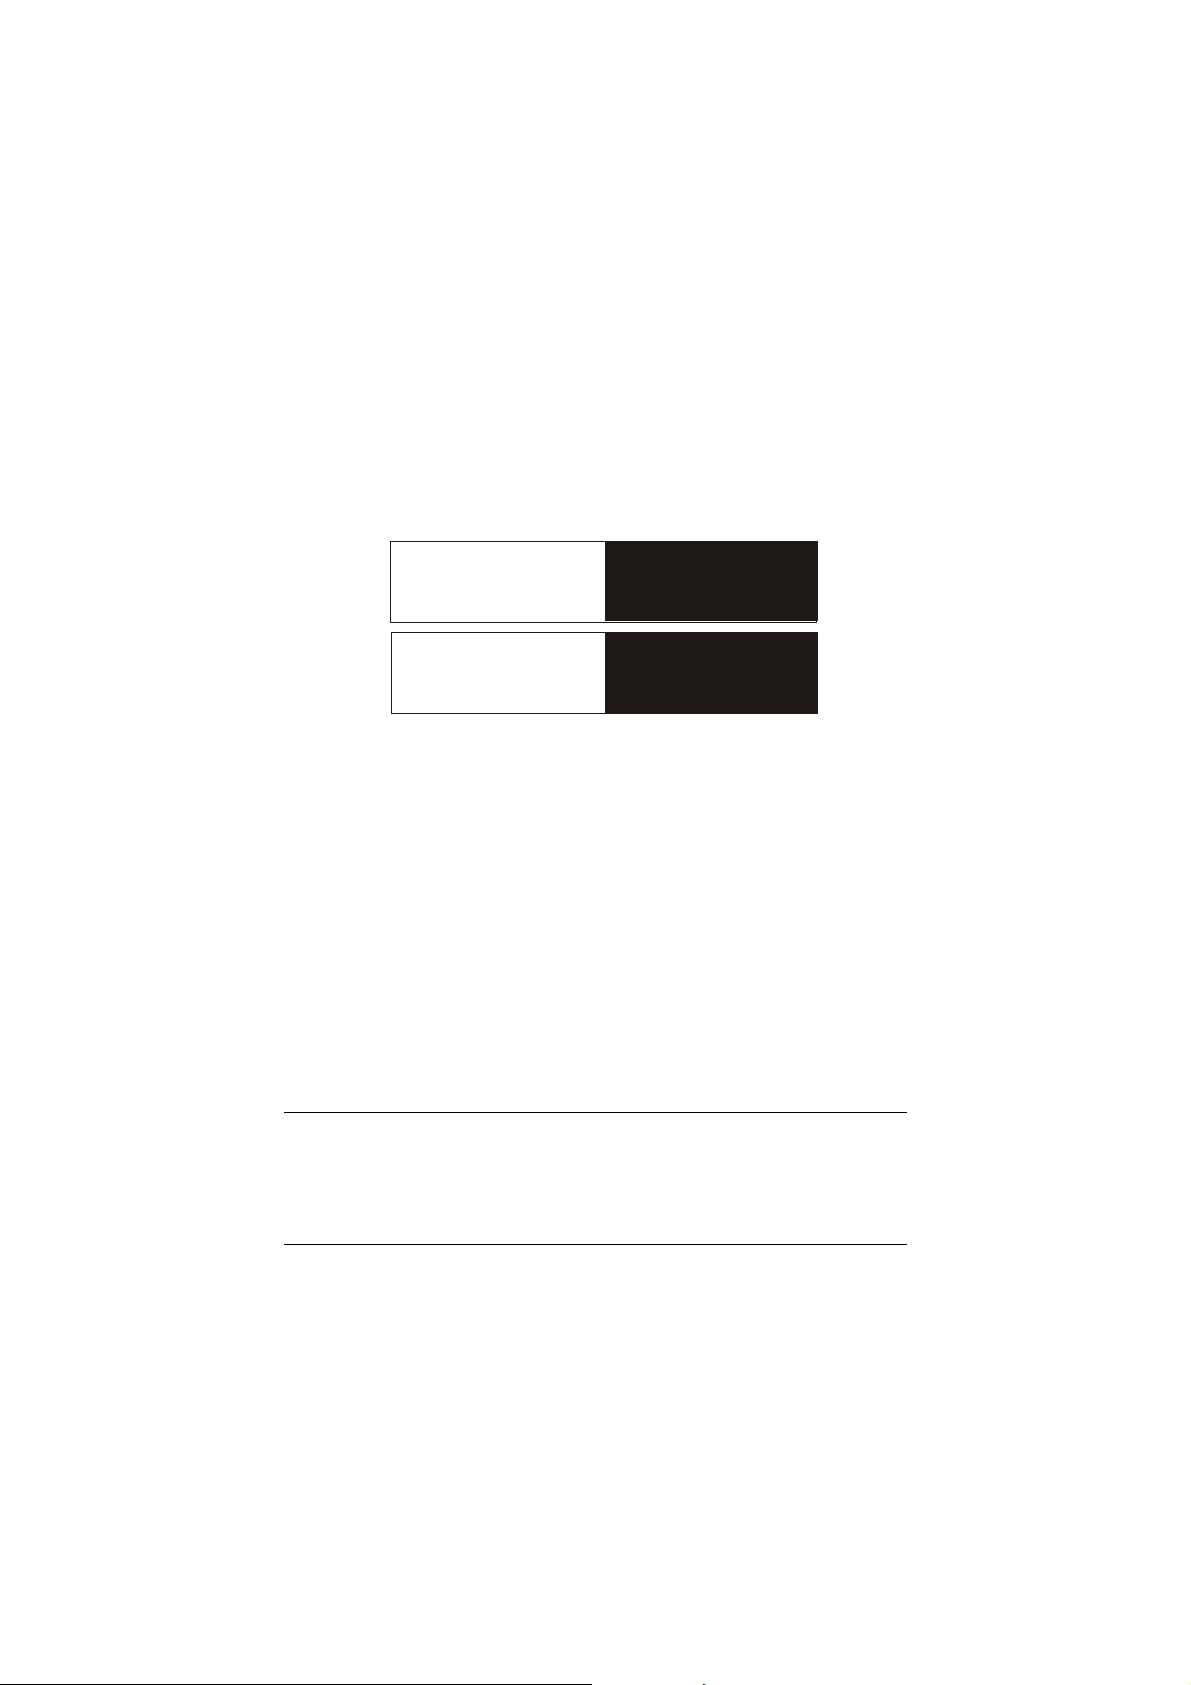
Current 12HR
Current 24HR
5:15 pm
17:15
Instruction Manual CyberScan DO5000
19
4.3 Set Beeper Status
Current BEEPER STATUS
-
After STABLE Reading
- After KEY Touch
OFF
OFF
- On LIMIT Exceeded
OFF
Set
Beeper Status
S
T
ON
save
Use to highlight beeper
option and then touch to
change
Touch to accept changes
arrow keys
ON/OFF
save

Instruction Manual CyberScan DO5000
20
This screen allows you to turn on or off the beeper. You may choose
to have an audible signal when the meter recognises that the current
measurement is stable, each time a function button is touched and/
or when the set limits of a measurement mode have been exceeded.
To Set Beeper Status
1. Access the set beeper status screen from the System Setup
screen. The current beeper status is displayed on the screen.
2. Use the arrow keys to highlight the beeper status option that you
would like to modify.
3. Touch ON or OFF until the desired status is visible in the current
beeper status box.
4. Touch save to accept the changes and return to the System
Setup screen.
OR
Touch exit to return to the System.
Instruction Manual CyberScan DO5000
21
4.4 Set Print Configuration
Current PRINT CONFIGURATION
- Baud Rate
- Number of Bits
- Stop Bits
- Serial Output Mode
19200
8
1
TEXT
- Parity
NONE
Set
Print Configuration
S
T
edit
Use to highlight desired
print setting and then touch to
change
arrow keys
edit

Instruction Manual CyberScan DO5000
22
You can adjust the print configuration of this meter from this screen.
The configuration of the following screens must match the
configuration of the printer or computer to which the data will be sent.
To Set Print Configuration
1. Access the Print Configuration screen from the System Setup
screen. The current Print Configuration is displayed on the
screen.
2. Use the arrow keys to highlight the configuration option to be
modified.
3. Touch edit to access the parameters for the highlighted option
OR
Touch exit to return to the System Setup screen, without making
any changes.
Instruction Manual CyberScan DO5000
23
4.4.1 Set Baud Rate
S
T
enter
Set
Baud Rate
Current BAUD RATE
110
600
1200
2400
4800
9600
19200
38400
300
300
This configuration option will control the speed at which the data will
be transmitted by the printer. This parameter needs to match the
baud rate designated by the printer or computer.
To Set Baud Rate
1. Access the Set Baud Rate screen from the Set Print
Configuration screen. The current baud rate is displayed on the
screen.
2. Use the arrow keys to highlight the baud rate option that
matches the baud rate of your printer or computer.
3. Touch enter to accept the baud rate and return to the Set Print
Configuration screen.
OR
Touch exit to return to the Set Print Configuration screen, without
making any changes.

Instruction Manual CyberScan DO5000
24
4.4.2 Set Number of Bits
enter
Current NUMBER OF BITS
Set
Number of Bits
7
8
To Set Number of Bits
1. Access the Set number of Bits screen from the Set Print
Configuration screen. The current number of bits is displayed on
the screen.
2. Touch 7 or 8 to select the number of bits.
3. Touch enter to accept the bit value and return to the Set Print
Configuration screen.
OR
Touch exit to return to the Set Print Configuration screen, without
making any changes.

Instruction Manual CyberScan DO5000
25
4.4.3 Set Stop Bits
enter
Current STOP BITS
Set
Stop Bits
1
2
To Set Stop Bits
1. Access the Set Stop Bits screen from the Set Print Configuration
screen. The current number of bits is displayed on the screen.
2. Touch 1 or 2 to set the desired number of stop bits.
3. Touch enter to accept the stop bit value and return to the Set
Print Configuration screen.
OR
Touch exit to return to the Set Print Configuration screen, without
making any changes.
Instruction Manual CyberScan DO5000
26
4.4.4 Set Parity
enter
Current PARITY
Set
Parity
NONE
EVEN
ODD
To Set Parity
1. Access the Set Parity screen from the Set Print Configuration
screen. The current Parity is displayed on the screen.
2. Touch ODD or EVEN or NONE to set the desired parity.
3. Touch enter to accept the parity setting and return to the Set
Print Configuration screen.
OR
Touch exit to return to the Set Print Configuration screen, without
making any changes.
Instruction Manual CyberScan DO5000
27
4.4.5 Set Serial Output Mode
Current MODE
Set
Serial Output Mode
enter
TEXT
DATA
To Set Serial Output Mode
1. Access the serial output mode from the set print configuration
screen. The current mode is displayed.
2. Touch Data or Text on your selection
3. Touch enter to accept the choice and return to the Set Print
Configuration screen.
 Loading...