


 Loading...
Epson L1060WNL, L1075UNL, L1075U, L1070W, L1070U User Manual
...
Pro L1060W/L1060WNL/L1070W/L1070WNL/L1060U/L1060UNL/
L1070U/L1070UNL/L1075U/L1075UNL
Quick Reference
This Quick Reference card gives brief instructions on connecting your projector and using common features. For details, see the online User’s Guide.
IMPORTANT: Before using this product, make sure you read these instructions and the safety instructions in the online User’s Guide.
VGA-to-component cable |
VGA cable |
Ethernet cable |
DVI cable |
BNC-to-component cable |
HDMI cable |
5BNC-to-VGA cable |
Mini-to-RCA cable |
Stereo mini jack cable |
Turning the Projector On
1.Turn on your computer or image source.
2.Remove the lens cover.
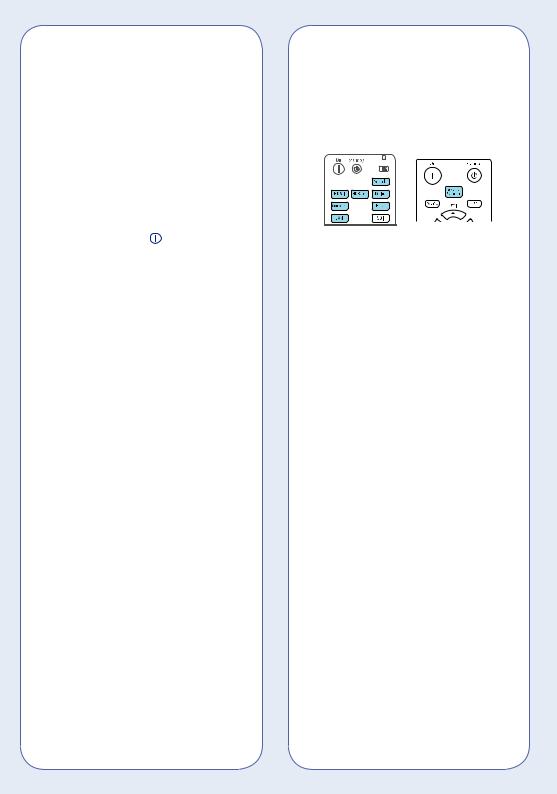
3.Press the  On button on the projector or the remote control. After the status light stays blue, the projector is ready.
Note: If the Direct Power On function is enabled, you can turn the projector on without pressing the On button; just plug it in or flip the switch controlling the outlet to which the projector is connected. To turn on this feature, see the online User’s Guide.
4.If your image does not appear, see “Switching Between Image Sources” or “Troubleshooting.”
Changing the Language of the Projector Menus
The default language of the projector’s menu system is English, but you can change it as necessary.
1.Press the Menu button to access the projector’s menu system.
2.Select Extended > Language.
3.Select your language.
4.When you’re done, press the Menu button to exit.
Switching Between Image Sources
Press the Search button or one of the source buttons (remote control), or the Source Search button (projector).
Selecting the Lens Type
Make sure the Lens Type setting is correct for the lens you are using.
1.Press the Menu button.
2.Select Extended > Operation > Advanced > Lens Type.
Note: If the Lens Type setting is greyed out, the projector has automatically detected the installed lens and you can skip the remaining steps.
3.Select the lens you are using.
4.When you’re done, press the Menu button to exit.
Changing Screen Type
Set the Screen Type setting to the screen’s aspect ratio.
1.Press the Menu button.
2.Select Extended > Display > Screen > Screen Type.
3.Select the screen’s aspect ratio.
Note: The displayed image should match the screen’s size and shape.
Loading...