


TBC50S
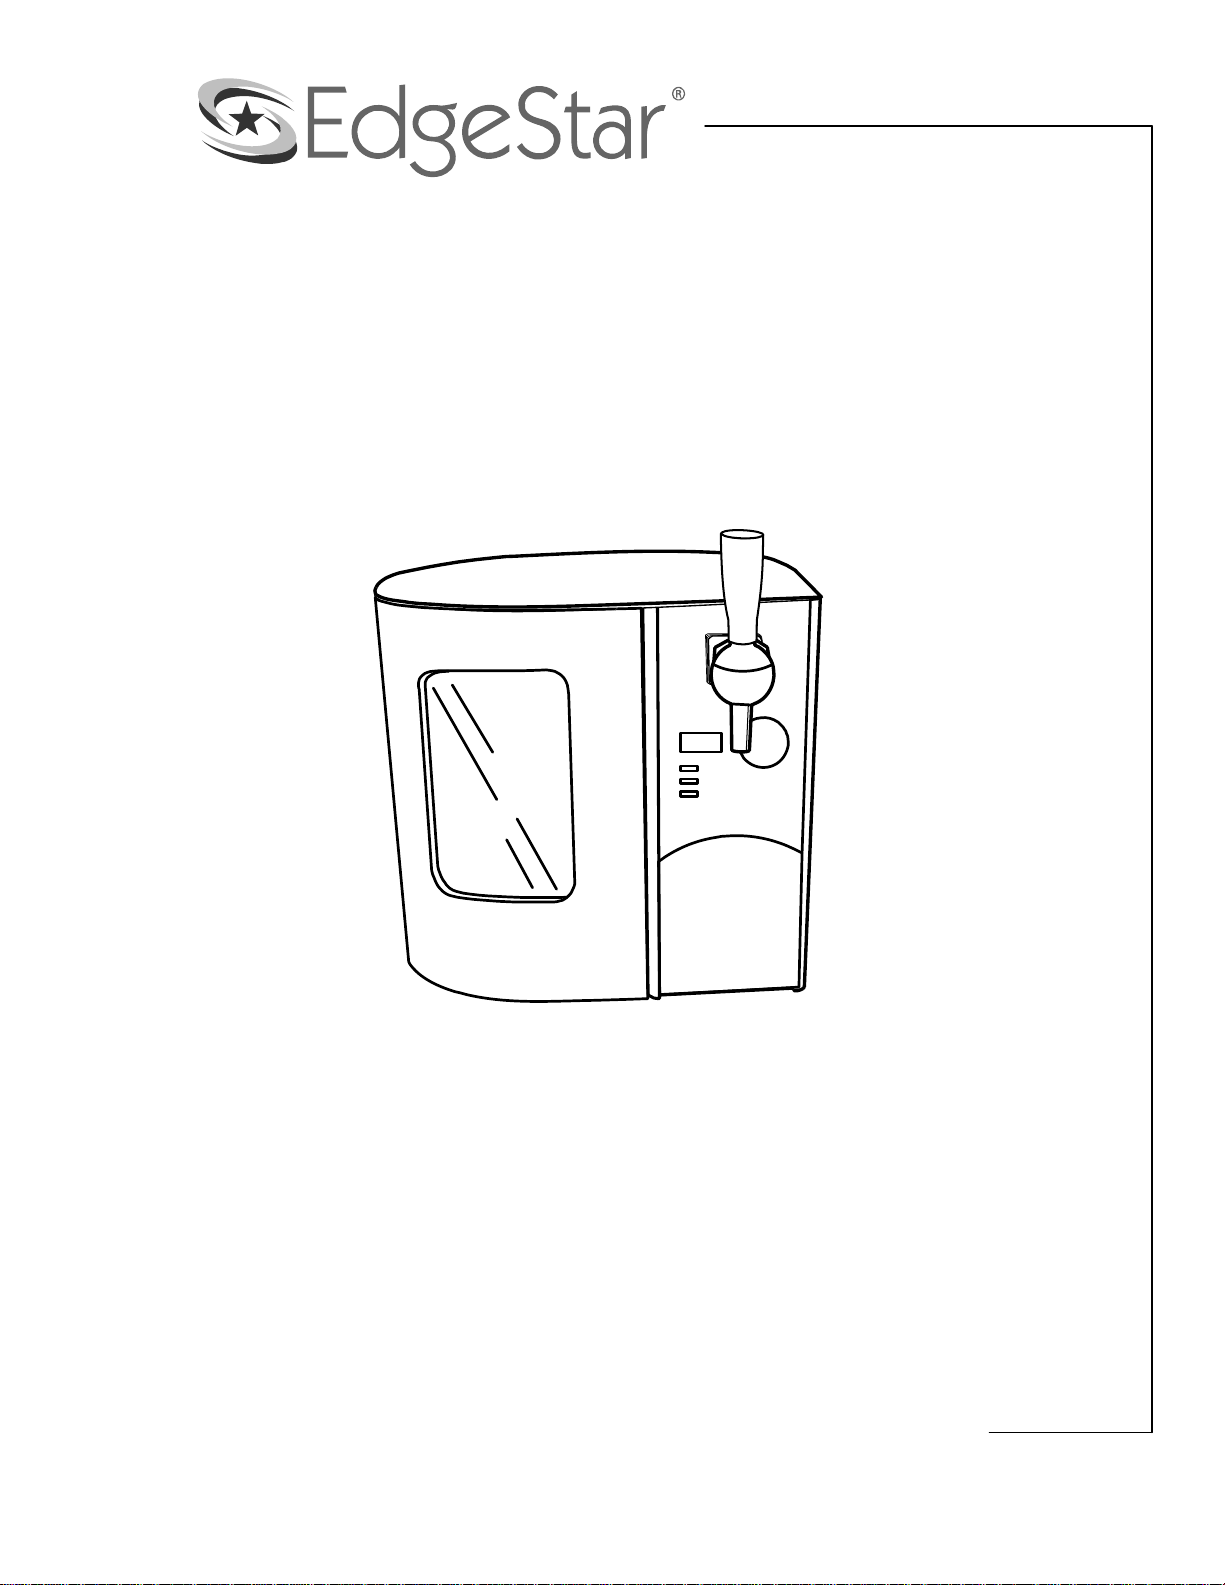
Mini Kegerator
Owner’s Manual
For more information on other great EdgeStar products on the web, go to http://www.edgestar.com
TBC50S
i
Important Safety Information
Improper handling can cause serious damage to the EdgeStar mini kegerator and/or inju ry to the user. This mini
kegerator is designed for domestic indoor use only. Do not use the unit for industrial or commercial use. Any other
use may invalidate the warranty. Please review the ratings label located on the rear panel of the unit for electrical and
other technical data related to this unit.
Please read and follow the safety information listed below to reduce the risk of fire, electric shock or injury.
Electrical Safety
Do not exceed the power outlet ratings.
It is recommended the mini kegerator be
connected on its own circuit.
The unit must be installed in accordance with
state and local electrical codes.
Always turn the unit off and unplug it from the
outlet when cleaning.
Unplug the unit if it is not going to be used for an
extended period of time.
Do not operate the unit with a power plug missing
the ground plug, a damaged cord or a loose
socket.
Never plug or unplug the unit with wet hands.
Do not bypass, cut or remove the grounding plug.
Do not use extension cords or power strips with
this unit.
If the power cord is damaged, it must be replaced
by the manufacturer or a qualified technician.
Immediately unplug the unit if it makes strange
sounds, emits smells or smoke comes out of it,
and contact customer service.
Do not remove any part of the casing unless
instructed by an authorized technician.
General Safety
This unit is not intended for use by persons,
including children, with reduced physical, sensory or
mental capabilities.
This unit is designed to be installed indoors, and
protected from rain, sleet, snow, and/or moisture.
This unit is not intended to be used by children.
Children should be supervised to ensure that they
do not play with this product.
Do not use this appliance near flammable gas or
combustibles, such as gasoline, benzene, thinner,
etc.
Do not place the unit near heat sources such as
ovens, grills, or direct sunlight.
Only use in an upright position on a flat, level
surface and provide proper ventilation.
Do not use solvent-based cleaning agents or
abrasive solutions to clean the unit as they may
damage the interior and exterior.
Do not place any other appliances or allow anyone
to sit on top of the unit.
Do not turn the unit upside down, on its side, or at
an angle off level.
Do not move the unit without emptying the contents
and securing the door in a closed position.
Warning!
The optional accessory kit is not a toy. Keep out of the reach of children. CO
2
Cartridges
are under pressure. ANY MISUSE MAY CAUSE SERIOUS INJURY. DO NOT over-tighten
the CO
2
components. DO NOT discharge CO
2
cartridges towards face or body or place
them near heat. READ ALL WARNING LABELS.

EdgeStar Mini Kegerator ii
Table of Contents
IMPORTANT SAFETY INFORMATION ................................................................. I
INTRODUCTION ................................................................................................... 1
PARTS IDENTIFICATION ..................................................................................... 2
OPTIONAL ACCESSORY KIT .................................................................................. 2
THREE QUARTER VIEW ........................................................................................ 2
INSTALLING THE MINI KEGERATOR ................................................................ 3
GENERAL INSTRUCTIONS ................................................................................. 4
HEINEKEN BRAND DRAUGHTKEG TAPPING INSTRUCTIONS ...................... 5
NON-PRESSURIZED ACCESSORY KIT PART DESCRIPTIONS ...................... 6
NON-PRESSURIZED MINI KEG TAPPING INSTRUCTIONS ............................. 7
INSTALLING THE BEER LINE AND CONNECTING THE CO
2
......................................... 8
Connecting the CO
2
: ..................................................................................... 9
REMOVING THE CO
2
LINE AND MINI KEG ...................................................... 10
TIPS FOR BEST RESULTS ................................................................................ 11
CLEANING AND MAINTENANCE ...................................................................... 11
CLEANING THE LINES .......................................................................................... 11
CLEANING THE MINI KEGERATOR ........................................................................ 11
IMPORTANT SAFEGUARDS ............................................................................. 12
ADJUSTING THE TEMPERATURE ................................................................... 13
TROUBLESHOOTING ........................................................................................ 13
SPECIFICATIONS ............................................................................................... 14
EDGESTAR LIMITED WARRANTY ................................................................... 15
First Time Operating Instructions
Before use, make sure all packaging labels and materials are all removed from
the unit. Be sure to keep track of all included parts and pieces before discarding
packaging materials. It is advised that you keep the original box and packaging
materials in case you are ever to move or ship the unit in the future.
The instruction manual should be read before use.
This owner’s manual is provided for reference use only. Specifications may
change without prior notice. Refer to the product label on the back of your
mini kegerator for the latest technical information.

1
Introduction
Thank you for purchasing this EdgeStar mini kegerator. We are glad you chose
us. We believe that your purchase of this product opens a relationship between
you and EdgeStar. We will provide the customer support needed to nurture that
relationship.
This manual contains important information regarding the proper installation, use
and maintenance of your mini kegerator. Following this manual will ensure that
your product will work at its peak performance and efficiency.
This mini kegerator is designed to refrigerate and serve most 5 Liter mini kegs.
Under optimal conditions, it can refrigerate to the high 30°s Fahrenheit. This
product is shipped with a tap designed for a Heineken
®
brand DraughtKeg™ 5
Liter mini keg. An optional accessory kit is available that fits most other brands of
5 Liter mini keg. A 5 Liter mini keg has about 169 ounces of beer in it, so it
should provide about 10 ½ pints of beer or the equivalent of about 14 12 oz cans.
Please save the original product packaging in case you need to safely transport
your mini kegerator.
For Your Records:
Please write down the model number and serial number
below for future reference. Both numbers are located on the
ratings label on the back of your unit and are needed to
obtain warranty service. You may also want to staple your
receipt to this manual as it is the proof of your purchase, and
is also needed for service under your warranty.
Model Number:
Serial Number:
Date of Purchase:
To better serve you, please do the following before contacting customer service:
If you received a damaged product, immediately contact the retailer or
dealer that sold you the product.
Read and follow this instruction manual carefully to help you install, use
and maintain your mini kegerator.
Read the troubleshooting section of this manual as it will help you
diagnose and solve common issues.
Visit us on the web at http://www.edgestar.com to register your
product, download product guides, additional troubleshooting resource s
and up-to-date information.
If you need warranty service, our friendly customer service
representatives are available via email at service@edgestar.com or by
telephone at 1 (866) 319-5473.
EdgeStar Mini Kegerator 2
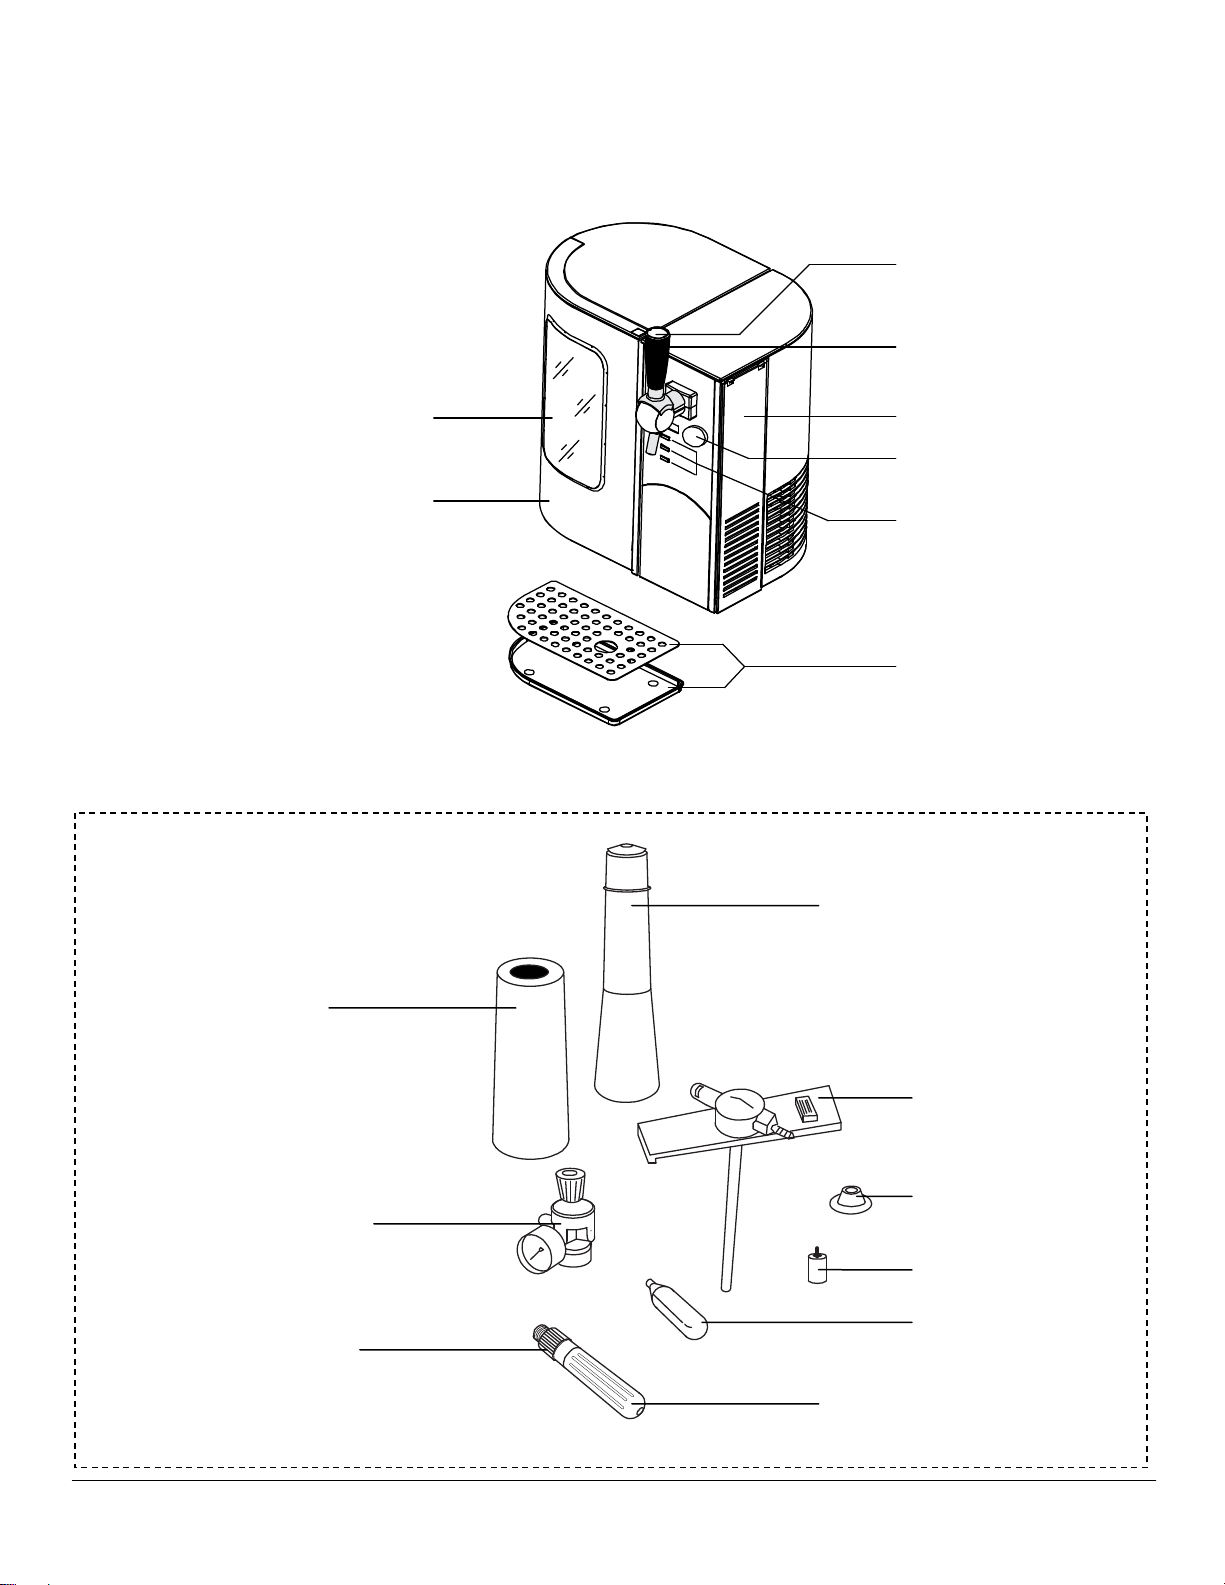
Parts Identification
Optional Accessory Kit
(Model: TBC50-ACC)
(Sold separately)
Three Quarter
View
Cleaning Bottle
Non-Pressurized
Tap
Rubber Ring
CO
2
Releaser
CO
2
Cartridge
Cartridge Holder
Drip tray assembly
Digital Controls
Regulator Window
Side Access Door
Dispenser Handle
Handle Top
Cartridge Stand
Regulator
CO
2
Adapter
(Pierces CO
2
Cartridge)
See-through window
Door
3
Installing the Mini kegerator
Installation
Carefully unpack all parts.
Place the unit on a flat and level surface. It will work best in a room
temperature environment (70°F), away from the sun and other heat
sources, and with 3” of clearance between all sides of the unit and
other objects for ventilation.
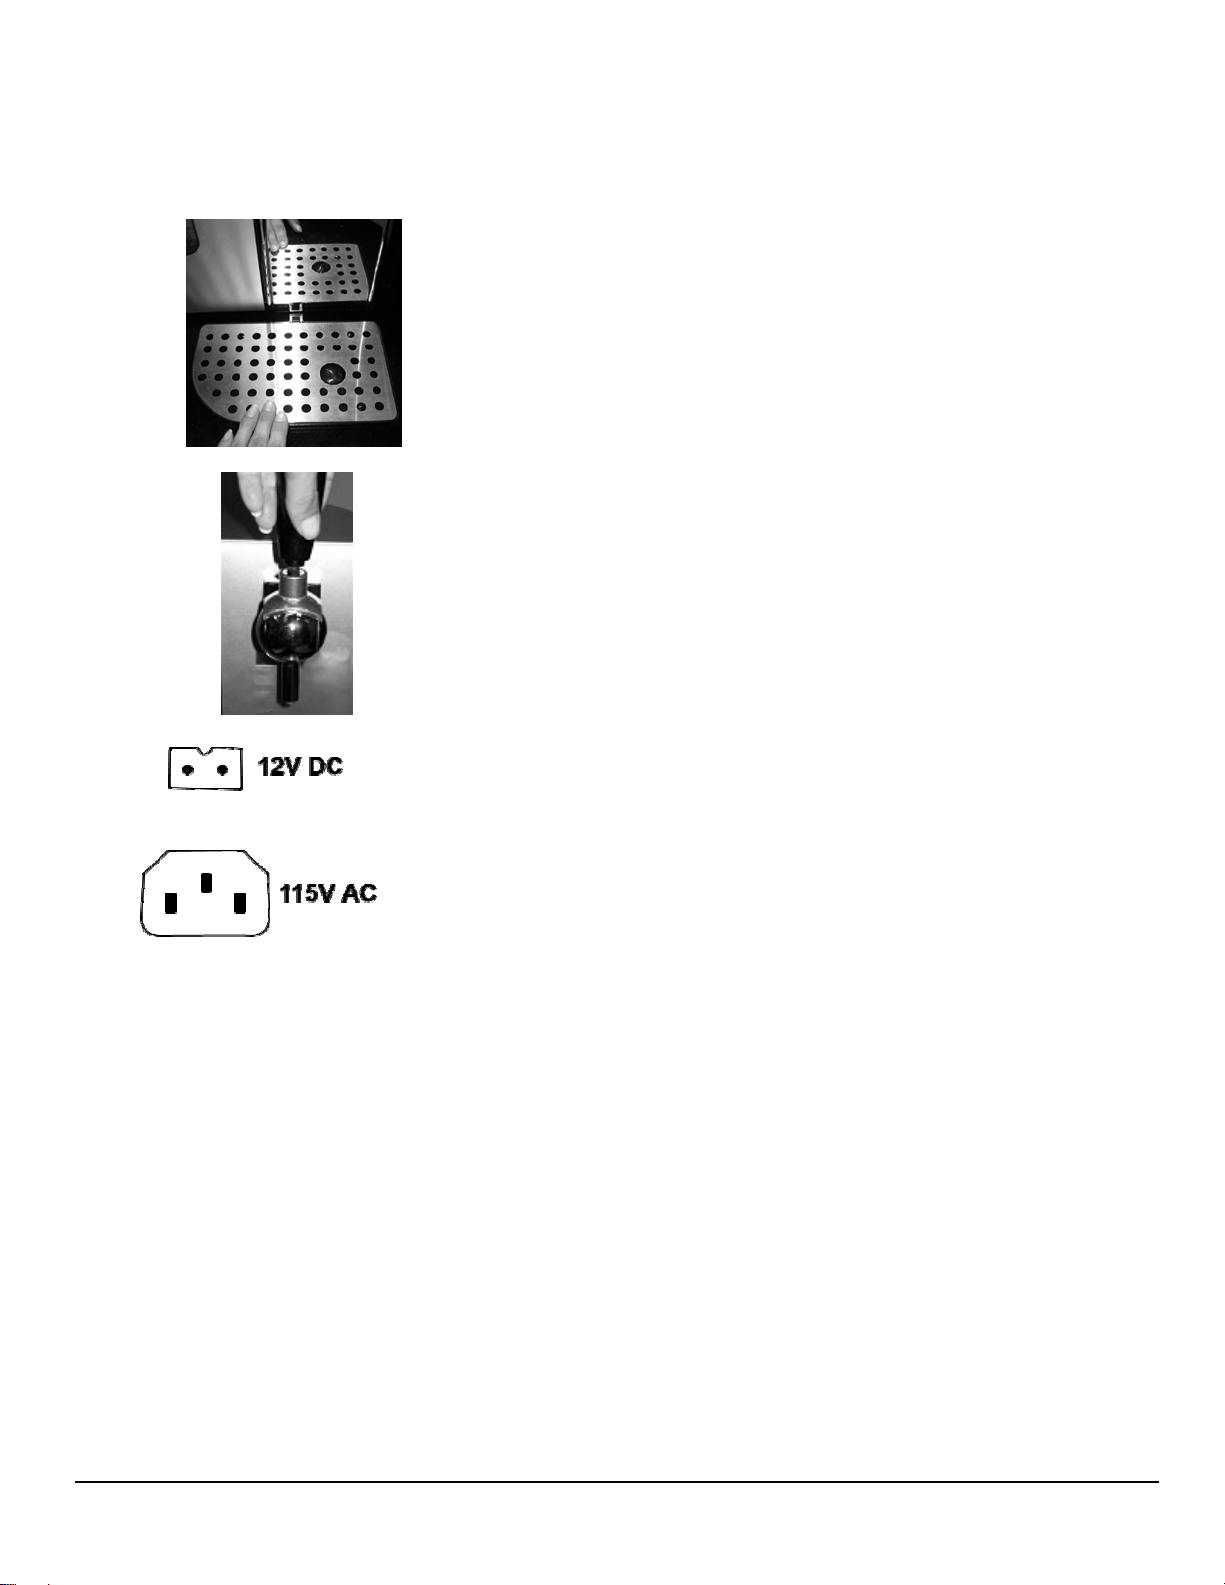
Install the drip tray by sliding it partially underneath the main unit
(align the “tab” sticking out of the drip tray assembly with the notch
in the underside of the main unit).
Install the dispenser handle by screwing it onto the dispenser head.
There is also a circular top that magnetically attaches directly to the
top of the dispenser handle. Place this on the dispenser handle.
Now select the appropriate power cord (three prong grounded 115V
or the 12V DC plug [cigarette lighter adapter]). Plug the power cord
into the back of the unit, and then plug the other end into your
power source. Check to make sure the unit is on by looking at the
LED in front of the unit. If the LED is lit, your unit is powered up.
We suggest you clean the lines prior to tapping your first mini
keg, and cleaning them again after every mini keg.
Note that this mini kegerator ships with the connections to tap and
enjoy Heineken
®
brand DraughtKeg™ 5 Liter mini kegs. This is the
most popular and widely-available 5 Liter mini keg. Heineken
®
brand DraughtKeg™ 5 Liter mini kegs are already pressurized and
need no additional CO
2
to tap them. With the optional upgrade kit,
you can tap and enjoy all commercially available 5 Liter mini kegs.
IMPORTANT: Do not remove any safety, warning, or product information
labels from your mini kegerator.
 Loading...