


AP12000S-1
Portable Air Conditioner
Owner’s Manual
For more information on other great EdgeStar products on the web, go to http://www.edgestar.com
AP12000S-1
i
Important Safety Information
Improper handling can cause serious damage to the appliance and/or to the
user. Please read the following safety information.
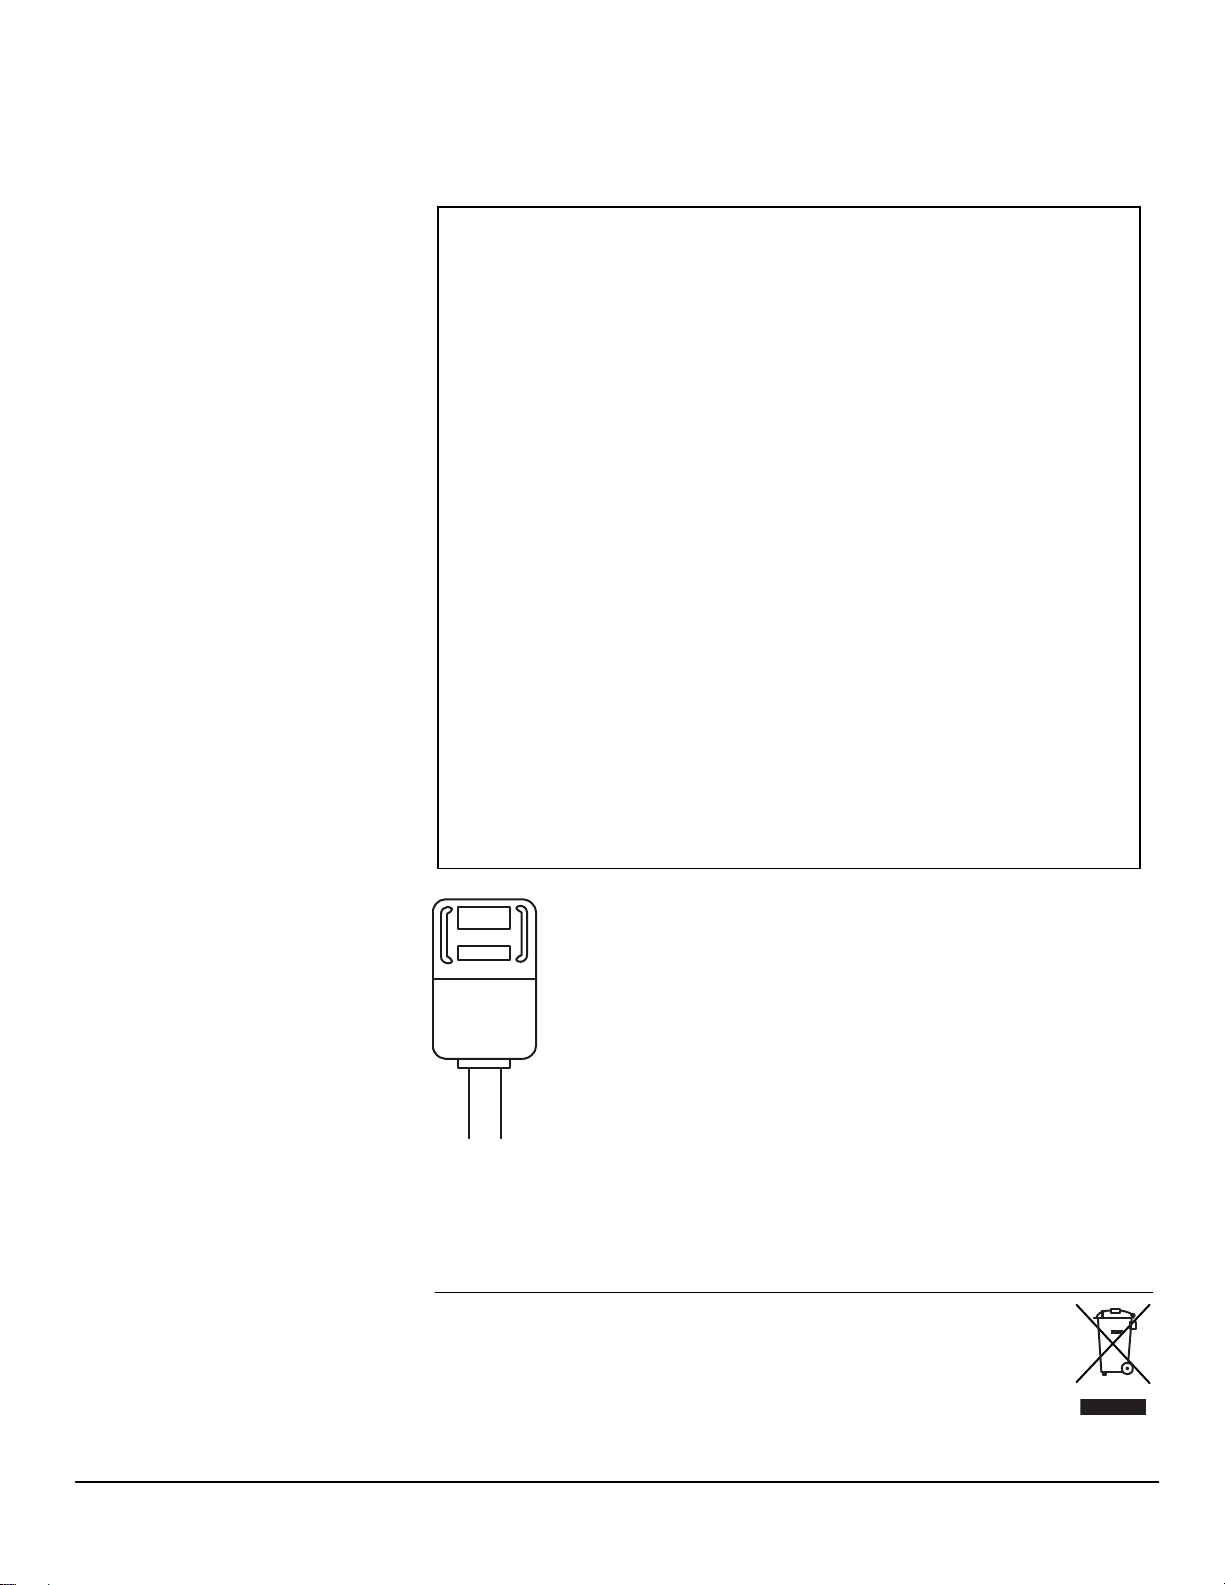
Your portable air conditioner is supplied with a Leakage-Current
Detection and Interruption (LCDI) safety plug. This device provides
protection to reduce the risk of fire due to arcing faults in the power
supply cord. Before using your portable air conditioner, follow the
instructions below to ensure that the LCDI plug is working properly:
1. Plug the power cord to a grounded outlet.
2. Press the TEST button on the LCDI plug. This should trip the
plug and cut the power to the air conditioner. If the plug does not
trip and you are able to turn on the unit, please contact EdgeStar
support.
DO NOT USE YOUR PORTABLE AIR CONDITIONER IF THE TEST FAILS.
Press the RESET button to start using your air conditioner.
Do not use the TEST and RESET buttons as an ON/OFF switch.
Electrical products should not be disposed of with household waste.
Please contact your local recycling center for more information on how
to recycle electronic waste.
Electrical Safety
This unit is designed for indoor use only.
Do not use the unit in extremely humid or wet environments.
Do not spray water and wet the housing or control panel.
Do not pull the unit by the cord.
Always turn the unit off and unplug it from the outlet when cleaning.
Unplug the unit if it is not going to be used for a long period of time.
Do not operate the unit with a damaged plug or a loose socket.
Use only the correct power supply with appropriate amperage.
If the power cord is damaged, it must be replaced by the manufacturer,
a service agent, or qualified technician.
Do not remove any part of the casing unless instructed by an
authorized technician.
General Safety
This portable air conditioner is not intended to be used by children.
Children should be supervised to ensure that they do not play with this
product.
Do not allow children to play with the controls or drop any objects into
the air outlets or vents.
Do not place objects or let any person sit on top of the unit.
Only use in the upright position on a flat, level surface and provide at
least 20 inches of clearance from any walls or objects.
Route the power cord carefully to avoid a tripping hazard.
This unit is intended for domestic use only. Do not use the portable air
conditioner for industrial or commercial use. Any other use may
invalidate the warranty.
RESET
TEST

EdgeStar Portable Air Conditioner ii
Table of Contents
IMPORTANT SAFETY INFORMATION ................................................................. I
INTRODUCTION ................................................................................................... 1
PARTS IDENTIFICATION ..................................................................................... 2
BACK VIEW .......................................................................................................... 2
FRONT VIEW ........................................................................................................ 2
INSTALLING THE CARBON FILTER ................................................................... 3
WINDOW KIT INSTALLATION INSTRUCTIONS ................................................. 4
PREPARATIONS FOR INSTALLING THE WINDOW KIT .................................................. 4
INSTALLING THE GRATED ADAPTER ........................................................................ 5
INSTALLING THE WINDOW PLATES .......................................................................... 6
ATTACHING THE DUCT CONNECTORS TO THE EXHAUST HOSE .................................. 7
CONNECTING THE DUCT CONNECTOR TO THE UNIT ................................................. 8
CONNECTING THE DUCT CONNECTOR TO THE GRATED ADAPTER ............................. 8
CONTROL PANEL OVERVIEW .......................................................................... 10
OPERATING THE CONTROL PANEL ............................................................... 11
POWER ............................................................................................................. 11
AUTO-RESTART: ................................................................................................ 11
COOLING MODE ................................................................................................. 11
DEHUMIDIFYING MODE ....................................................................................... 11
FAN ONLY MODE ............................................................................................... 12
SPEED ............................................................................................................... 12
TIMER ............................................................................................................... 12
How to set the unit to automatically turn on ................................................ 12
How to set the unit to automatically turn off ................................................ 12
LCD DISPLAY .................................................................................................... 12
WATER LIGHT .................................................................................................... 12
USING THE REMOTE CONTROL ...................................................................... 13
INSTALLING THE BATTERIES ................................................................................ 13
ENERGY SAVING GUIDE ................................................................................... 14
MAINTENANCE .................................................................................................. 15
CLEANING THE UNIT ........................................................................................... 15
CLEANING THE PRE-FILTER ................................................................................. 15
PREPARATION FOR STORAGE ............................................................................. 15
TROUBLESHOOTING ........................................................................................ 16
TROUBLESHOOTING CONTINUED ......................................................................... 17
SPECIFICATIONS ............................................................................................... 18
EDGESTAR LIMITED WARRANTY ................................................................... 19

1
Introduction
Thank you for purchasing this EdgeStar portable air conditioner. We are glad you
chose us. We believe that your purchase of this product opens a relationship
between you and EdgeStar. We will provide the customer support needed to
nurture that relationship.
This manual contains important information regarding the proper installation, use
and maintenance of your portable air conditioner. Following this manual will
ensure that your product will work at its peak performance and efficiency.
Please save the original product packaging in case you need to safely transport
your portable air conditioner.
For Your Records:
Please write down the model number and serial number
below for future reference. Both numbers are located on the
ratings label on the back of your unit and are needed to
obtain warranty service. You may also want to staple your
receipt to this manual as it is the proof of your purchase, and
is also needed for service under your warranty.
Model Number:
Serial Number:
Date of Purchase:
To better serve you, please do the following before contacting customer service:
If you received a damaged product, immediately contact the dealer that
sold you the product.
Read and follow this instruction manual carefully to help you install, use
and maintain your portable air conditioner.
Read the troubleshooting section of this manual as it will help you
diagnose and solve common issues.
Visit us on the web at http://www.edgestar.com to register your
product, download product guides, additional troubleshooting resource s
and up-to-date information.
If you need warranty service, our friendly customer service
representatives are available via email at service@edgestar.com or by
telephone at 1 (866) 319-5473.
EdgeStar Portable Air Conditioner 2
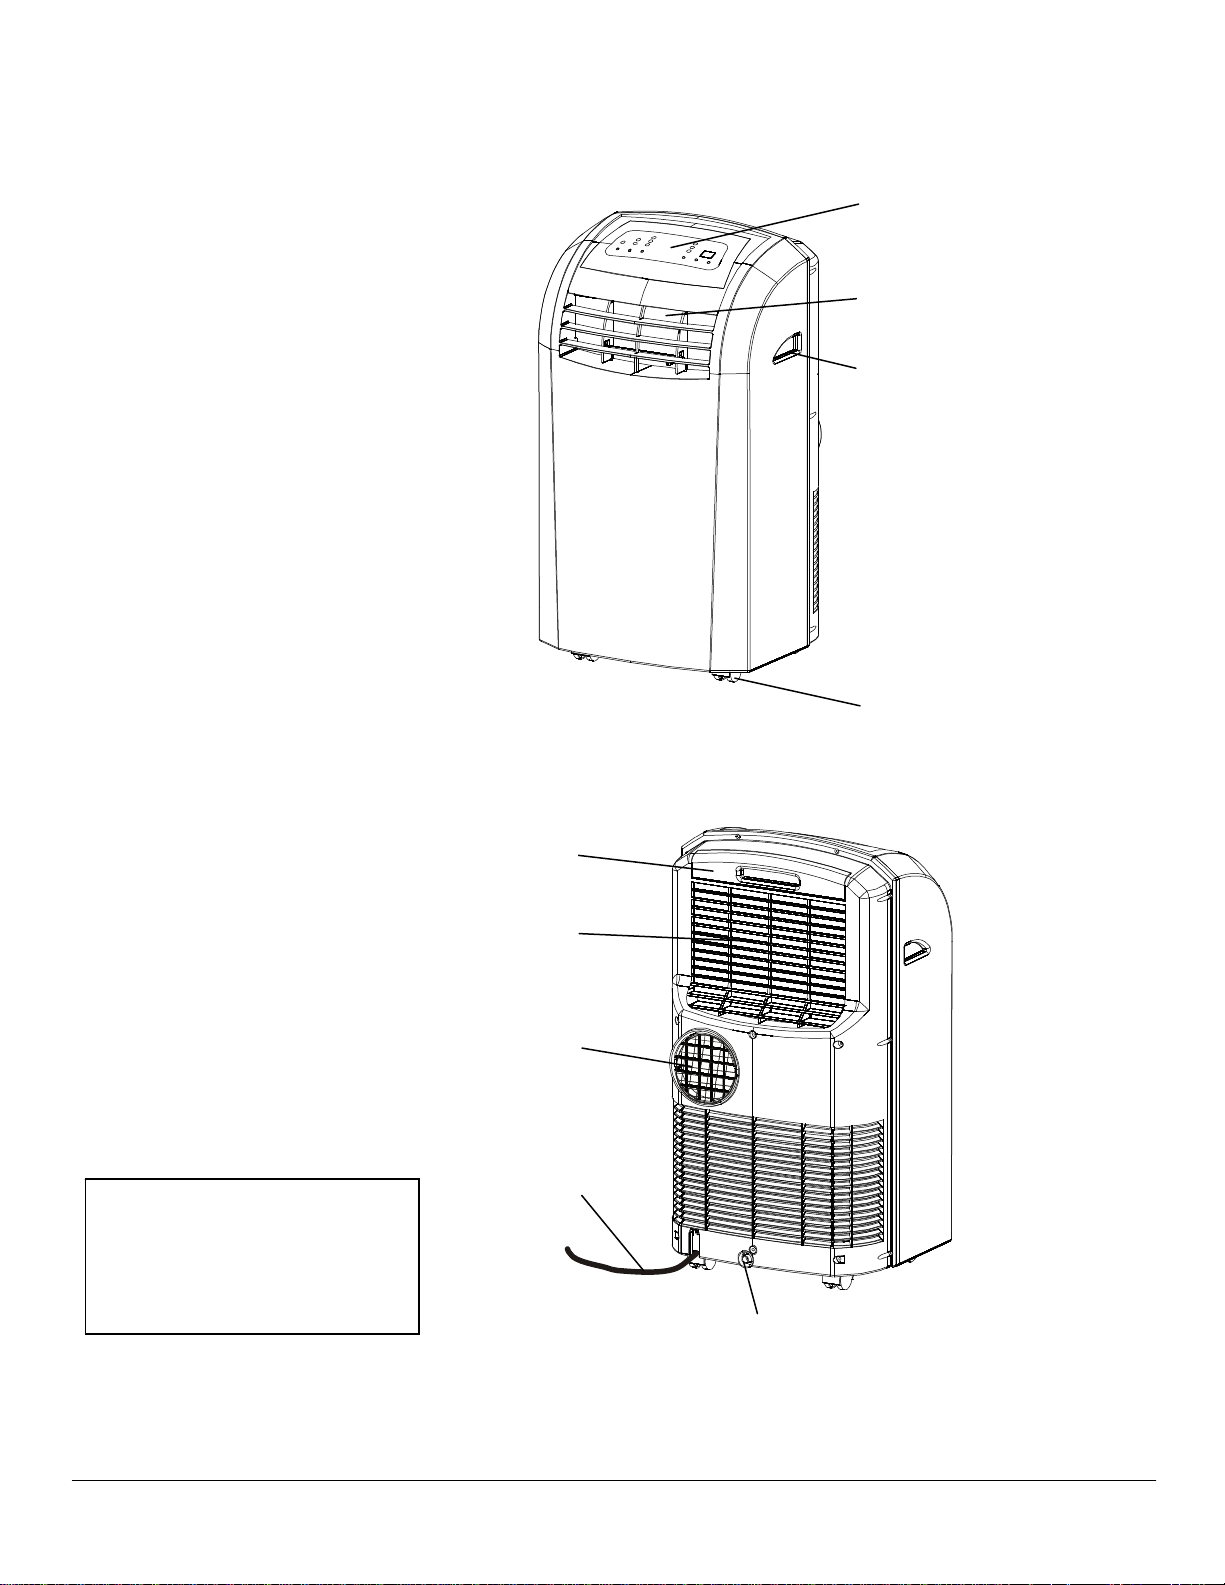
Parts Identification
Back View
Front View
Control Panel
Front Air Vent
Handle
Caste
r
Pre-filte
r
A
ir Intake
Exhaust Outlet
Power Cord
Drain Valve
CAUTION: Make sure the
drain plug is firmly installed
before using the unit. This
will prevent leaking.

3
Installing the Carbon Filter
Your portable air conditioner ships with a pre-filter and an activated
carbon filter. The carbon filter will help remove contaminates and
odors from the air. It is recommended you replace the carbon filter
every two to three months, or as needed. It is necessary to clean
the pre-filter periodically. Follow the steps below to install the
carbon filter:
1. Pull the handle on the pre-filter straight up.
CAUTION: Never operate
the air conditioner without
the pre-filter attached.
2. Separate the filter frame from the pre-filter.
3. Place the activated carbon filter on the pre-filter.
4. Reattach the filter frame.
5. Insert the assembled pre-filter into the back of the unit.
Activated
carbon filte
r
Filter frame
Pre-filte
r

EdgeStar Portable Air Conditioner 4
Window Kit Installation Instructions
You must vent your portable air conditioner when running in it
cooling mode. Your unit includes a window exhaust kit that can be
used to vent the unit out a window.
Before you begin, make sure you have all the parts necessary for
installation.
Window Kit Parts List:
If you have multiple windows, choose one that is near an electrical
outlet that will be able to provide sufficient power to your unit. See
the power requirements listed on the product label printed on the
side, or on the back of your portable air conditioner.
Your window kit can be installed on a horizontal or vertical sliding
window as shown in the following pictures:
Follow the instructions on the next pages to install the window kit.
Preparations for installing
the window kit
2
0
”
4 Screws
1 Exhaust Hose
2 Duct Connectors
1 Grated Adapter
1 Exhaust Cover
1 Window Kit Plate with Hole
1 Window Kit Plate
NOTE: You may need to
contact your electrician if
your room’s circuit is not
able to power your unit.
NOTE: Exhaust Covers
may be attached to the
Grated Adapters. You
may need to twist and pull
apart to separate them.
 Loading...