

Central Machinery 61808 Owner's Manual & Safety Instructions

Owner’s Manual & Safety Instructions
Save This Manual Keep this manual for the safety warnings and precautions, assembly,
operating, inspection, maintenance and cleaning procedures. Write the product’s serial number in the
back of the manual near the assembly diagram (or month and year of purchase if product has no number).
Keep this manual and the receipt in a safe and dry place for future reference. 18h
!"#"$%&'(%)*+#"$*%,$-%.$$/-00)))1.,(+&(2(*"3.$14&5
%65,"7%&'(%$*4.8"4,7%#'//&($%,$-%/(&9'4$#'//&($:.,(+&(2(*"3.$14&5
!"#"$%&'(%)*+#"$*%,$-%.$$/-00)))1.,(+&(2(*"3.$14&5
%65,"7%&'(%$*4.8"4,7%#'//&($%,$-%/(&9'4$#'//&($:.,(+&(2(*"3.$14&5
When unpacking, make sure that the product is intact
and undamaged. If any parts are missing or broken,
please call 1-888-866-5797 as soon as possible.
Copyright© 2014 by Harbor Freight Tools®. All rights reserved.
No portion of this manual or any artwork contained herein may be reproduced in
any shape or form without the express written consent of Harbor Freight Tools.
Diagrams within this manual may not be drawn proportionally. Due to continuing
improvements, actual product may differ slightly from the product described herein.
To ol s re q u ir e d fo r as s e mb l y a n d s e r vi c e m a y n o t b e in c l ud e d .
Read this material before using this product.
Failure to do so can result in serious injury.
SAVE THIS MANUAL.
G,+7*%&2%O&8$*8$#
Safety .........................................................................2
Specifications .............................................................4
Setup .......................................................................... 4
EF;6GH IJ6KFGLIM NFLMG6MFMO6E6GPJ
Operation .................................................................... 6
QFKMLMR%EHNSITE%FMU%U6;LMLGLIME
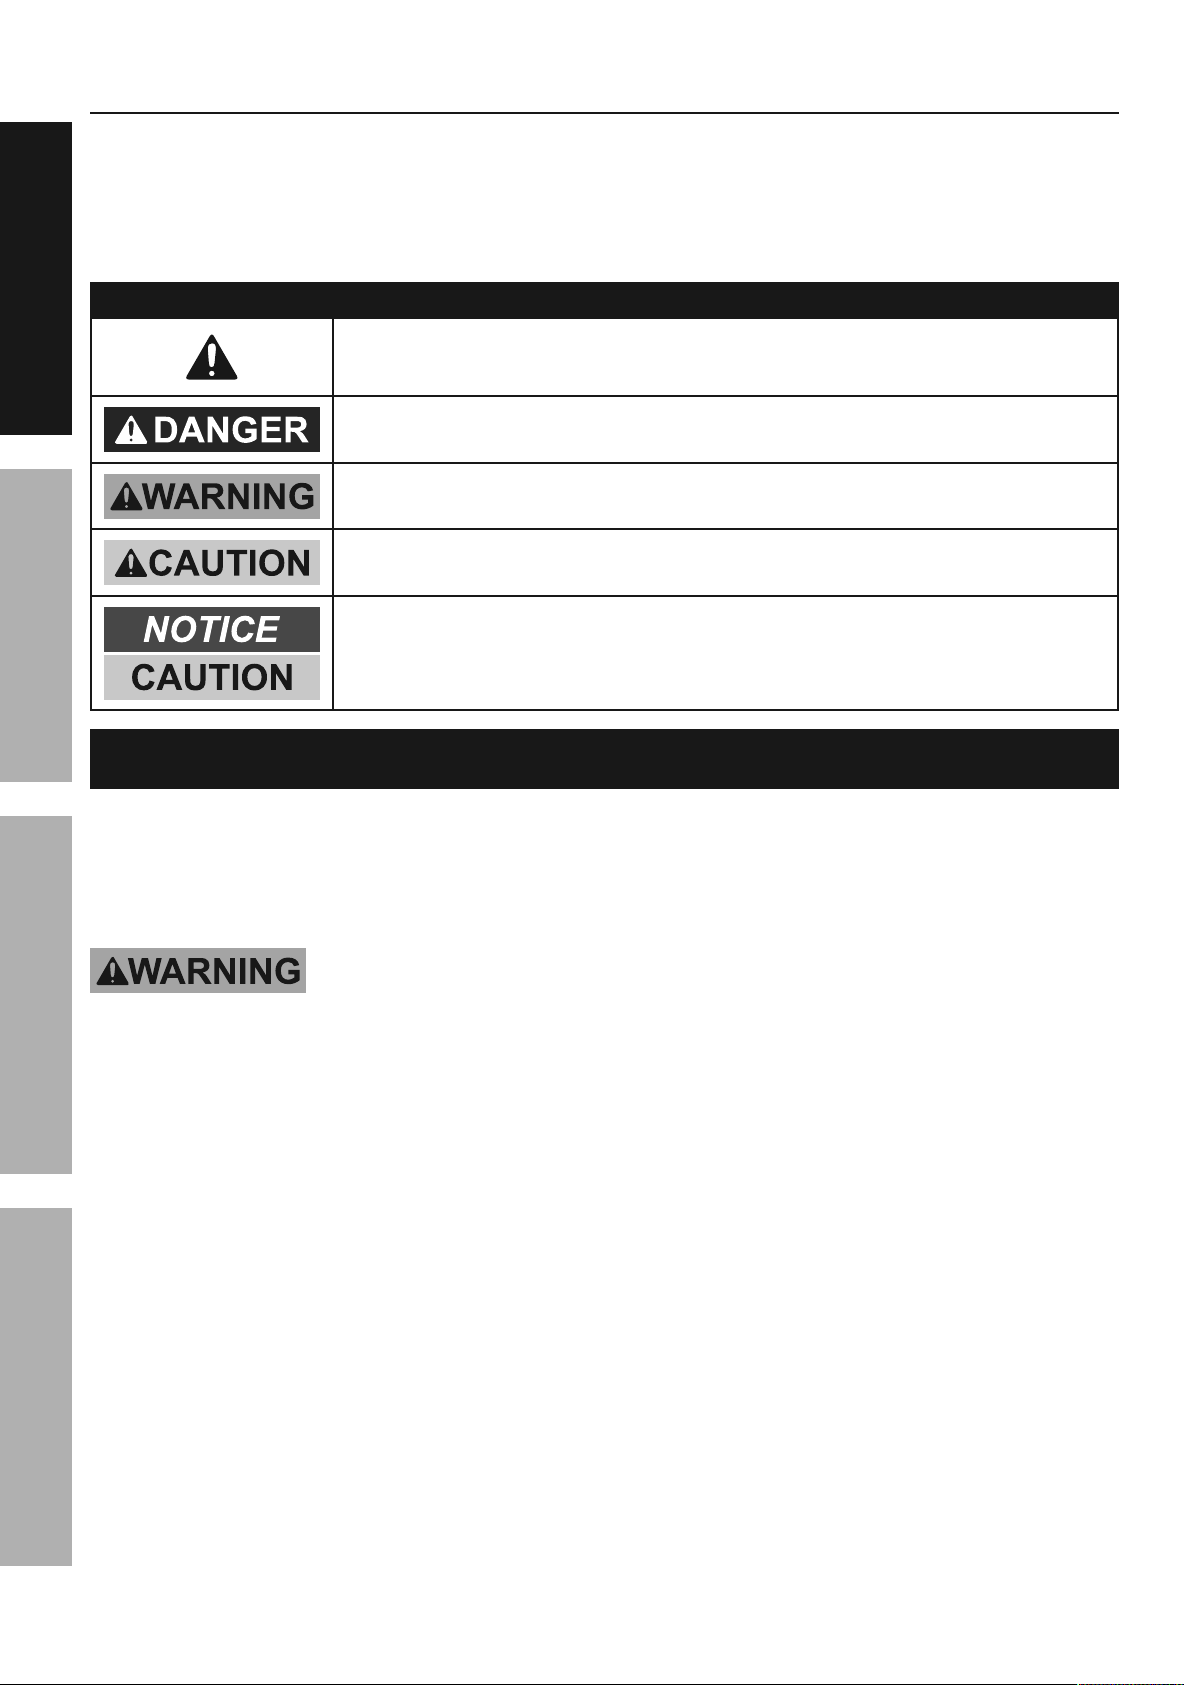
This is the safety alert symbol. It is used to alert you to potential
Maintenance ............................................................... 8
Parts List and Diagram .............................................. 10
Warranty .................................................................... 12
personal injury hazards. Obey all safety messages that
follow this symbol to avoid possible injury or death.
Indicates a hazardous situation which, if not avoided,
will result in death or serious injury.
Indicates a hazardous situation which, if not avoided,
could result in death or serious injury.
Indicates a hazardous situation which, if not avoided,
could result in minor or moderate injury.
Addresses practices not related to personal injury.
L8#$('4$"&8#%J*($,"8"83%$&%,%K"#V%&2%;"(*=%67*4$("4%E.&4V=%&(%L8W'(X%$&%J*(#&8#
LNJIKGFMG%EF;6GH%LMEGKPOGLIME
Q.*8%'#"83%,8%*7*4$("4,7%,//7",84*=%+,#"4%/(*4,'$"&8#%#.&'79%,7),X#%+*%2&77&)*9=%"847'9"83%$.*%2&77&)"83-
K6FU%FTT%LMEGKPOGLIME%S6;IK6%PELMR%GYLE%FJJTLFMO6
G&%(*9'4*%$.*%("#V%&2%2"(*=%*7*4$("4%#.&4V=%&(%"8W'(X-
1. Do not leave appliance when plugged in. Unplug
from outlet when not in use and before servicing.
2. Do not use outdoors or on wet surfaces.
3. Do not allow to be used as a toy. Close attention
is necessary when used by or near children.
4. Use only as described in this manual. Use only
manufacturer’s recommended attachments.
5. Do not use with damaged cord or plug.
If appliance is not working as it should, has been
dropped, damaged, left outdoors, or dropped
into water, return it to a service center.
6. Do not pull or carry by cord, use cord as a handle,
close a door on cord, or pull cord around sharp
edges or corners. Do not run appliance over cord.
Keep cord away from heated surfaces.
7. Do not unplug by pulling on cord.
To unplug, grasp the plug, not the cord.
8. Do not handle plug or appliance with wet hands.
9. Do not put any object into openings. Do not use
with any opening blocked; keep free of dust, lint,
hair, and anything that may reduce air flow.
10. Keep hair, loose clothing, fingers, and all parts of
body away from openings and moving parts.
11. Turn off all controls before unplugging.
12. Use extra care when cleaning on stairs.
13. Do not use to pick up flammable or
combustible liquids, such as gasoline, or
use in areas where they may be present.
14. Connect to a properly grounded outlet only.
See Grounding Instructions.
15. U&%8&$%/"4V%'/%,8X$."83%$.,$%"#%+'(8"83%
&(%#5&V"83=%#'4.%,#%4"3,(*$$*#=%
5,$4.*#=%&(%.&$%,#.*#1
Page 2 ;&(%$*4.8"4,7%<'*#$"&8#=%/7*,#*%4,77%>?@@@?@AA?BCDC1 Item 61808
16. U&%8&$%'#*%)"$.&'$%9'#$%+,3%
,890&(%2"7$*(#%"8%/7,4*1
17. FOR HOUSEHOLD USE ONLY.
20. People with pacemakers should consult their
physician(s) before use. Electromagnetic fields in
close proximity to heart pacemaker could cause
pacemaker interference or pacemaker failure.
18. Stay alert, watch what you are doing and use
common sense when operating an appliance.
Do not use an appliance while you are tired or under
the influence of drugs, alcohol or medication.
A moment of inattention while operating
appliances may result in serious personal injury.
19. Maintain labels and nameplates
on the appliance. These carry important safety
information. If unreadable or missing, contact
Harbor Freight Tools for a replacement.
21. The warnings, precautions, and instructions
discussed in this instruction manual cannot cover all
possible conditions and situations that may occur.
It must be understood by the operator that
common sense and caution are factors
which cannot be built into this product,
but must be supplied by the operator.
%EF!6%GY6E6%LMEGKPOGLIME
R(&'89"83%L8#$('4$"&8#
G."#%,//7",84*%5'#$%+*%3(&'89*91%L2%"$%#.&'79%5,72'84$"&8%&(%+(*,V9&)8=%3(&'89"83%/(&Z"9*#%,%/,$.%&2%
7*,#$%(*#"#$,84*%2&(%*7*4$("4%4'((*8$%$&%(*9'4*%$.*%("#V%&2%*7*4$("4%#.&4V1%G."#%,//7",84*%"#%*<'"//*9%)"$.%,%
4&(9%.,Z"83%,8%*<'"/5*8$?3(&'89"83%4&89'4$&(%,89%3(&'89"83%/7'31%G.*%/7'3%5'#$%+*%"8#*($*9%"8$&%,8%
,//(&/(",$*%&'$7*$%$.,$%"#%/(&/*(7X%"8#$,77*9%,89%3(&'89*9%"8%,44&(9,84*%)"$.%,77%7&4,7%4&9*#%,89%&(9"8,84*#1
EF;6GHIJ6KFGLIMNFLMG6MFMO6 E6GPJ
%
L5/(&/*(%4&88*4$"&8%&2%$.*%*<'"/5*8$?3(&'89"83%4&89'4$&(%4,8%(*#'7$%"8%,%("#V%&2%
*7*4$("4%#.&4V1%O.*4V%)"$.%,%<',7"2"*9%*7*4$("4",8%&(%#*(Z"4*%/*(#&8%"2%X&'%,(*%"8%9&'+$%,#%$&%
).*$.*(%$.*%&'$7*$%"#%/(&/*(7X%3(&'89*91%U&%8&$%5&9"2X%$.*%/7'3%/(&Z"9*9%)"$.%$.*%,//7",84*%[%
"2%"$%)"77%8&$%2"$%$.*%&'$7*$=%.,Z*%,%/(&/*(%&'$7*$%"8#$,77*9%+X%,%<',7"2"*9%*7*4$("4",81
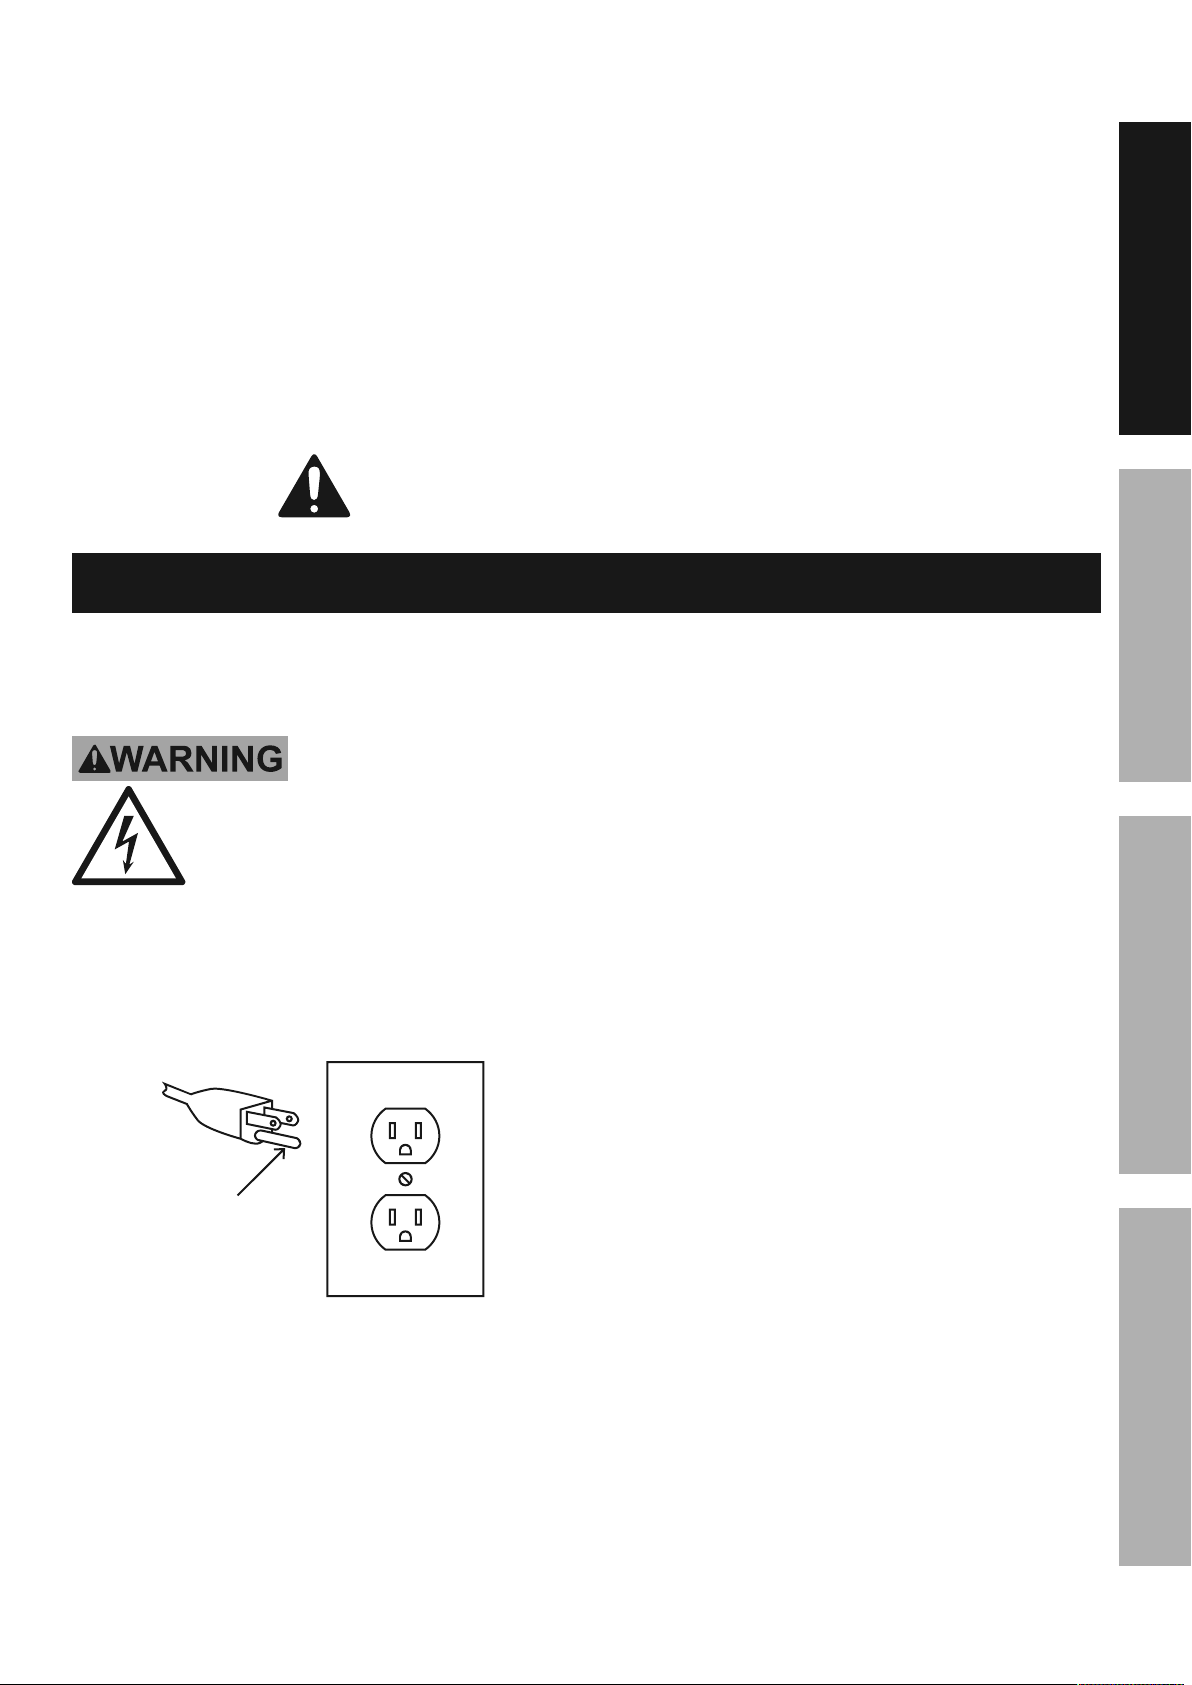
This appliance is for use on a nominal 120-V circuit
and has a grounding attachment plug that looks like the
plug illustrated in >\B%!FO%]?J(&83%J7'3%,89%I'$7*$.
Make sure that the appliance is connected to an
outlet having the same configuration as the plug.
No adaptor should be used with this appliance.
R(&'89"83%
J"8
>\B%!FO%]?J(&83%J7'3%,89%I'$7*$
^2&(%'/%$&%>\B%!FO%,89%'/%$&%>B%F_
Page 3;&(%$*4.8"4,7%<'*#$"&8#=%/7*,#*%4,77%>?@@@?@AA?BCDC1Item 61808
E/*4"2"4,$"&8#
Electrical Rating 120VAC / 60Hz / 7.5A
Capacity 13 Gallons
EF;6GH IJ6KFGLIM NFLMG6MFMO6E6GPJ
Air Flow 660 CFM
Hose Inlet/Outlet Diameter 4" OD
E*$'/%?%S*2&(*%P#*-
%K*,9%$.*%6MGLK6%LNJIKGFMG%EF;6GH%LM;IKNFGLIM%#*4$"&8%,$%$.*%+*3"88"83%&2%$."#%
5,8',7%"847'9"83%,77%$*`$%'89*(%#'+.*,9"83#%$.*(*"8%+*2&(*%#*$%'/%&(%'#*%&2%$."#%/(&9'4$1
GI%JK6!6MG%E6KLIPE%LMaPKH%;KIN%FOOLU6MGFT%IJ6KFGLIM-%
G'(8%$.*%J&)*(%E)"$4.%&2%$.*%,//7",84*%&22%,89%'8/7'3%$.*%,//7",84*%2(&5%"$#%
*7*4$("4,7%&'$7*$%+*2&(*%/*(2&(5"83%,8X%/(&4*9'(*%"8%$."#%#*4$"&81
M&$*- For additional information regarding the parts listed in the following pages,
refer to the Assembly Diagram near the end of this manual.
F##*5+7X
O,#$*(#
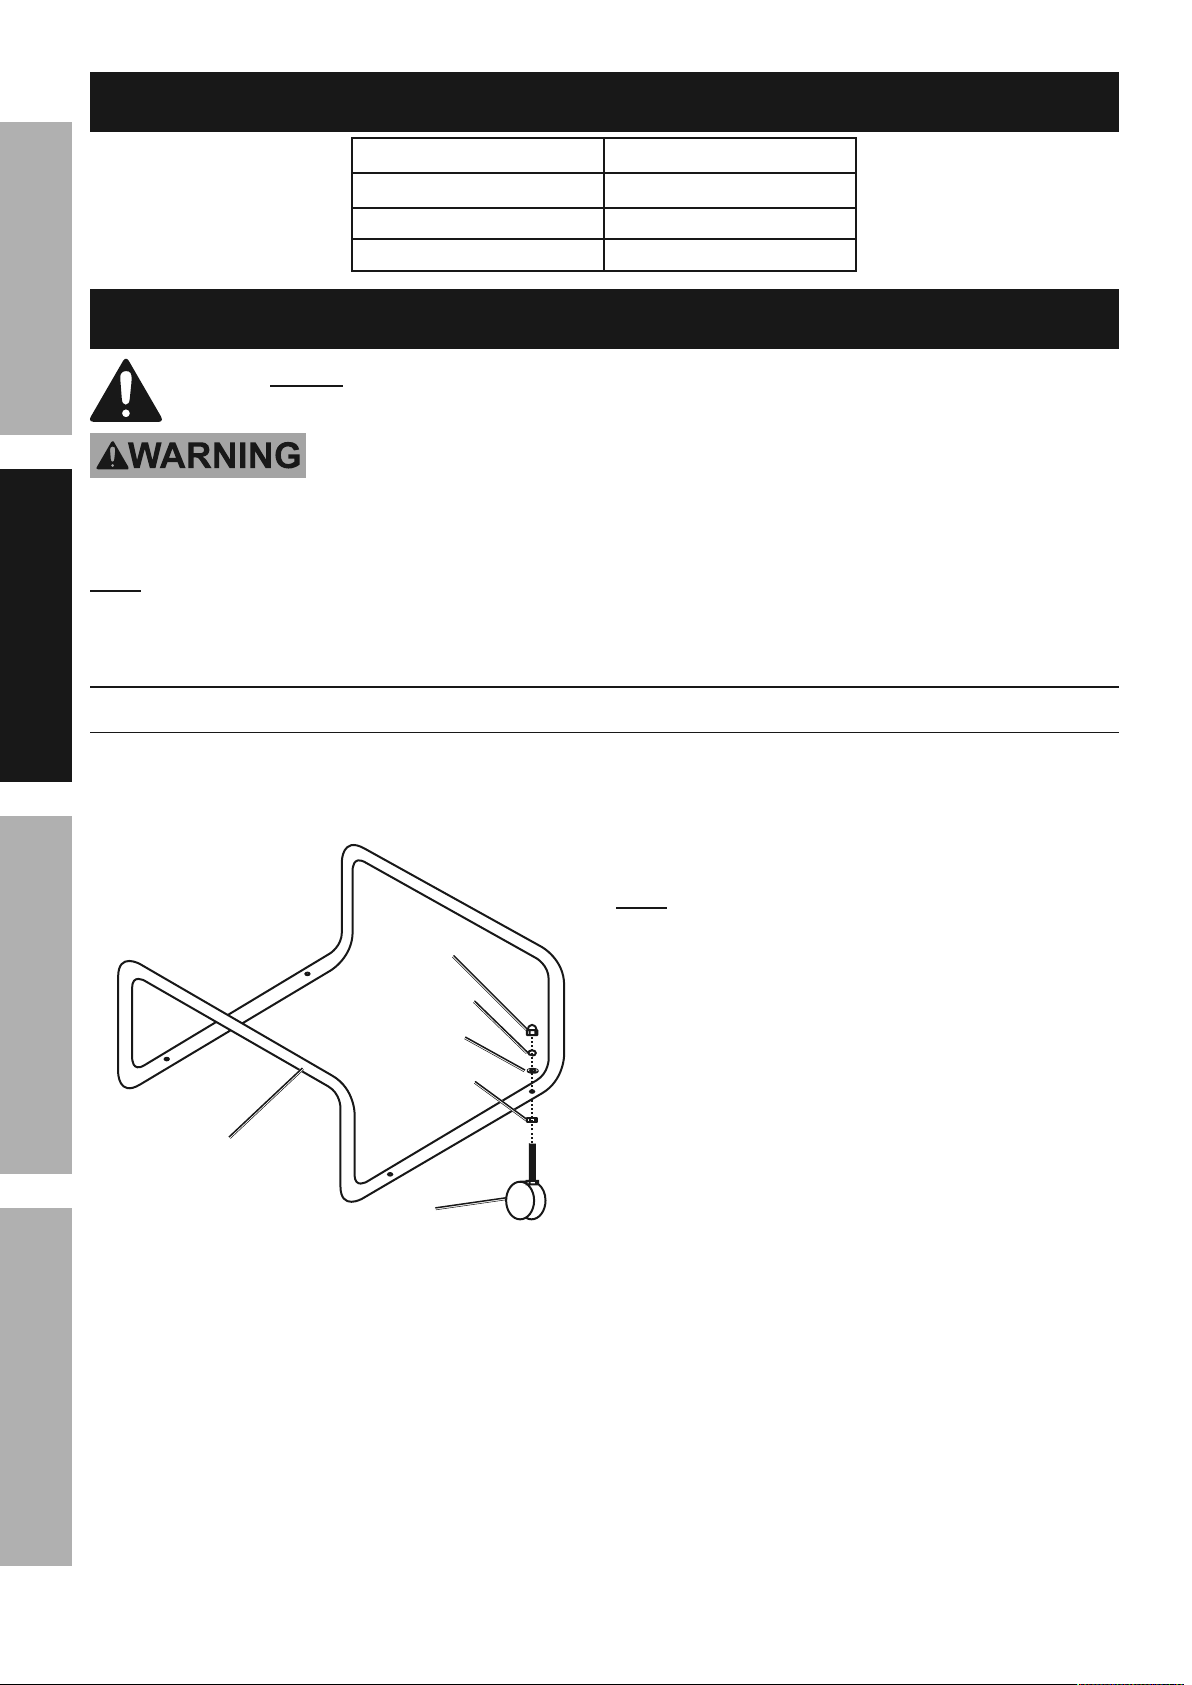
1. Remove the Lock Washers (24), Flat
Washers (9) and Nuts (28) from the
Caster (31/32) Studs. See Figure A.
F4&(8%
M'$%^\A_
T&4V%Q,#.*(%^\b_
;7,$%Q,#.*(%^D_
M'$%^\@_
;(,5*%^\D_
O,#$*(%^]\_
;"3'(*%F
2. Thread a Nut (28) back onto the
Caster’s stud securely.
3. Insert the Caster’s stud into a hole at
the bottom of the Frame (29).
M&$*- There are 2 casters with brakes,
install them as desired.
4. Slide a Lock Washer (24) and Flat
Gasket (9) onto the stud. Secure the Caster
in place using an Acorn Nut (26).
5. Repeat steps 2 through 4 above for all Casters.
Page 4 ;&(%$*4.8"4,7%<'*#$"&8#=%/7*,#*%4,77%>?@@@?@AA?BCDC1 Item 61808
 Loading...