

Carver 410 Sport Sedan Operation Manual
1
OPERATION MANUAL
Welcome aboard!
We are happy you have chosen for your vacation. We are sure you will enjoy
cruising the lovely islands of the Pacific Northwest.
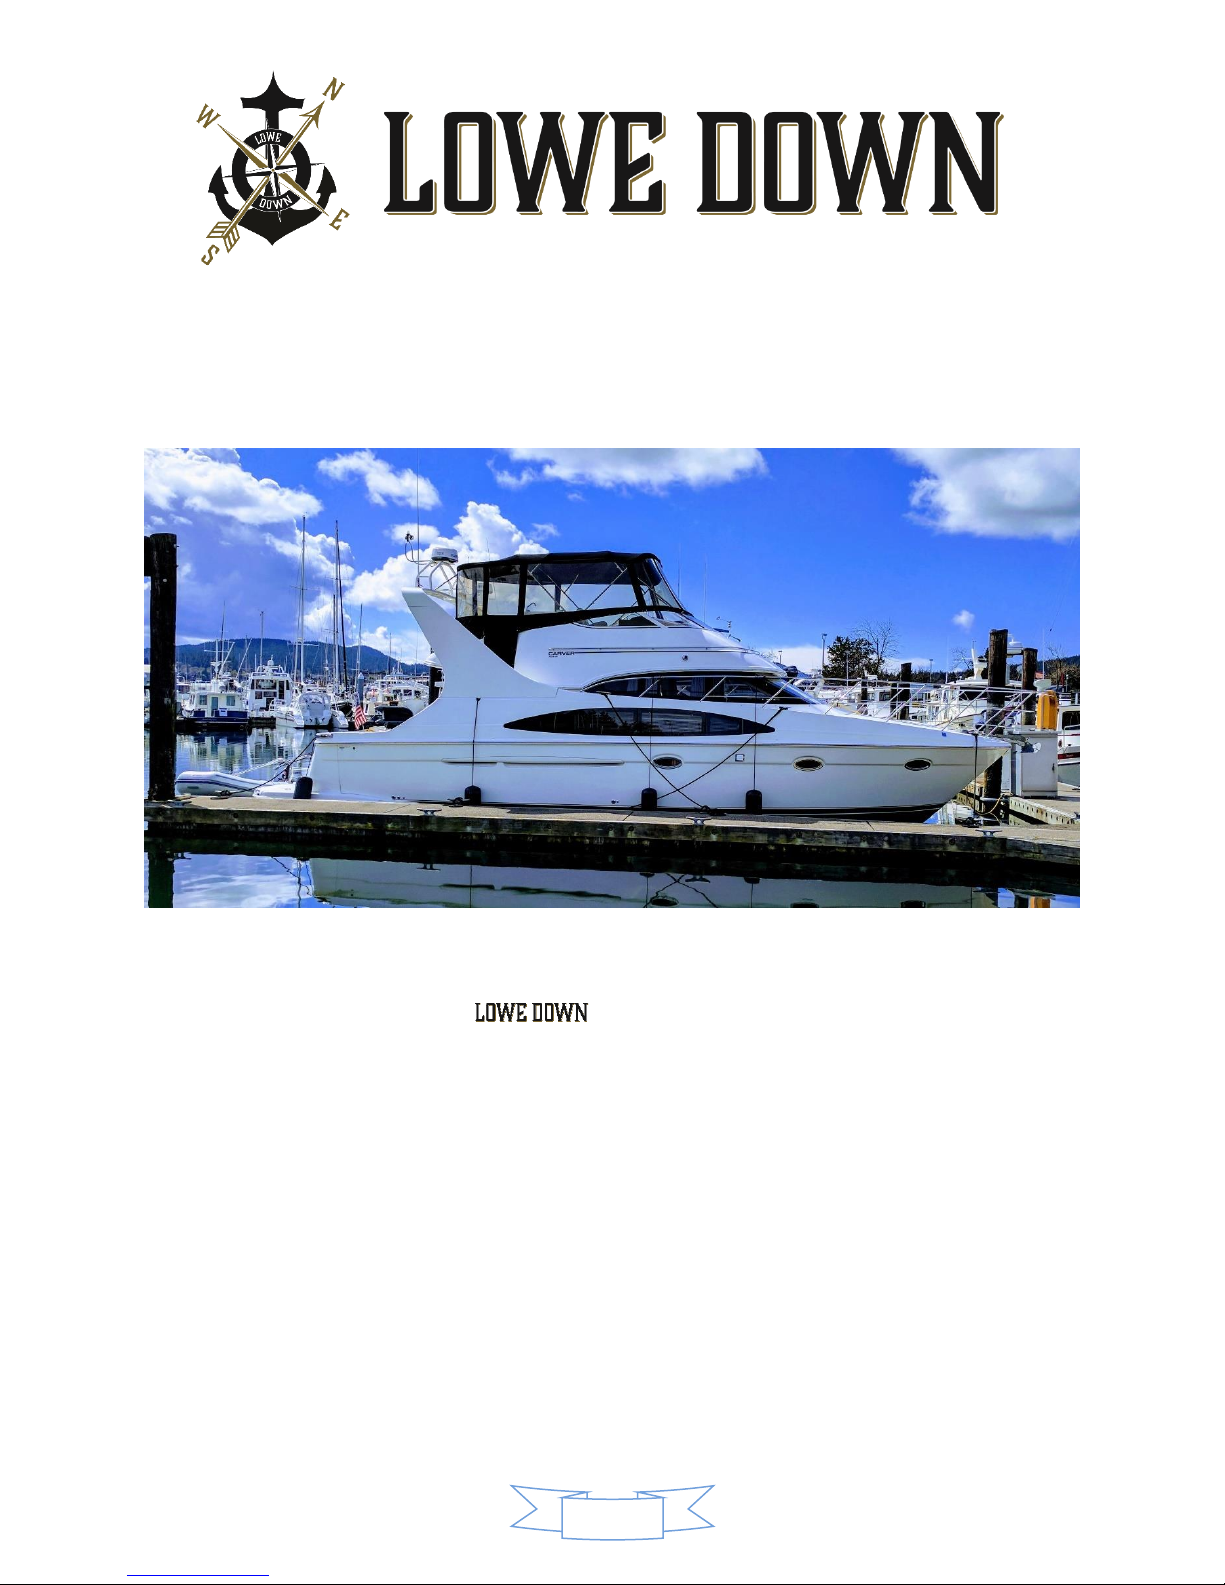
This 2002 Carver 410 Sport Sedan is one of the most attractive and versatile yachts in its class,
providing a comfortable, spacious and well-designed layout. She is a great boat for exploring the
San Juan Islands and beyond.
We trust this manual will help you become familiar with the boat. If you have questions about
the boat or about places to visit, please do not hesitate to ask the AYC staff.

2
TABLE OF CONTENTS
Boat Operation
Pre-Departure Checklist
Engine Room Inspection
Start-Up
Shutdown
Getting Underway
Cruising
Docking
Fueling
Boat Electrical
A.C. (Shore) Systems
Generator
D.C. (House) Systems
Batteries
Sanitation Systems
Marine Toilet
Holding Tank
Water Systems
Fresh Water Tanks
Fresh Water Pump
Hot Water
Shower
Galley
Stove/Oven
Refrigeration/ Ice Maker
Heating Systems
Built-in Cabin Heating and Air Conditioning

3
Electronics
VHF Radio
GPS/Plotter
Entertainment
AM/FM/ CD Radio
TV/DVD/Streaming
Anchoring
Barbecue
Dinghy/Outboard
Crabbing/Fishing
Other: Bilge Pumps/Safety
Thru-Hull Diagram
Pre-Departure Checklist
1.) Check the weather forecast.
2.) Review tides and currents.
3.) Have a course plotted or route planned, with charts available.
4.) Perform engine room inspection. Check / ensure required amount of fuel in tanks.
5.) Ensure dinghy and davit are securely tied down.
6.) Remove center windscreen panel and bridge entry door panel to ensure good visibility and
access for crew. Remove and store helm covers.
7.) Close and secure all hatches, stow all loose items, remove and stow BBQ. Make sure all
portholes are securely closed.
8.) Perform a safely briefing to include location of life jackets, emergency flares, first aid kit,
emergency tools and repair kit. Review person over-board and emergency radio procedures.
9.) Reset dock lines for departure, determine plan for releasing lines and departing dock, taking
wind and weather conditions in to account. Discuss crew assignments and communication
plan.
10.) Turn on all applicable circuit breakers: electronics, trim tabs, horn.
11.) Turn on Garmin GPS Charplotter and VHF radio. Ensure water depth reading is accurate.
12.) Turn off shore power breaker at dock box, unplug cord (and adapter if used), coil up cord,
unplug from transom and stow cord and adapters.
13.) Crew take assigned positions (Everyone on deck should wear a life jacket!)
BOAT OPERATION

4
Engine Room Inspection
Remember your “WOBBS” every morning: Water (Coolant), Oil, Bilges (Inspect and Pump-out), Belts
and Sea Strainer.
Check the level of COOLANT in the expansion tanks located in the engine room on the forward end of
each engine. Check the level of OIL in each engine by checking your dipsticks located on the inboard side
of each engine. Look at the etch marks on each dipstick that indicate the proper oil level. DO NOT
OVERFILL OIL! Only fill if oil levels are below the ½ way mark. Ask your fleet captain at checkout if
you have any questions about the markings on dipsticks. Please use a paper towel or oil rag, not the dish
towels! Check the general condition of the BELTS, HOSES, and FUEL LINES.
Ensure the valve on each RAW WATER THRU-HULL is in the ‘open’ position (lever in-line with
valve). (Note: The port engine seacock is located on the outboard aft end of the engine. Observe the glass
of each RAW WATER STRAINER for debris. Shining a flashlight thru the strainer often helps see
debris. If necessary, close the seacock, open the strainer cover, clean the strainer, and reassemble.
Remember to reopen the seacock. Confirm water flow from exhaust(s) Check your transmission and
generator fluids as well.
5
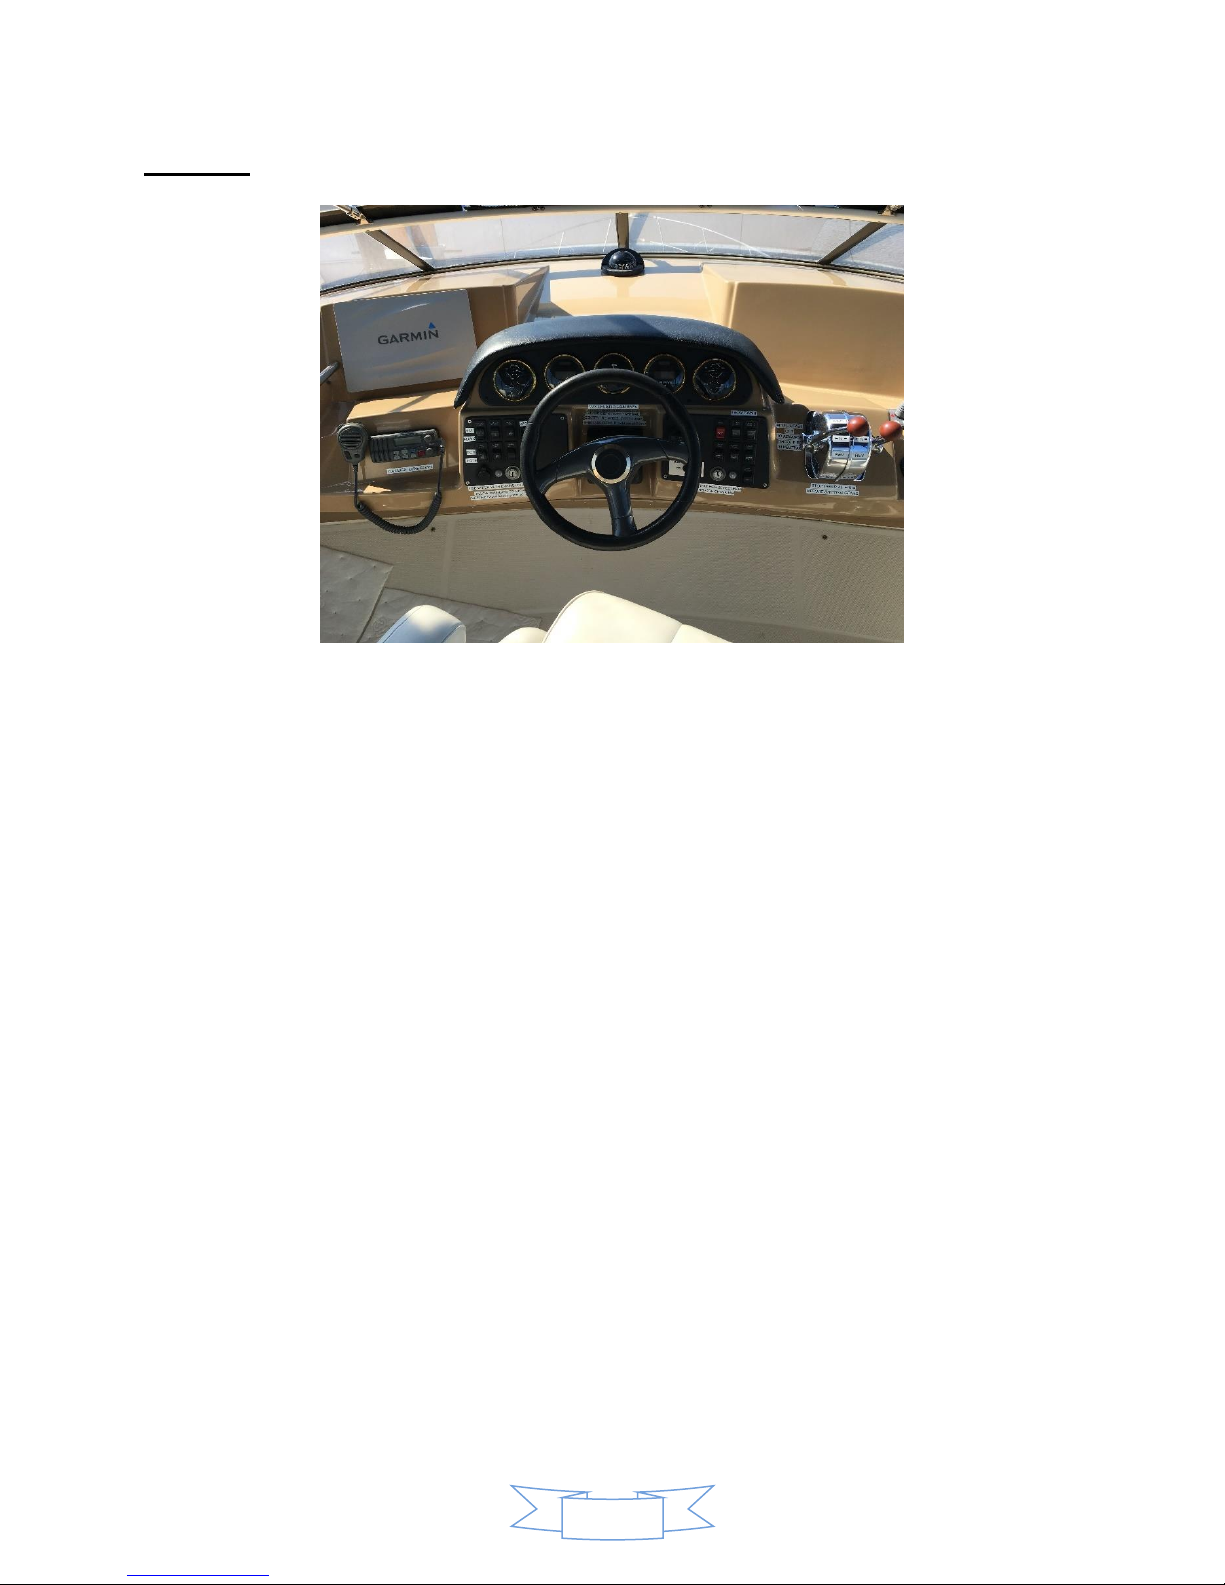
Start-Up
Before starting the engines, do your inspection. Ensure THROTTLE / GEARSHIFTS are in the
NEUTRAL – IDLE position as shown in the picture. Insert both keys into the IGNITION SWITCHES.
plan to start the Starboard engine first.
Turn the key clockwise partially until the ENGINE ALARM sounds. Wait until the voltage gage needle
ticks up a couple volts indicating the engine pre-heater has shut off (about 15 - 20 seconds) Rotate the key
fully clockwise to engage the engine.
If the engine cranks slowly or fails to turn over, check the condition of the battery. If the battery is low,
make sure the battery chargers are turned on at the 110 AC panel. If you are on the anchor or away from
shore power, start the generator and charge start batteries using the generator.
Pull the starboard THROTTLE / GEARSHIFT lever outward (keeping the transmission in neutral) and
advance the throttle to 700 rpm. Repeat starting process for port engine. Observe the readings of the
gauges. The oil pressure will register above 55 PSI when the engine is cold. The engine temperature
gauge will take several minutes to rise slowly. Make sure water is flowing from the exhaust on both sides.
RUN ALL 4 BILGE BLOWERS WHEN UNDERWAY TO PROVIDE AMPLE AIR TO THE MAIN
ENGINES. Warm the engines for about 5 minutes.
Note -- If oil pressure is low, shut down engine, and inspect engine compartment and look for possible
cause (for example, loss of oil.) Caution -- If an engine is overheating or there is lack of raw water
expelled in the engine exhaust, stop the engine immediately. Recheck the raw water-cooling system to
ensure the seacock is ‘open’ (handle in-line with valve). Next, check the raw water strainer for debris.
Remove the strainer, clean, re-assemble, and reopen the raw water intake valve (seacock). Restart the
engine and re-check water flow from the exhaust. If water is not flowing properly, the RAW WATER
PUMP may need to be serviced. Seek help.

6
Shut-Down
Before shutting down, allow the engines to ‘idle’ for about 5 minutes to cool them gradually and
uniformly. The time engaged in preparing to dock the boat is usually sufficient. Ensure each THROTTLE
/ GEARSHIFT is in the NEUTRAL – IDLE position. Turn off engines by rotating keys
counterclockwise.
Getting Underway
ENSURE PRE-DEPARTURE CHECKLIST HAS BEEN PERFORMED AS REQUIRED. Ensure TRIM
TAB switches are in the “BOW UP” position. (rock TRIM TAB switches to “BOW UP” and hold for 8 to
10 seconds if unsure) ACTIVATE BOW THRUSTER. Check wind speed / direction, adjust planned dock
line release sequence if necessary. Review departure plan with crew one last time and ensure
crewmembers are ready. Center the WHEEL (e.g. rudders straight) and use only the THROTTLE /
GEARSHIFTS to maneuver the boat. Captain should be standing on the right side at the helm with hands
on the THROTTLE / GEARSHIFTS while maneuvering inside the marina! Once outside the marina, idle
the engines while crew brings in fenders and lines. Always have someone assigned to watch for traffic
and obstacles!
Cruising
Check gauges. Ensure each THROTTLE / GEARSHIFT is in the NEUTRAL – IDLE position. Increase
throttles to 1200 RPM. To bring vessel up on step to cruising configuration, DELIBERATELY increase
the throttles up to 2400 to 2500 RPM (do not exceed 2500 RPM) Once the vessel is “on step” reduce
throttles to 2250 RPM. Rock TRIM TAB switches “BOW DOWN” as needed. (Full bow down position
takes about 8-10 seconds) Wake should look like picture below:
If wake does not look like picture above and water is roiling over the swim platform, reduce throttles back
to 1200 RPM and repeat procedure above. (Especially with vessel fully loaded and full fuel tanks,
deliberate advancing of throttles is required to bring vessel “out of the hole”) Maximum cruising is 2400
RPM. If you run at 2250 RPM you will cruise at 11-12 knots and use only about 10 gallons of diesel per
hour. Your speed will vary depending upon the weight and load and weather conditions.
Note -- Avoid higher engine speeds as it causes higher engine temperature, possible damage, and higher
fuel consumption. In general, lower RPMs result in much improved fuel economy.

7
Docking
Prior to docking, rock TRIM TAB switches to “BOW UP” position (8 to 10 seconds) have your crew
make ready the lines and fenders and give clear instructions on how you will be docking. Center the
WHEEL (e.g. rudders straight) and use only the THROTTLE / GEARSHIFTS to maneuver the boat.
Captain should be standing on the right side at the helm with hands on the THROTTLE / GEARSHIFTS
while maneuvering inside the marina! ACTIVATE BOW THRUSTER. Your crew will need to step off
from the swim step with the stern line. Another crew member will need to be at the bow or mid-ships to
hand over the next lines. The bow thruster may be engaged in short bursts to hold the bow against the
dock while lines are put on the dock. DO NOT PUT YOURSELF BETWEEN THE BOAT AND
THE DOCK OR A PILING!
Fueling Up
OPEN FILLER CAP(S) located port and starboard just ahead of cockpit. Open with the DECK FITTING
KEY which is kept in the cabinet on the port side of the cockpit.
MAKE SURE YOU HAVE THE RIGHT FUEL! DIESEL! DIESEL! DIESEL! MAKE SURE IT
IS GOING INTO THE RIGHT DECK FILL! DOUBLE-CHECK! TRIPLE-CHECK!
Before pumping, have an oil/fuel sorbs handy to soak up spilled fuel. Locate fuel vents if possible to
listen for tank becoming full and to know where sorbs may be needed. You should have a rough idea of
the number of gallons you will need by the engine hour indicator. Also periodically have someone turn
on the key to watch the fuel gauge or station a person by tank site glasses to watch fueling progress.
Place the DIESEL nozzle into the tank opening, pump slowly and evenly, and note the sound of the fuel
flow. Pumping too fast may not allow enough time for air to escape, which may result in spouting from
the tank opening. As the tank fills, the sound will rise in pitch or gurgle. Pay attention to the TANK
OVERFLOW VENT on the outside of the hull near the tank opening. The sound may indicate that the
tank is nearly full. Top off carefully, and be prepared to catch spilled fuel. Spillage may result in a nasty
fine from law enforcement.
Replace each tank cap. Turn on blower before starting engines. Caution -- Clean up splatter and spillage
immediately for environmental and health reasons. Wash hands with soap and water thoroughly.
The electrical system is divided into two distribution systems: 110-volt AC and 12-volt DC.
The systems are controlled from the AC ELECTRICAL PANEL located aft salon starboard side, the DC
AUXILIARY PANEL located aft salon port side and the BATTERY SWITCHES located aft salon
starboard side. When not connected to shore power, batteries are providing all power. Therefore, monitor
the use of battery levels carefully with your volt meter located on the DC panel in the salon. How much
electricity is being drawn from the batteries can be monitored on the ampere meter located on the DC
panel in the salon. Turn off electrical devices that are not needed.
BOAT ELECTRICAL
 Loading...