


CNWD 136 146
Washer Dryer Instructions for use
CNWD 136
CNWD 146

Contents Page
Introduction 2
General delivery notes 4
Safety notes 4
Quick start 5
Description of controls 6
Programme Table 14
Programme selector 16
Detergent drawer 18
Detergents, washing aids and amounts to use 19
Useful advice for the user 21
The main wash 22
Drying 24
Automatic washing/drying cycle 25
Drying cycle 26
Cleaning and routine maintenance 27
Investigating malfunctions 29
Technical data 31
Setting up + installation 32
BEFORE SWITCHING ON THE APPLIANCE MAKE SURE
IT IS CORRECTLY INSTALLED AND THAT THE TRANSIT
BRACKETS ARE REMOVED AS SHOWN IN PAGE 32.
Introduction
Please read these instructions for use carefully and all other information enclosed with the
washing machine.
Keep all documentation in a safe place for future reference or for any future owners.
Note: this machine is solely for domestic use.
Notes on disposal
All packaging material used is environmentally-friendly and recyclable. Please help dispose of
the packaging via environmentally-friendly means.
Your supplier or local council will be able to give you
details of current means of disposal.
Valuable materials can be salvaged from an old appliance via scrap reprocessing.
Note: pull out the mains plug from any old appliance.
Cut the power cable and dispose of it, together with the
plug.
When disposing of an old washing machine, please ensure that the door lock is rendered
inoperable to prevent children shutting themselves in the appliance.
2 3
M) N.B!
If the appliance is installed on a carpeted floor ensure that the ventilation holes on the
base of the appliance are not obstructed.
N) If the appliance is not running properly or breaks down, switch it off, turn off the tap and do
not tamper with the appliance.
Consult only the Authorised Technical Support Service for possible repair and ask them to
use original spare parts.
Failure to comply with the above can compromise the safety of the appliance.
O) If the appliance’s power cable should ever need replacing, consult the Authorised
Technical Support Service
Quick start
Washing
- Open the door by using the handle “A” (Fig. 1, page 6)
- Select laundry and put it in the machine
- Close the door
- Put detergent in the compartments as indicated in the programme guide in this instruction
manual
- Select programme
- Wait for the “STOP” indicator light to flash
Press additional function buttons (if required)
- Press the “Start/Pause” button (page 7)
- After few seconds the appliance starts working.
After washing
- The indicator light “STOP” will go on.
- Wait for the door lock to be released
(about 2 minutes after the programme has finished).
The “Door Security” indicator light will go out.
- Switch off the washing machine by turning the selector
to “OFF” position.
- Open the door and remove the laundry.
Ensure that the machine is correctly installed in line with the instructions found on page 32.
General delivery notes
Please check that the following items are delivered with the appliance:
- Instruction manual
- Certificate of guarantee
- Inlet hose
- Liquid detergent or liquid bleach compartment
Check that no damage has occurred during transit, and if so, call your nearest Authorised
Technical Support Service agent.
Safety notes.
Note:
for cleaning or maintenance of the washing machine.
A) Pull out the plug
B) Turn off the tap
C) Candy equips all its appliances with earthing. Ensure that the mains supply is earthed,
and if it is not, seek assistance from a qualified person.
D) Do not touch the appliance when hands or feet are wet or damp. Do not use the appliance
with bare feet.
E) The use of adapters, multiple connectors and/or extensions is not recommended.
Note:
water temperature can reach 90°C during the wash cycle.
F) Check there is no water left in the drum before opening the door.
G) Do not allow children or unauthorised persons to use the appliance without supervision.
H) Do not pull the power cable or the appliance itself to remove the plug from the socket.
I) The appliance must not be exposed to weather conditions (rain, direct sun, etc...)
L) When moving the appliance never lift it by the controls or by the detergent drawer.
When in transit never rest the door against the trolley or transport the appliance without
the polystyrene base.
4 5
DRYING
If you would like the drying cycle to begin automatically after
washing, select the programme required using the Drying
Programme Selector knob.
Otherwise it is possible to finish the wash and then decide on the
drying programme and load.
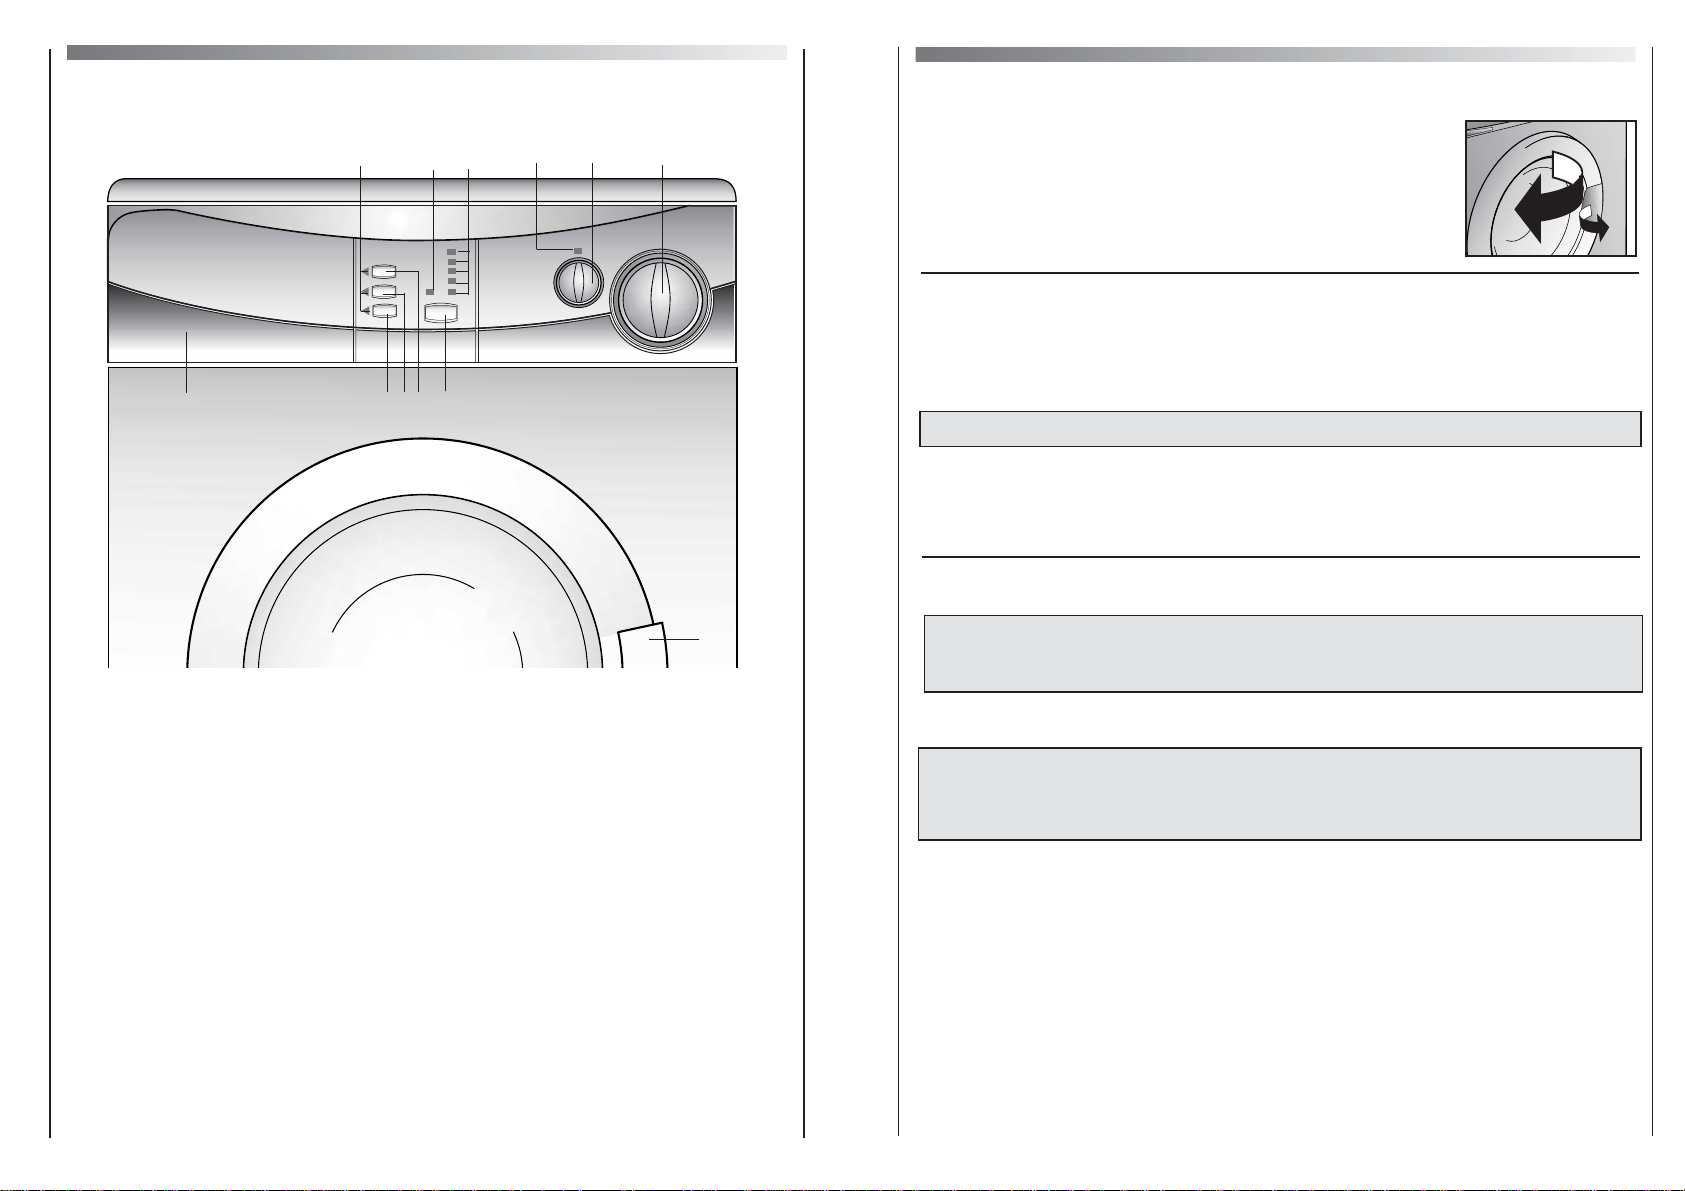
6
Description of controls
Door handle A
"Door Security" indicator light B
"Start/Pause" button C
"Slow spin" button D
"Quick wash" button E
"Rinse hold" button F
"Time to end" indicator light L
Buttons indicator light M
Drying programme selector N
Drying indicator light O
Programme selector with "OFF" position P
Detergent drawer Q
7
DOOR SECURITY indicator light
The “Door Security” indicator light is illuminated when the door is fully closed and the machine is ON.
When "Start/Pause" is pressed on the machine with the door closed the indicator will flash
momentarily and then illuminate.
If the door is not closed the indicator will continue to flash.
Aspecial safety device prevents the door from being opened immediately after the end of the cycle.
Wait for 2 minutes after the wash cycle has finished and the “Door Security” light has gone out
before opening the door. At the end of the cycle turn the programme selector to "OFF" .
B
NOTE: When the "Start/Pause" button has been pressed,
the appliance can take few seconds before it starts
working.
START/PAUSE button
When a programme is selecting, wait for the “STOP” indicator
light to flash before pressing the "Start/Pause" button.
Press to start the selected cycle (according to the selected cycle one indicator lights will go on) .
Changing the settings after the programmes has started (PAUSE)
The programme may be paused at any time during the wash cycle by holding down the
"Start/Pause" button for about two seconds. When the machine is in the paused mode, the
indicator light "Time to end" and option buttons will flash.
To restart the programme, press the "Start/Pause" button once again.
If you wish to add or remove items during washing, wait 2 minutes until the safety device
unlocks the door.
When you have carried out the manoeuvre, close the door, press "Start/Pause" button and
the appliance will continue working where it left off.
CANCELLING THE PROGRAMME
To cancel the programme the programme selector should be rotated to the "OFF" position.
C
Fig. 1
Q FEDC
P
N
A
M
BL
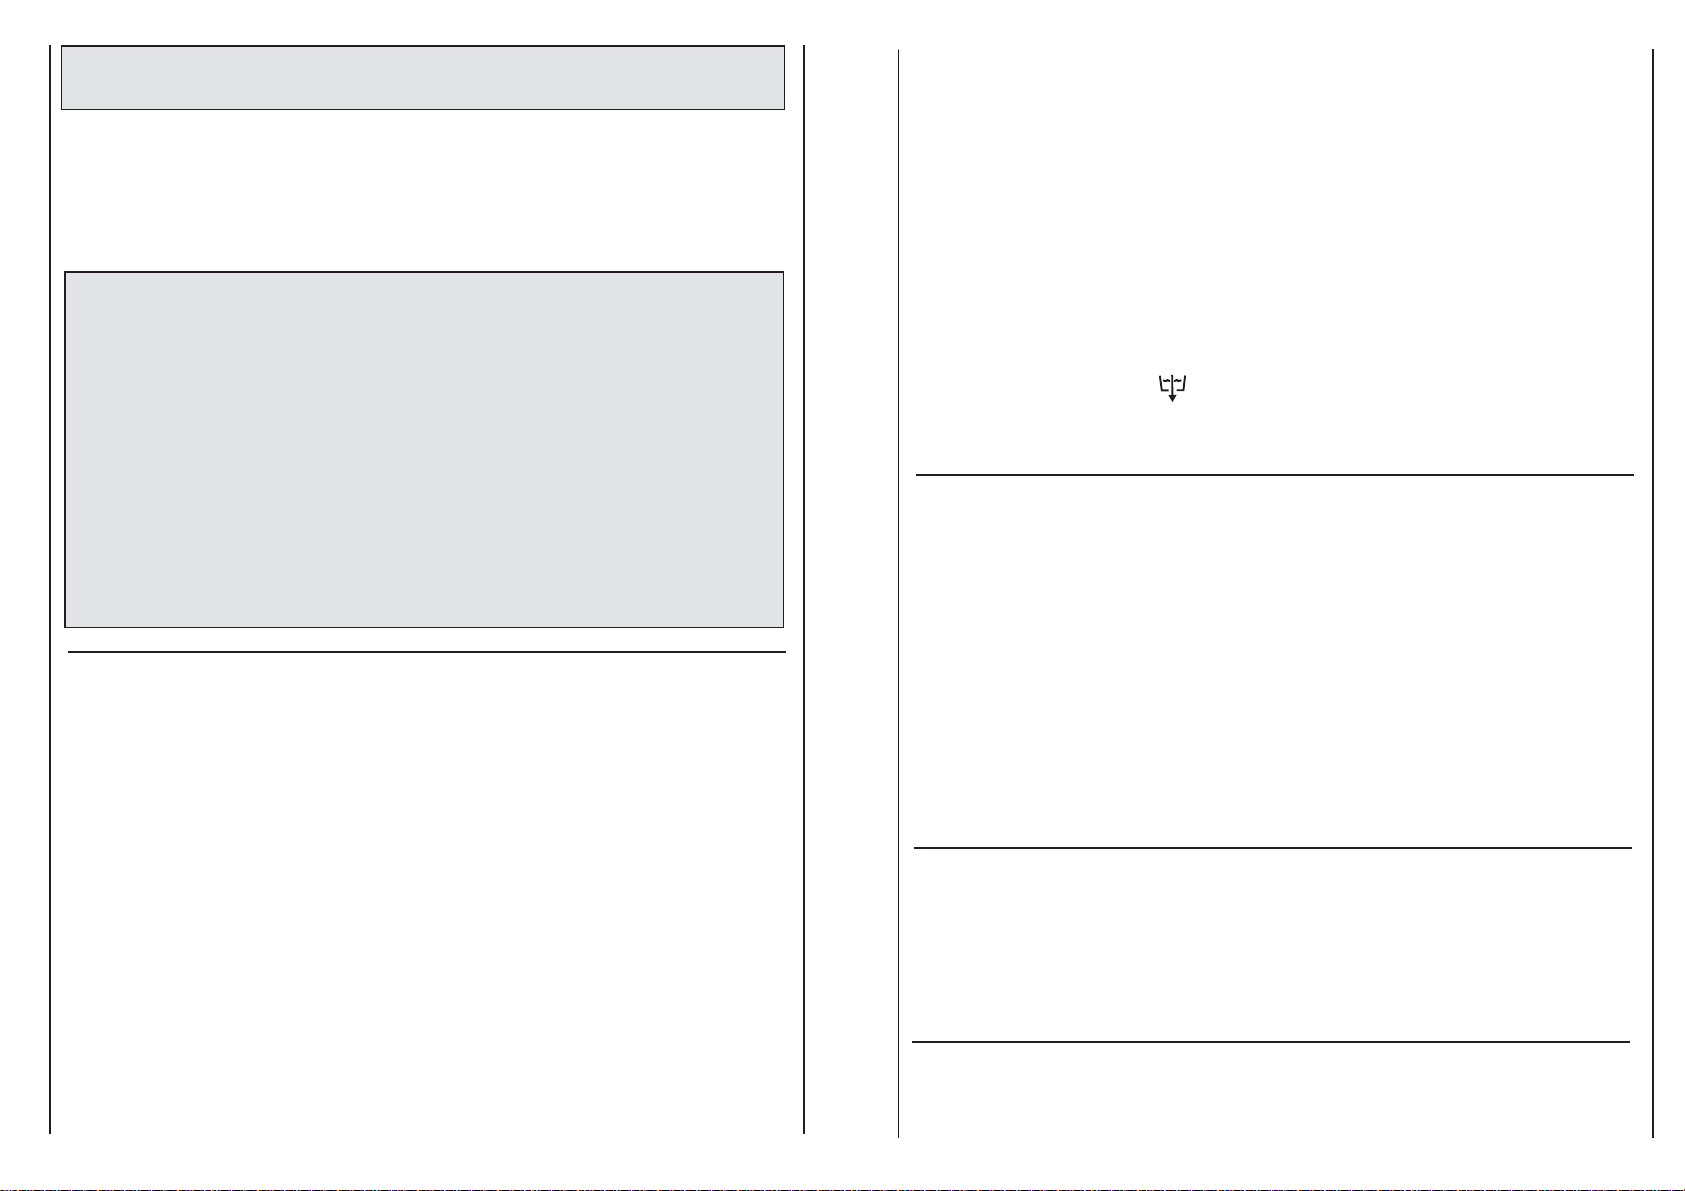
Door handle
To open the door turn the handle in the manner illustrated in fig.
A
O
8
QUICK WASH button
Press the button to select or deselect this function.
Pressing this button reduces the time of the wash programme by a maximum of 50 minutes
depending on the programme and the temperature selected. The "Quick Wash" button can
be used for washing loads of 1 to 6 kg. This option may only be utilised on COTTONS and
SYNTHETICS programmes.
E
SLOW SPIN button
The machine gradually increases the final spin speed to the maximum possible speed.
The button reduces spin speed to 600 r.p.m.
D
The option buttons should be selected before pressing
the "Start/Pause" button.
Note: this model is fitted with an electronic device that
checks the load is balanced correctly. If the load is
slightly unbalanced the machine will re-balance it
automatically to carry out the normal spin.
If, after several attempts, balance is not restored, a
reduced spin speed will be used.
If loads are seriously unbalanced the spin stage will be
cancelled.
This helps limit vibration, reduce noise output and
improve the washing machine’s lifespan.
RINSE HOLD button
Press the button to select or deselect this function.
Pressing this button, which operates only during delicates, hand wash and wool cycles,
means the cycle stops at the final rinse stage, leaving the drum filled with water.
The garments thus stay immersed in the water, preventing them from bunching up and
forming creases that are difficult to remove.
During the phase in which the water is held in the tub, the indicator lights to show that the
machine is at a standstill.
When you are ready to unload, press the "Rinse Hold" button, this will drain and spin ready
for emptying.
If you do not want to spin the clothes and activate drain only:
- Turn the programme selector to the "OFF" position;
- Select programme drain only ;
- Switch on the appliance again by pressing the "Start/Pause" button.
F
9
Buttons indicator light
The indicator light around the option buttons will light when specific options are selected.
M
TIME TO END indicator light
In order to manage your time better, this washing machine features an indicator light system
that keeps you constantly informed on the remaining cycle time.
Indicator light 90:
Remaining time above 60 minutes.
Indicator light 60:
Remaining time less than 60 minutes.
Indicator light 30:
Remaining time less than 30 minutes.
Indicator light 15:
Remaining time less than 15 minutes.
Indicator light STOP:
End of the programme.
L
11
IMPORTANT!
During the drying cycle:
Drying programme can be cancelled by rotating the drying time selector to the zero
position. ( ): in this case caution must be paid because the machine and clothes load may be
very hot cause the cool down phase is not carry out.
For a correct operation it is preferable carry out the cool down phase turning the knob in clockwise
direction to the position ( )
Drying programme cannot be changed: even if the selector is set to another programme , the
machine ignores this new setting and continues to complete the original drying programme.
T
imed programmes:
120 minutes – 60 minutes – 30 minutes:
They may be used to select timed drying programmes.
IMPORTANT!
During the drying cycle:
Drying time can be reduced
Drying time can be cancelled by rotating the drying time selector to the zero position ( ).:
in this case caution must be paid because the machine and clothes load may be very hot
cause the cool down phase is not carry out.
For a correct operation it is preferable carry out the cool down phase turning the knob in
clockwise direction to the position ( ).
Drying time cannot be increased: even if the selector is set to a higher time, the machine
ignores this new setting and continues to complete the original drying cycle time.
TABLE OF DRYING TIMES (IN MINUTES):
PROGRAMME
Extra
Cupboard
Iron
Min 1 Kg
from 30’
from 30’
from 30’
Min 1 Kg
from 30’
from 30’
from 30’
Max 2 Kg
to 130’
to 110’
to 70’
COTTON MIXED
Max 4 Kg
to 160’
to 150’
to 130’
10
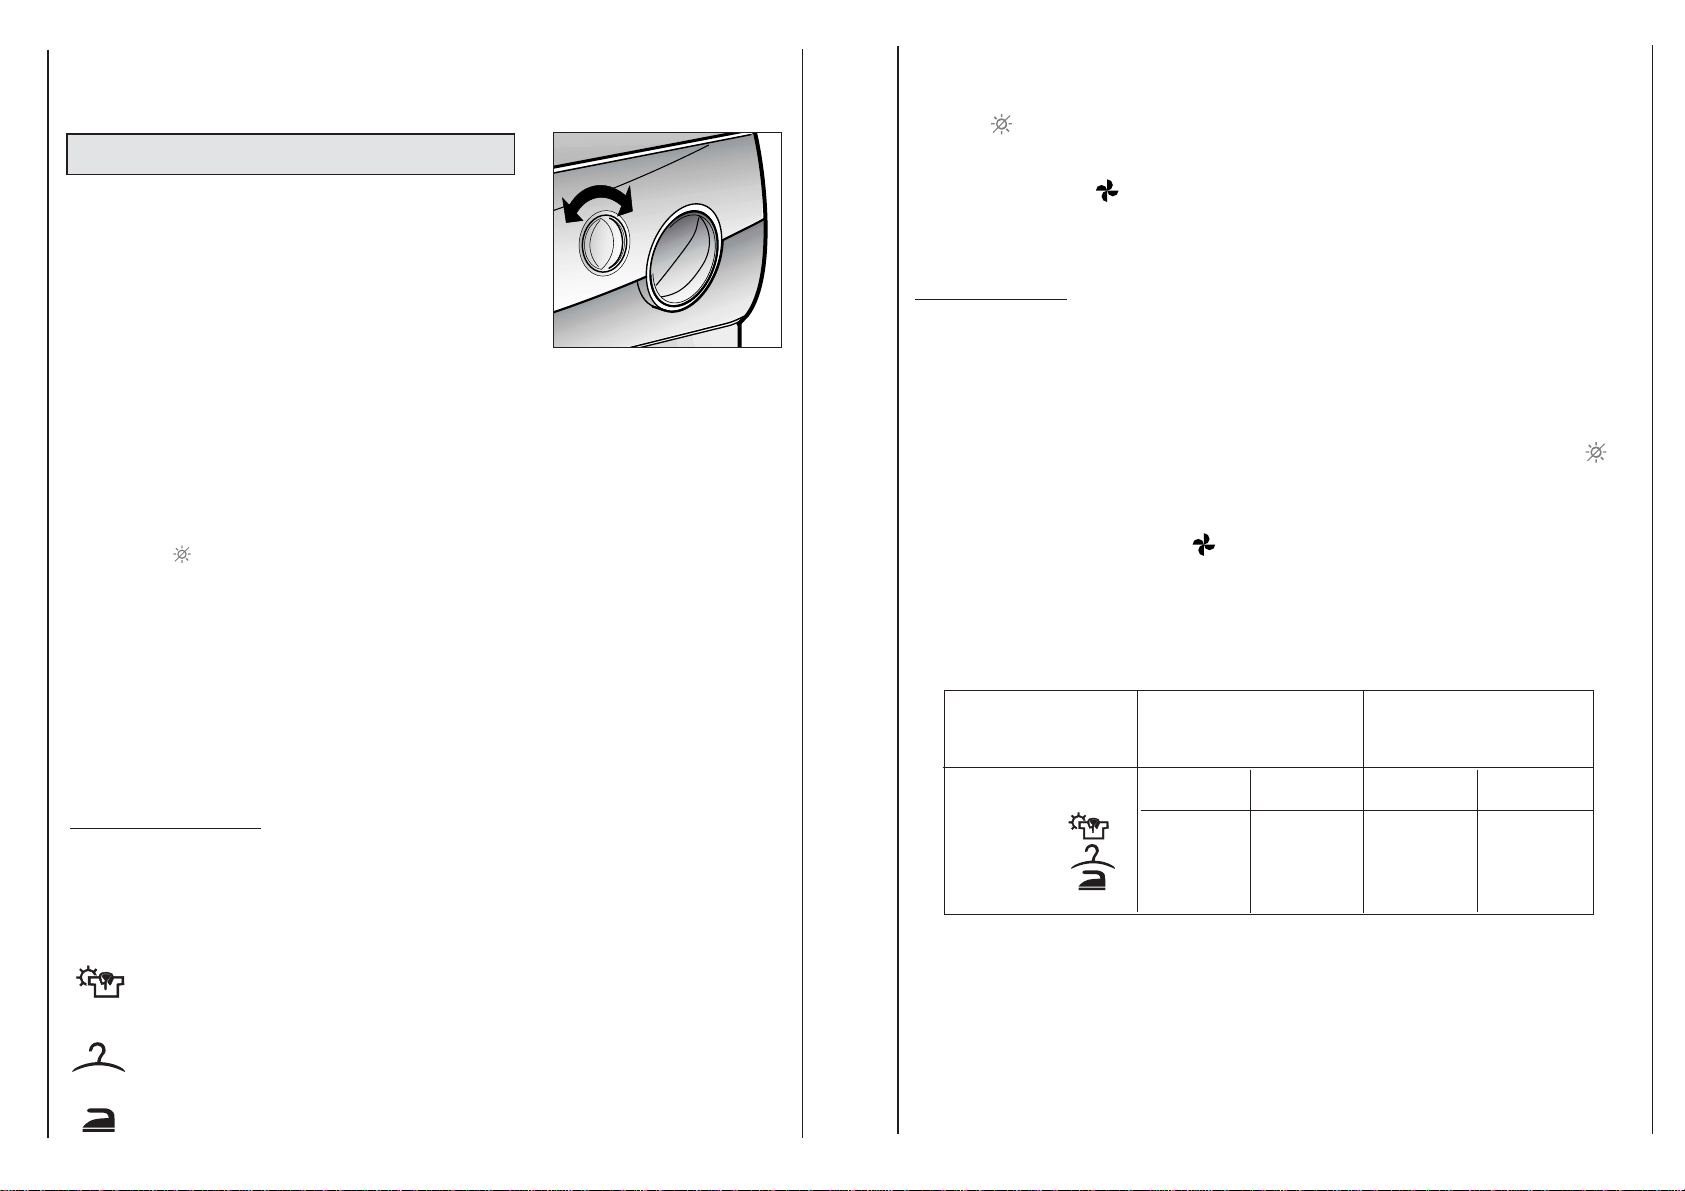
DRYING TIME SELECTOR KNOB
Rotates in both directions
This knob sets a programme or a drying time up to a max.
120 minutes with a cool down final phase of 10 minutes.
If the drying time is selected before or during the wash cycle
the machine will automatically commence the drying
programme.
If a programme has been selected which does not enable the automatic drying phase (e.g.
Delicate and Woollens programmes or a drain programme),at the end of the wash cycle the
light STOP will go on and will not carry out the drying cycle.
NOTE: THE DRYING TIME SELECTOR KNOB MUST BE RETURN TO THE OFF
POSITION ( ) AT THE END OF EACH DRYING CYCLE.
USEFUL TIPS:
The 30 minute drying programme is recommended for small loads (less than 1 kg) or
slightly damp loads.
Your washer-dryer ends the cycle automatically when it reaches the drying level or time
selected.
For the correct operation of the appliance, it is preferable not to interrupt the drying phase
unless it is really necessary
Automatic Programmes: By selecting one of these 3 automatic programmes, the washerdryer will calculate the time needed for drying and the residual dampness required,
according to the load and drying type and the residual dampness required, according to the
load and drying type selected.
After pressing the START button, one of the indicators will light to display the drying time
remaining.
“ ” = Extra dry drying programme (recommended for towels, bathrobes and bulky loads)
“ ” = Cupboard dry drying programme
“ ” = Iron dry drying programme
N
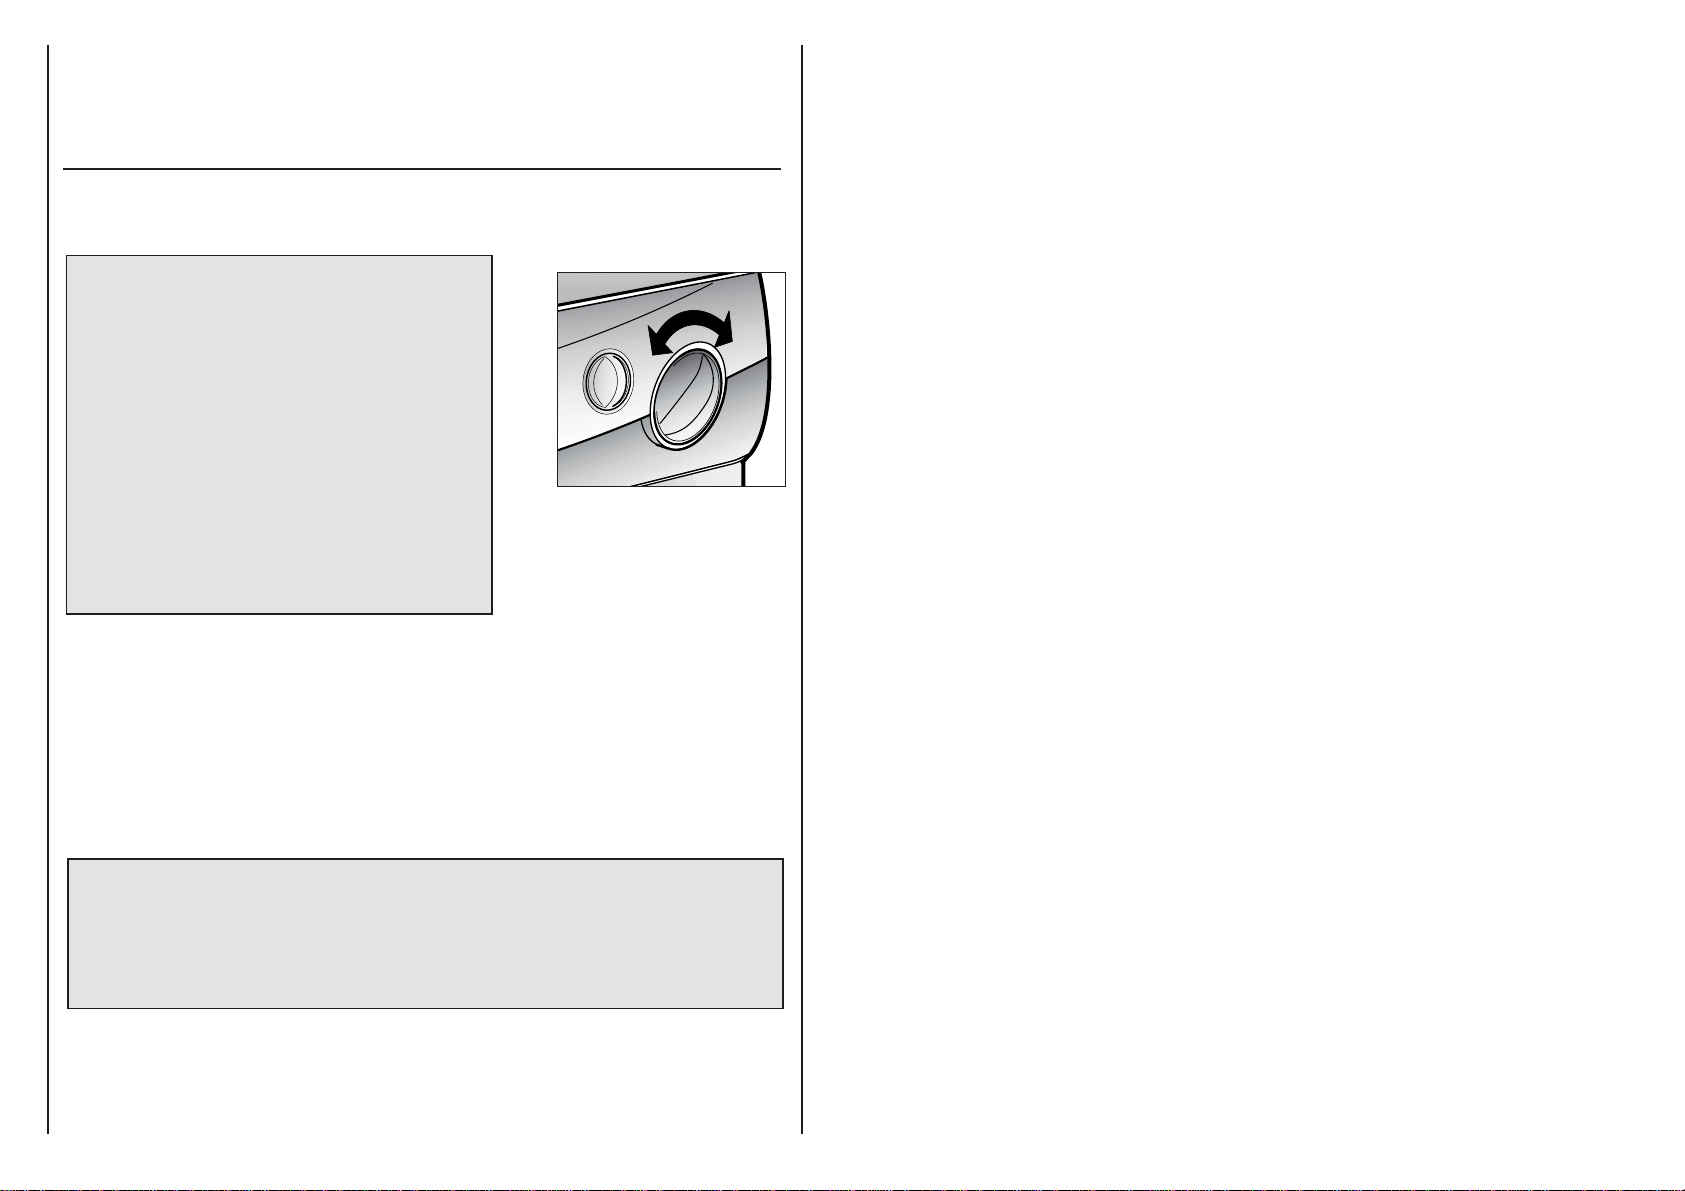
PROGRAMME selector with "OFF" position
Rotates in both directions.
The machine is turned on by
selecting a programme via the
programme selector. This status
will be indicated by the "STOP"
indicator light flashing, this light
will continue to flash until the
machine has started or the
machine is returned to the
"OFF" position.
Press the "Start/Pause" button to start the selected cycle.
Once a programme is selected the programme selector remains stationary on the selected
programme till cycle ends.
Switch off the washing machine by turning the selector to "OFF".
Note:
The programme selector must be returned to the "OFF" position
at the end of each cycle or when starting a subsequent wash
cycle prior to the next programme being selected and started.
P
12
DRYING indicator light
Pilot light comes on to indicate that washer/dryer is drying.
O
 Loading...