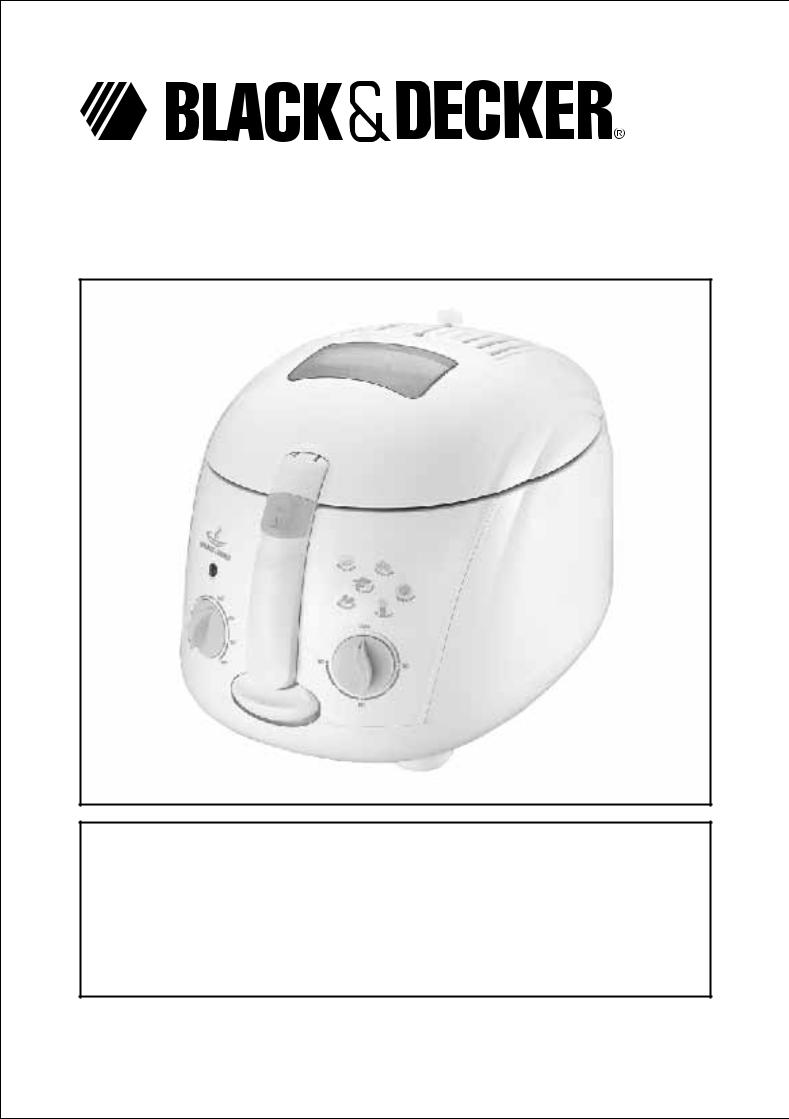
Black & Decker EF40 User Manual

EF40 Deep Fryer
First Use Safety Recommendation
Please read through this booklet for safe and efficient use of the appliance. We urge you to read the "Do's & Don'ts" section and also follow all detailed instructions even if you are familiar with a similar appliance.
Keep this guide handy for future reference.
EF40

IMPORTANT SAFEGUARDS
While using electrical appliances, in order to reduce the risk of fire, electric shock, and / or injury to persons, basic safety precautions should be followed, including the following:
•Read all instructions carefully, even if you are familiar with the appliance.
•To protect against the risk of electric shock, DO NOT IMMERSE the appliance, cord set or plug in water or other liquids.
•To clean, wipe the exterior with a damp cloth.
•Close supervision is necessary when any appliance is used near children. Do not allow children or any person unfamiliar with these instructions use this appliance. Never leave an appliance unattended when in use.
•Switch off and remove the plug from the power outlet when not in use, before assembling or disassembling parts, cleaning or carrying out any maintenance of the appliance. Never pull the cord while unplugging out from power outlet.
•Do not operate any appliance with a damaged cord or plug, or after the appliance malfunctions, or is dropped or damaged in any manner. Return the complete appliance to your nearest authorized service facility for examination, electrical repair, mechanical repair or adjustment to avoid any hazard.
•The use of attachments or accessories not recommended or sold by this appliance manufacturer may result in fire, electric shock or personal injury.
•Do not let the cord hang over the edge of a table, counter, or touch hot surfaces.
•Avoid touching hot surfaces, use handles and knobs.
•Do not operate or place any part of this appliance on or near any hot surfaces (such as gas or electric burner or in a heated oven).
•Do not abuse the cord. Never carry the appliance by the cord or yank it to disconnect it from the outlet; instead, grasp the plug and pull to disconnect.
•When using an extension cord with your appliance, make sure the extension cord is correctly wired, and rated for its use.
•This product is intended for household use only.
•Do not attempt to repair the appliance yourself; instead, take it to your Black & Decker-owned or Authorized Service Centre for repair.
•Keep children and animals away from the unit and cord set.
SAVE THESE INSTRUCTIONS

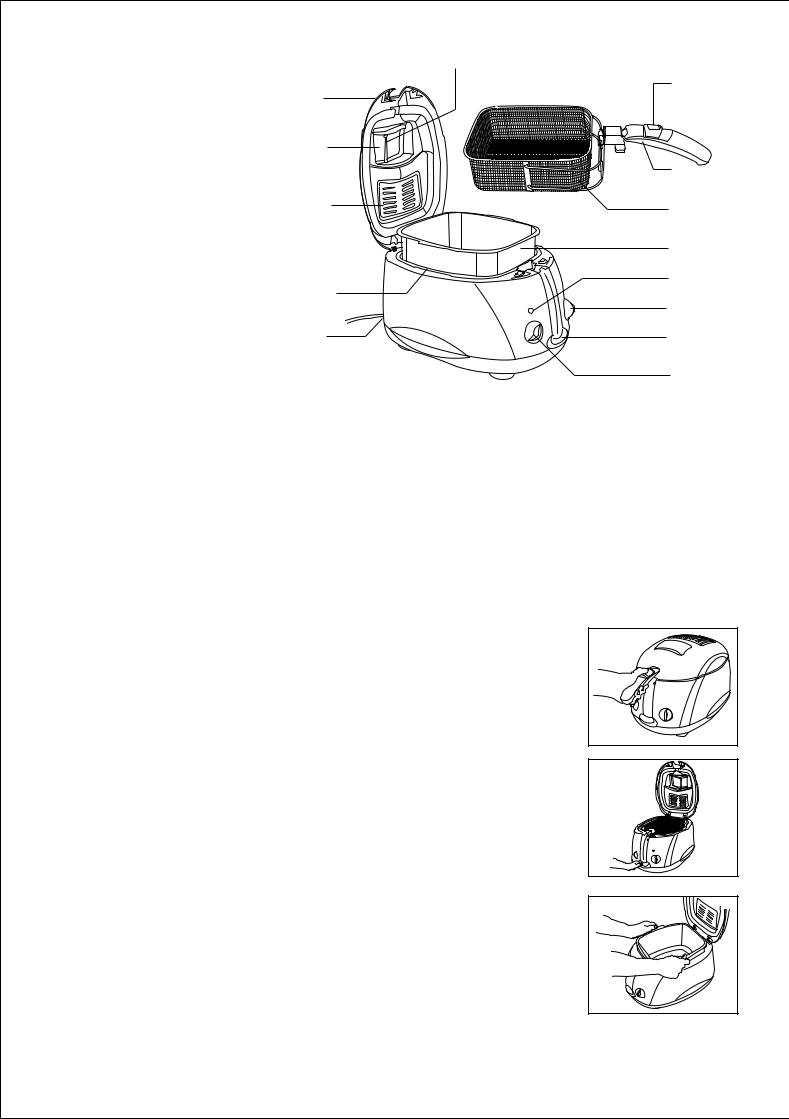
Parts Identification |
14 |
1. Fryer lid |
6 |
1 |
2.See-through window
3. |
Filter cover |
2 |
|
4. |
Fryer shell |
||
7 |
5.Cord window
6. |
Handle button |
3 |
8 |
|
|
||||
7. |
Handle |
|
9 |
|
8 |
Frying basket |
|
||
|
10 |
|||
9. |
Inner bowl |
|
||
4 |
11 |
|||
10. |
Lamp |
|||
|
||||
|
|
|||
11. |
Timer knob |
5 |
12 |
|
12. |
Open lid button |
|
13 |
|
|
|
|
13.Temperature ON/OFF knob
14.Wiper
Product Features
2000W heating element - for optimal frying.
2.5 lt. bowl - perfect size for your family.
Adjustable temperature - for variety of frying to meet your needs.
Removable lid and bowl - for easy cleaning.
Press open lid - for easy opening of the lid.
Easy see through window with wiper - for easy viewing of food being cooked. Cord storage - prevents cord from littering.
Using your Deep Fryer
Your deep fryer is intended for household use only.
Kindly ensure that all the packaging has been removed from the unit. Remove any instruction, sticker etc. Ensure that the ratings on the fryer are same as the line voltage in Fig.1 the socket in which your are going to plug into.
This product is designed to fry foods as stated in this manual.
Before first use, pull on the basket handle until it locks horizontally (Fig.1). Press the open lid button & lift the basket out of the unit (Fig.2). Lift the non stick coated bowl (Fig.3). Wash the bowl & basket in warm water with a liquid detergent, rinse and dry thoroughly. Wipe shell and
inside of lid with clean, damp cloth. After thoroughly drying the cooking bowl replace it in the Fig.2 shell.
CAUTION: Do not use the fryer under cabinets or curtains. Never leave it unattended during use. During the first use, you may detect a slight odour which is normal. Place the empty basket in the bowl and close the lid. Press the handle release button to fold the handle basket down and lower it into the oil. Always close the lid before lowering the basket. Plug-in the unit and rotate the
thermostat control knob to the desired temperature base on the food that you want to fry. The indicator light will automatically come ON indicating that the coil is heating the oil inside the bowl. Fig.3
The indicator light will switch ON and OFF indicating the unit is preheating. Once the unit reaches its cooking temperature, the light will go out (in about 12 ~ 15 minutes) Preheating the empty basket in this way will help prevent food from sticking to it, and prevent food from absorbing oil.

Pull up the basket handle to lock in place (as in fig.1) and let it drain for a few seconds. Lift the lid and fill the basket with the appropriate amount of food. Do not over fill the basket. Use the chart and recipes in this book as your guide to determine food quantities temperature settings and time along with the graphics printed on the front of the unit for various foods. Turn the timer dial to the appropriate timing upto 30 minutes. With the lid still closed, press the handle release button and slowly fold back the handle to lower the basket into the hot oil, then lock the handle down into the unit. The heating light will cycle ON/OFF indicating that the unit is maintaining the cooking temperature. When the cooking is done, you must turn the thermostat to OFF position to shut off the unit. The power light will go off. The timer will count down the minutes and there will be an audible signal when time is up, however, the unit will NOT shut down automatically.
Although the unit is a cool touch unit, avoid touching the exterior of the unit during cooking and cool down period. Keep the lid closed during frying, you may peek into the viewing window to check the progress without opening the lid. You can use the wiper to wipe out the moisture collected on the window. However care should be taken as steam escaping from the filter may be hot and might cause burns. Avoid getting close to the vent and steam around the lid during cooking as there may be some steam escaping.
When cooking is done, lift up the basket handle so that it locks in place horizontally. Let the food drain for about 10~15 seconds, then press the open lid button and lid will pop open. Carefully lift the basket out ( be sure not to press the handle release button) and turn the food out onto a plate with paper toweling to drain. Replace the basket in the unit, close the unit and lower the basket back into the oil to re-heat. Repeat the above procedure as necessary to cook additional food. When finished, switch off the unit from the mains and unplug the power cord.
Note:- Care should be taken while opening the lid, as escaping steam can cause burns.
Replace the filters:-
These filters are intended to help cut down on frying odours and should always be in place when opening the fryer. Over time, they will become less effective. To change the filters, remove the vent lid and take out the three filter assembly. Replace the new one keeping the white filter down and the wire mesh on top. We recommend to replace filter after 50~60 fryings.
Note:- The timer is only for indications and does not turn off the power.
FRYING GUIDE
This frying time given in this chart are only a guide and should be adjusted according to the quantity fried.
Food |
Oil Temp (ºC) |
Max. Weight (Grams) |
Approx. Frying Time (Minutes) |
|
|
|
|
Shrimp |
130 |
250 |
3 to 5 |
|
|
|
|
Onion rings |
140 |
150 |
3 to 4 |
Mushroom |
140 |
300 |
6 to 8 |
Fish fillet |
150 |
250 |
5 to 6 |
Fish fillet in batter |
150 |
400 |
6 to 8 |
Fish cakes or balls |
150 |
400 |
7 to 10 |
Sliced meat |
170 |
400 |
7 to 10 |
Steak |
170 |
400 |
7 to 10 |
Chicken strips |
180 |
400 |
6 to 10 |
French fries |
190 |
500 |
9 to 12 |
CLEANING
Cleaning the Deep Fryer
•Make sure that the appliance has been unplugged and the temperature adjustor is in OFF position before cleaning. Start cleaning as shown below after the fryer and oil inside cool entirely to room temperature.
•Press the OPEN button and open the lid and remove the lid from the body.
•Lift up the basket handle to its highest horizontal position (until a CLICK sound is heard), and remove the basket from the pot.
•Remove the bowl carefully from the body.
•Clean the shell with a clean, damp cloth. Do not use scrubbing brushes or chemical cleaners.
 Loading...