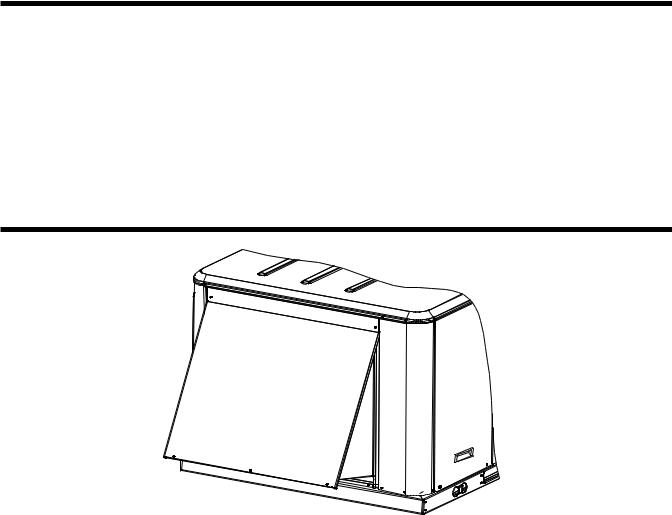
American Standard BAYDMPR051A, BAYDMPR052A, BAYDMPR054A, BAYDMPR055A Installation Manual

Installer's
Guide
Customer Property: Contains wiring and service information. Please retain.
|
DMPR-IN-38A |
|
18-HE60D104-1 |
|
|
Library |
Service Literature |
Product Section |
Unitary |
|
|
Product |
Unitary Accessories |
Model |
Econ., Dmprs. Motors, etc. |
|
|
Literature Type |
Installer's Guide |
Sequence |
38A |
|
|
Date |
October 2001 |
File No. |
SV-UN-ACC-DMPR-IN-38A 10/01 |
|
|
Supersedes |
-DMPR-IN-38 |
Models : |
Used With: |
BAYDMPR051A T*C036-060A*R Y*C036-060A*R WSC036-060A*R
BAYDMPR052A T*C036-060A*E Y*C036-060A*E
BAYDMPR054A T*C072-120A*R Y*C072-120A*R WSC072-120A*R
BAYDMPR055A T*C072-120A*E Y*C072-120A*E
0-50% Motorized
Outside Air Damper

Installation - Field Installed
Note: This instruction covers installation of BAYDMPR051A, BAYDMPR052A (T/W/Y036-060 units) and BAYDMPR054A,BAYDMPR055A (T/W/Y072-120 units)
Parts List
1 - Motorized OA Damper Assembly
10 - Screws (T/W/Y036-060 units)
12 - Screws (T/W/Y072-120 units)
1 - Sealant; Silicone Rubber
1 - Blockoff; Bottom
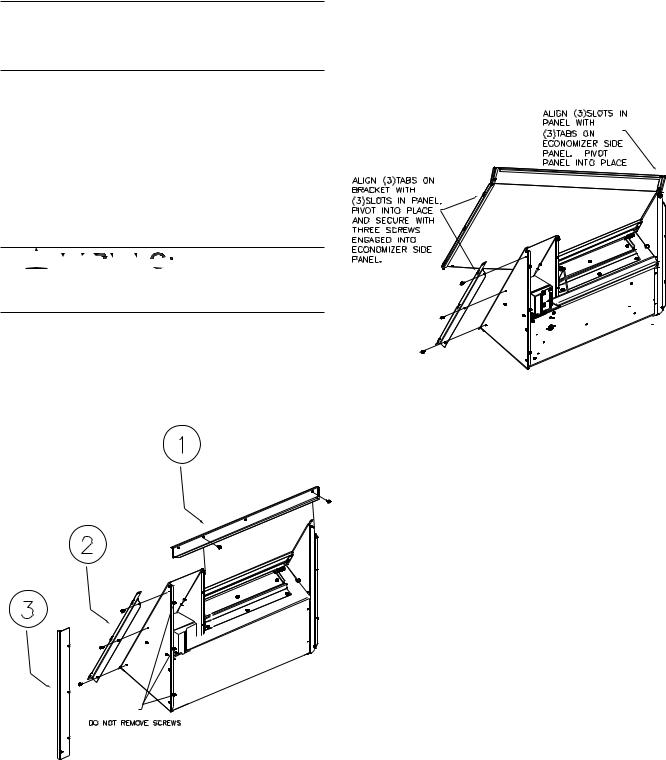
Uncrate the damper and locate all parts shown in Figure 1.


 OPEN AND LOCK UNIT DISCONNECT TO PREVENT INJURY OR DEATH FROM ELECTRICAL SHOCK OR CONTACT WITH MOVING PARTS.
Each damper ships with items 1, 2 and 3 attached. Remove screws completely from items 1 and 2. Remove item 3 by loosening the 3 screws but do not remove them. Refer to Figure 1.
Figure 1
1.Remove unit end panel, retain the screws removed from the top of panel and the screws removed from bottom of panel for use later.
2.To install the damper, lift into position by fitting the upper left hand corner around the channel in the cabinet post. Then pivot the economizer into the opening in the cabinet. Refer to Figure 3.
3.Once the damper is in place, lift the damper and panel assembly to align the upper two screw holes. Secure the top by inserting 2 screws, top left 1 then top right 2. Refer to Figure 3.
4.Pull out on the bottom of the damper and secure bottom left 3. Refer to Figure 3.
Figure 2
Downflow Installation
5.Remove the filter access panel. Position the adapter backing plate inside the filter section. The adapter backing plate will slip over the 3 screws that were loosened in Figure 1. Align the screw engagement hole in the adapter backing plate, with the screw clearance hole in panel and secure lower right side of damper with screw
4.Refer to Figure 3.
6.Install the bottom blockoff and secure with 3 screws. Refer to Figure 3.
7.Refer to Figure 6 for sealing instructions.
Wiring Connections
Reliatel Units
Locate unit wiring harness plug P7 and plug into J7 on the acturator motor.
Electromechanical Units
Locate unit wiring harness plug PPM2A and plug into the acturator motor wiring harness.
2
 Loading...