

Page 1
MANUFACTURING
NUMBERS:
9300400
9300401
9300402
9300403
9300404
9300405
ROLL RITE
Models RR-30, RR-50, RR-75
P/N 1011067 Rev. E 06/14
Owner’s Manual
Page 2
ROLL RITE
TABLE OF CONTENTS
Owner Information .....................................................2
General ......................................................................2
Warranty Information .................................................2
Service/Technical Assistance ....................................3
Important Safety Information ....................................3
Specifications .............................................................5
Dimensions ................................................................5
Specifications ............................................................5
Installation ...................................................................6
Unpacking ..................................................................6
Equipment Setup .......................................................6
OWNER INFORMATION
General
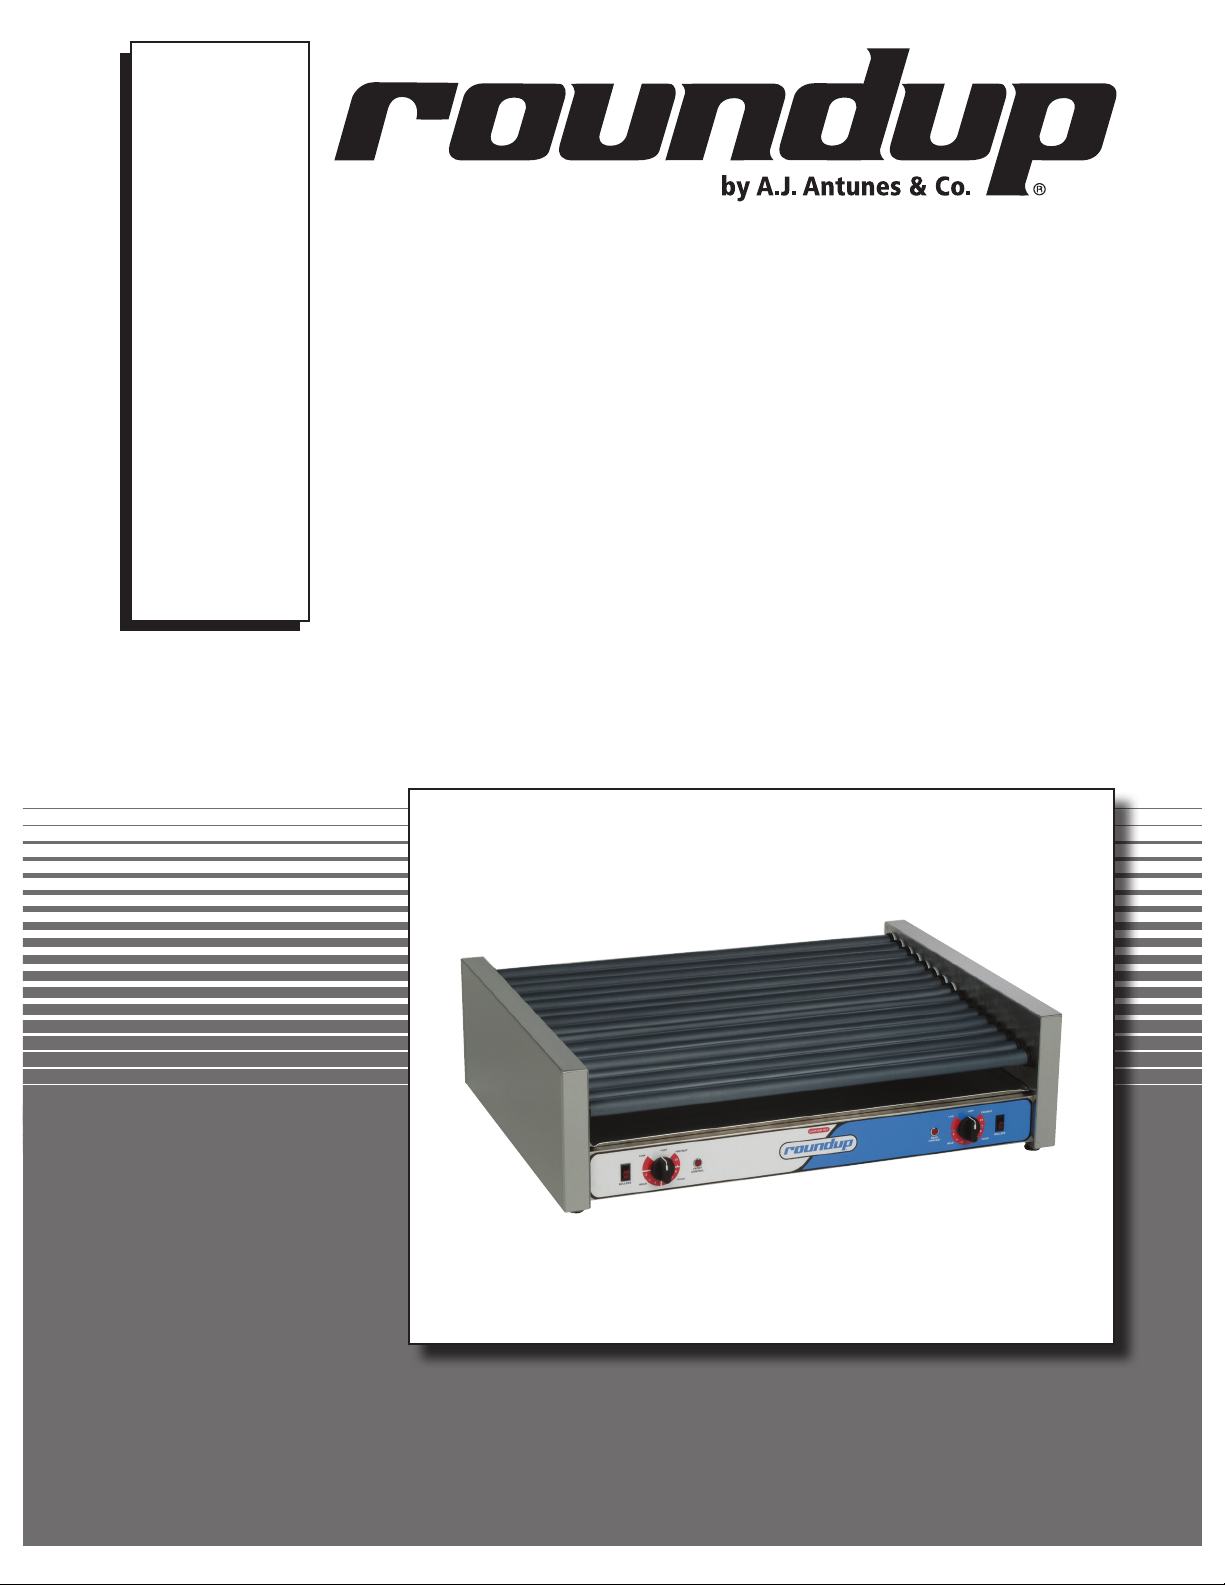
The Roll Rite unit is a unique and innovative roller grill.
Its oblong rollers ensure food products of different sizes
and shapes are continuously turned and always evenly
cooked. The versatile Roll Rite unit cooks egg rolls,
burritos, stuffed breadsticks, and taquitos.
This manual provides the safety, installation and operating procedures for the Roll Rite. We recommend that
all information contained in this manual be read prior to
installing and operating the unit.
The Roll Rite is manufactured from the finest materials
available and is assembled to Roundup’s strict quality
standards. This unit has been tested at the factory to
ensure dependable trouble-free operation.
Operation .....................................................................7
Operating Instructions ...............................................7
Operating Tips ...........................................................7
Maintenance ................................................................8
Cleaning ....................................................................8
Replacing the Motor ..................................................8
Replacing the Thermostat .........................................8
Replacing the Rollers ................................................9
Servicing the Unit ......................................................9
Replacement Parts ...................................................10
Limited Warranty ......................................Back Cover
Warranty Information
Please read the full text of the Limited Warranty in this
manual.
If the unit arrives damaged, contact the carrier immediately and file a damage claim with them. Save all
packing materials when filing a claim. Freight damage
claims are the responsibility of the purchaser and are
NOT covered under warranty.
The warranty does NOT extend to:
• Damages caused in shipment or damage as
result of improper use.
• Installation of electrical service.
• Normal maintenance as outlined in this manual.
• Malfunction resulting from improper maintenance.
• Damage caused by abuse or careless handling.
• Damage from moisture into electrical
components.
• Damage from tampering with, removal of, or
changing any preset control or safety device.
IMPORTANT! Keep these instructions for future reference.
If the unit changes ownership, be sure this manual accompanies the equipment.
2
P/N 1011067 Rev. E 06/14
Page 3
OWNER INFORMATION (continued)
ROLL RITE
Service/Technical Assistance
If you experience any problems with the installation
or operation of your unit, contact your local Roundup
Authorized Service Agency.
Fill in the information below and have it handy when
calling your authorized service agency for assistance.
The serial number is on the specification plate located
on the unit.
Purchased From:
Date of Purchase:
Model No.:
Serial No.:
Mfg. No.:
Refer to the service agency directory included with your
unit.
Authorized Service Agency
Name:
Phone No.:
Address:
Use only genuine Roundup replacement parts in this
unit. Use of replacement parts other than those supplied by the manufacturer will void the warranty. Your
Authorized Service Agency has been factory trained
and has a complete supply of parts for this toaster.
You may also contact the factory at 1-877-392-7854
(toll free in the U.S.) or 630-784-1000 if you have trouble locating your local Authorized Service Agency.
IMPORTANT SAFETY INFORMATION
Throughout this manual, you will find the following safety words and symbols that signify important safety
issues with regards to operating or maintaining the equipment.
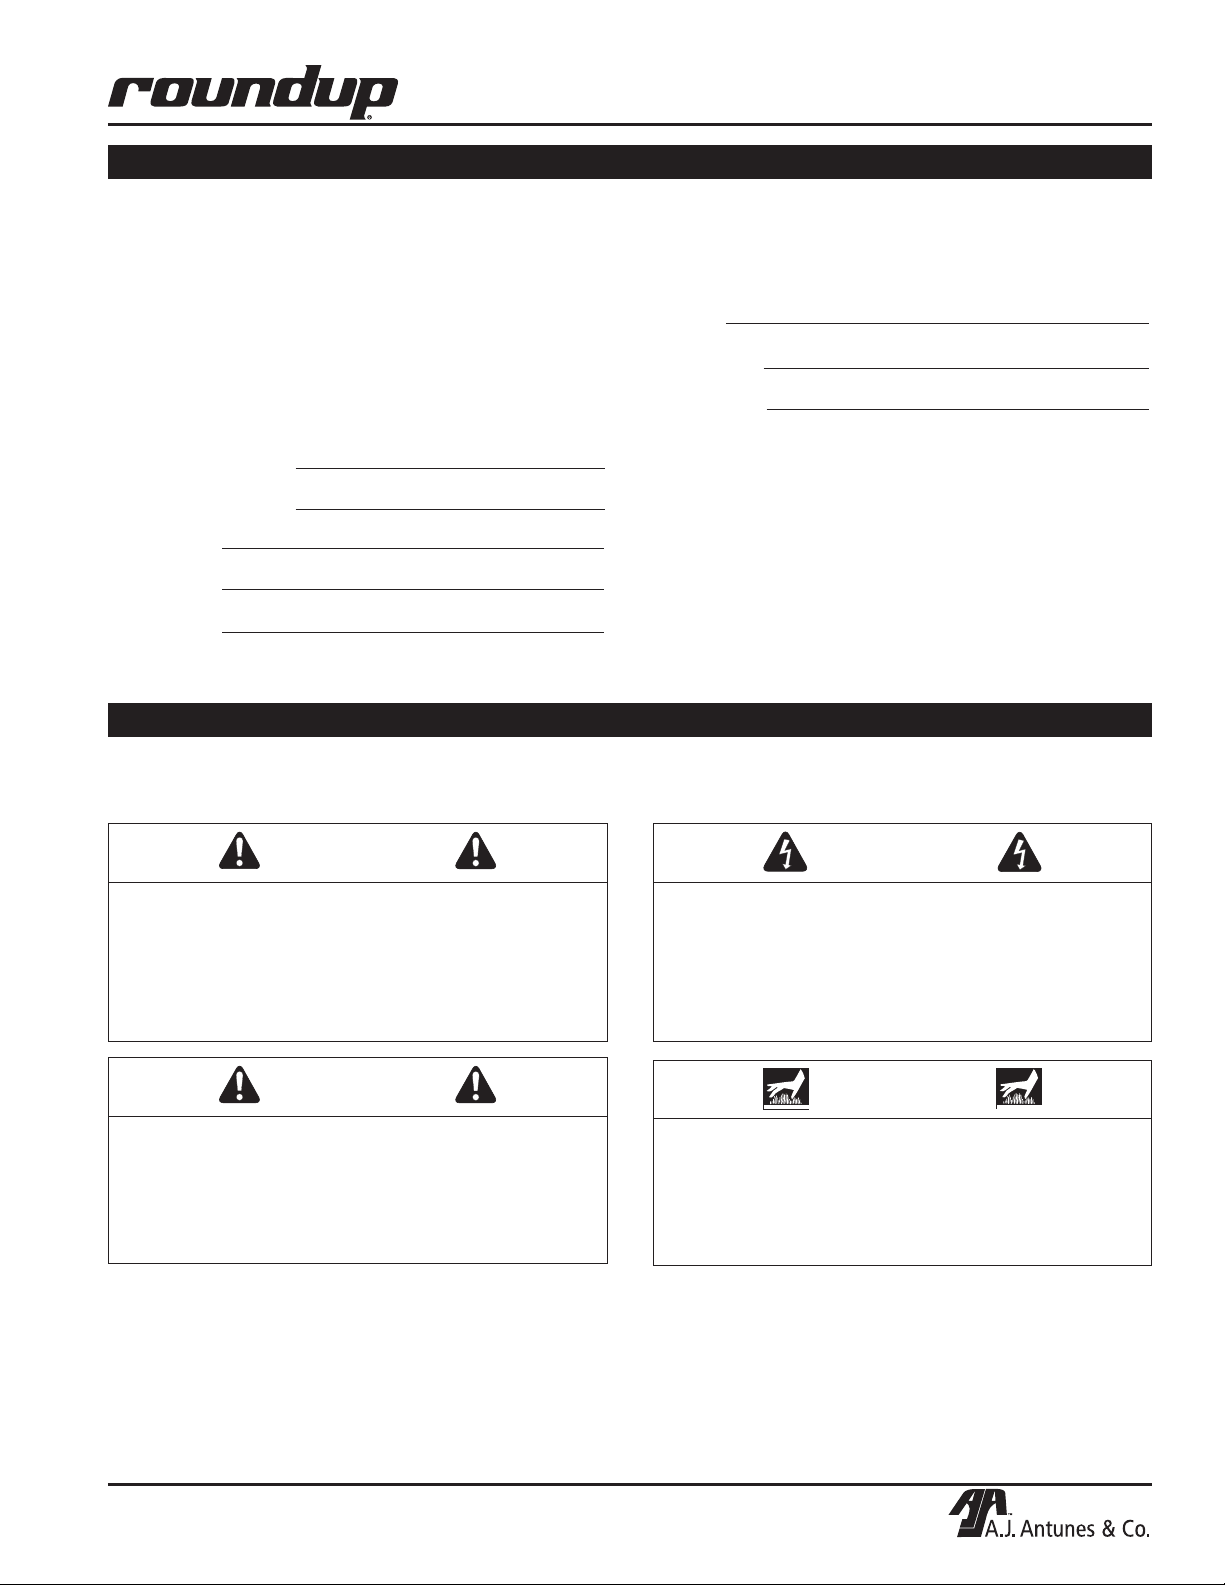
WARNING
GENERAL WARNING. Indicates information important to the proper operation of
the equipment. Failure to observe may
result in damage to the equipment and/or
severe bodily injury or death.
CAUTION
GENERAL CAUTION. Indicates information important to the proper operation of
the equipment. Failure to observe may
result in damage to the equipment.
WARNING
ELECTRICAL WARNING. Indicates information relating to possible shock hazard.
Failure to observe may result in damage
to the equipment and/or severe bodily
injury or death.
WARNING
HOT SURFACE WARNING. Indicates
information important to the handling of
equipment and parts. Failure to observe
caution could result in personal injury.
P/N 1011067 Rev. E 06/14
3
Page 4

ROLL RITE
IMPORTANT SAFETY INFORMATION (continued)
In addition to the warnings and cautions in this manual,
use the following guidelines for safe operation of the
unit:
• Read all instructions before using equipment.
• For your safety, the equipment is furnished with
a properly grounded cord connector. Do NOT
attempt to defeat the grounded connector.
• Install or locate the equipment only for its intended use as described in this manual. Do NOT use
corrosive chemicals in this equipment.
• Do NOT operate this equipment if it has a damaged cord or plug, if it is not working properly, or
if it has been damaged or dropped.
• This equipment should be serviced by qualified
personnel only. Contact the nearest Authorized
Service Agency for adjustment or repair.
• Do NOT block or cover any openings on the unit.
• Do NOT immerse cord or plug in water.
• Keep cord away from heated surfaces.
• Do NOT allow cord to hang over edge of table or
counter.
The following warnings and cautions appear
throughout this manual and should be carefully
observed:
• Turn the power off, unplug the power cord,
and allow unit to cool down before performing
any service or maintenance.
• The procedures in this chapter may include
the use of chemical products. These chemical products will be highlighted with bold
face letters followed by the abbreviated HCS
(Hazard Communication Standard). See
Hazard Communication Standard manual for
the appropriated Material Safety Data Sheets
(MSDS).
• The unit should be grounded according to
local electrical codes to prevent the possibility of electrical shock. It requires a grounded
receptacle with separate electrical lines, protected by fuses or circuit breaker of the proper rating.
• All electrical connections must be in accordance with local electrical codes and any
other applicable codes.
• WARNING ELECTRICAL SHOCK HAZARD.
FAILURE TO FOLLOW THESE INSTRUCTIONS
COULD RESULT IN SERIOUS INJURY OR
DEATH.
- Electrical ground is required on this appliance.
- Do NOT modify the power supply cord
plug. If it does not fit the outlet, have a
proper outlet installed by a qualified electrician.
- Do NOT use an extension cord with this
appliance.
- Check with a qualified electrician if you
are unsure if the appliance is properly
grounded.
• This equipment is to be installed to comply with the basic plumbing code of the
Building Officials and Code Administration,
Inc. (BOCA) and the Food Service Sanitation
Manual of the Food and Drug Administration
(FDA).
• Do NOT clean this appliance with a water jet.
• Do NOT use a sanitizing solution or abrasive
materials. The use of these may cause damage to the stainless steel finish.
• Chlorides or phosphates in cleaning agents
(e.g. bleach, sanitizers, degreasers or detergents) could cause permanent damage to
stainless steel equipment. The damage is
usually in the form of discoloration, dulling
of metal surface finish, pits, voids, holes or
cracks. This damage is permanent and NOT
covered by warranty.
• The following tips are recommended for maintenance of your stainless steel equipment.
- Always use soft, damp cloth for cleaning,
rinse with clear water and wipe dry. When
required, always rub in direction of metal
polish lines.
- Routing cleaning should be done daily
using soap, ammonia detergent and water.
- Stains and spots should be removed
using a vinegar solution as required.
- Finger marks and smears should be
rubbed off using soap and water.
- Hard water spots should be sponged
using a vinegar solution.
4
P/N 1011067 Rev. E 06/14
Page 5

Dimensions
ROLL RITE
SPECIFICATIONS
A
B
C
Model &
Mfg. No.
RR-30
9300400
9300401
RR-50
9300402
9300403
RR-75
9300404
9300405
Capacity
30 11
50 11
75 16
Specifications
Model &
Mfg. No.
RR-30
9300400
9300401
RR-50
9300402
9300403
RR-75
9300404
9300405
Volts Watts Amps Hertz Hold Range Cook Range
120 1100 9.2 60
120 1430 11.9 60
120 1920 16 60
No. of
Rollers
Width
(A)
23 3/4”
(603 mm)
35 3/4”
(908 mm)
35 3/4”
(908 mm)
Depth
(B)
18 9/16”
(471 mm)
18 9/16”
(471 mm)
26 3/8”
(670 mm)
Height
(C)
10 3/16”
(259 mm)
10 3/16”
(259 mm)
10 3/16”
(259 mm)
140°F to 180°F
(60°C to 82°C)
140°F to 180°F
(60°C to 82°C)
140°F to 180°F
(60°C to 82°C)
Operating
Weight
45 lbs.
(20 kg)
65 lbs.
(29 kg)
80 lbs.
(36 kg)
180°F to 220°F
(82°C to 104°C)
180°F to 220°F
(82°C to 104°C)
180°F to 220°F
(82°C to 104°C)
Shipping
Weight
55 lbs.
(25 kg)
75 lbs.
(34 kg)
95 lbs.
(43 kg)
P/N 1011067 Rev. E 06/14
5
Page 6

ROLL RITE
INSTALLATION
Safety Information
1. Plug the electrical cord into a certified electrical outlet with a corresponding voltage rating as
listed on the machine model labels. Units with two
cords must be plugged into outlets on individual
branch circuits.
2. There is one motor in the units that have one on/
off switch.
3. There are two motors in units that have two on/
off switches. The left switch controls the rotation
of the front set of rollers and the right switch controls the rotation of the rear set of rollers.
4. On units with two temperature controls, the left
dial controls the front half of the rollers which are
denoted by black bearings. The right dial controls
the rear rollers, which have white bearings.
5. Units with four temperature controls operate from
left to right across the front panel.
Switch #1 controls the heat in the front four rollers
1-4, which are designated by black bearings.
Switch #2 controls the heat in the next four rollers
5-8, which are designated by white bearings.
Switch #3 controls the heat in the next four rollers
9-12, which are designated by white bearings.
Switch #4 controls the heat in the next four rollers
13-16, which are designated by black bearings.
Unpacking
1. Remove unit and all packing materials from shipping carton.
2. Open the large box. Remove all packing materials and protective coverings from the unit and
parts.
NOTE: If any parts are missing or damaged,
contact Antunes Technical Service IMMEDIATELY
at 1-877-392-7854.
3. Wipe all surfaces of the unit with a hot, damp cloth.
NOTE: Do NOT use a dripping wet cloth. Wring out
before use.
Equipment Setup
CAUTION
All electrical connections must be in accordance
with local electrical codes and any other applicable codes.
WARNING
ELECTRICAL SHOCK HAZARD. FAILURE TO
FOLLOW THE INSTRUCTIONS IN THIS MANUAL
COULD RESULT IN SERIOUS INJURY OR DEATH.
• Electrical ground is required on this appliance.
• Do NOT modify the power supply cord plug. If
it does not fit the outlet, have a proper outlet
installed by a qualified electrician.
• Do NOT use an extension cord with this
appliance.
• Check with a qualified electrician if you are
unsure if the appliance is properly grounded.
• Do NOT block or cover any openings on the unit.
• Do NOT immerse cord or plug in water.
• Keep cord away from heated surfaces.
• Do NOT allow cord to hang over edge of table or
counter.
• Place unit on a sturdy, level table or work surface.
• Ensure that the line voltage corresponds to the
stated voltage on the unit specification label.
• Do NOT use an extension cord with this appliance.
Preparation
1. Set the unit on a flat surface.
2. Position the unit near the power outlet. Avoid the
use of extension cords.
3. Clean unit thoroughly before use.
4. If unit fails to operate properly when first
installed, call Antunes Technical Service at 1-877-
392-7854.
When placing the unit into service, pay attention to the
following guidelines:
• Make sure power to the unit is off and the unit is
at room temperature.
Electrical
Refer to the product tag on the serial plate on the back
of the unit for voltage and wattage requirements. Be
sure to plug the unit into an outlet with sufficient power.
6
P/N 1011067 Rev. E 06/14
Page 7

OPERATION
Startup Instructions
1. Turn the power on and ensure the rollers are
turning.
2. Set the Temperature Controls to the desired setting.
Knob Setting 2: temperature at 150°F (HOLD)
Knob Setting 4: temperature at 180°F (HOLD)
Knob Setting 8: temperature at 220°F (COOK)
Knob Setting 10: temperature at 300°F
(PREHEAT)
3. Allow the rollers to heat for 5 to 10 minutes
before placing product on the rollers.
4. Use plastic tongs to remove finished product from
the rollers.
NOTE: Do NOT use any metal objects on the rollers
as they could cause serious damage.
ROLL RITE
Operating Tips
During slow sales periods, turn the Rear Temperature
Control to low heat and fill with product. Keep Front
Temperature Control on medium and serve product
from there.
During busy periods, set Rear Temperature Control to
medium and Front Temperature Control to high. Serve
from the front rollers first.
During very busy periods, set all Temperature Controls
to high. Fill all rollers with product. At this temperature,
product should be sold within 15 minutes.
NOTE: Never serve product from low heat if not
approved by the health department.
NOTE: Never change product from high heat to low
heat as this causes the product to shrivel.
P/N 1011067 Rev. E 06/14
7
Page 8

ROLL RITE
MAINTENANCE
Cleaning
1. Set the Temperature Controls to high and turn all
rollers on.
NOTE: Always start at the end of the rollers and
wipe towards the center.
2. Use a soft cloth to wipe the rollers clean.
3. If the buildup on the rollers can not be removed
by wiping with a wet cloth, wrap some ice cubes
in a soft towel and rub over the rollers.
NOTE: Do NOT use any metal objects on the rollers
as they could cause serious damage.
4. Remove the drip pan and clean with mild soap
and water.
WARNING
Turn the power off, unplug the power cord, and
allow the unit to cool down before performing any
service or maintenance.
Replacing the Motor
1. Unplug the power cord and allow the unit to cool.
2. Remove the end cover from the motor side.
NOTE: On single motor units, the motor is on the
left. On dual motor units, there is a motor on each
side. The left drives the front rollers and the right
drives the rear rollers.
3. Disconnect the chain from the motor sprocket and
remove the motor sprocket from the motor.
4. Turn the unit over and remove the bottom cover.
5. Disconnect the motor wires and remove the
motor screws.
6. Remove the motor and replace with the new
motor.
7. Insert the motor screws and connect the motor
wires to the new motor.
8. Reassemble the unit, plug in the power cord, and
test before returning to service.
Replacing the Thermostat
1. Unplug the power cord and allow the unit to cool.
2. Remove the knobs and drip pan.
3. Turn the unit over and remove the bottom cover.
4. Loosen the nuts or screws holding the thermostat
in place.
5. Disconnect the wires from the thermostat.
6. Remove the thermostat and replace with the new
thermostat.
7. Reconnect the wires.
8. Reassemble the unit, plug in the power cord, and
test before returning to service.
8
P/N 1011067 Rev. E 06/14
Page 9

MAINTENANCE (continued)
ROLL RITE
Replacing the Rollers
1. Unplug the power cord and allow the unit to cool.
2. Remove the end cover from each side of the unit.
3. Remove the wires and clips from both ends of the
element and remove the element.
4. Remove the motor sprocket with a 3/32” Allen
wrench.
5. Remove the chain guard by removing the two
screws.
6. Disconnect the chain from the motor and rollers.
7. Remove the rollers and replace with new rollers.
8. Reassemble the unit, plug in the power cord, and
test before returning to service.
Servicing the Unit
IF PILOT LIGHTS DON’T WORK
1. Unplug the power cord and allow the unit to cool.
2. Open the control panel by removing both end
covers.
3. Inspect control panel for loose connections.
4. If unit is properly wired, replace the pilot light.
5. Replace the end covers, plug in the power cord,
and test the unit before returning it to service.
IF UNIT BLOWS A FUSE OR CIRCUIT BREAKER
Check the capacity of the circuit being used to ensure
it isn’t overloaded. Then unplug the unit and check its
wiring for short circuits.
IF ROLLERS DON’T TURN
1. Unplug the power cord and allow the unit to cool.
2. Remove the end covers from the unit.
3. Remove the drive chain from the sprocket on the
motor shaft. If the rollers turn easily, replace the
motor.
4. Remove the chain guard and inspect the sprockets on the end of each roller. If they are loose,
worn, or out of alignment, replace the roller.
5. If the rollers are hard to turn by hand (without the
chain attached), remove and clean out any accumulated debris in the bearings and on the rollers.
6. Before reconnecting the chain to the motor, pull
the chain by hand. The chain should pull the rollers easily and freely and should not ride up on
the sprockets of the rollers and jam against the
top of the chain guard.
7. Reassemble the unit, plug in the power cord, and
test before returning to service.
IF ROLLERS DON’T HEAT
Ensure the power cord is plugged into the proper voltage outlet. If properly connected and still no heat, call
technical service at 877-392-7854.
P/N 1011067 Rev. E 06/14
9
Page 10

ROLL RITE
REPLACEMENT PARTS
16
15
14
13
12
1
17
2
3
4
9
10
11
8
28
5
6
7
10
P/N 1011067 Rev. E 06/14
Page 11

REPLACEMENT PARTS (continued)
ROLL RITE
Item Part Description Qty.
No.
1 7000592 Rocker Switch (Power) 1
2 7000593 Knob 1
3 7000594 Pilot Light 1
4 7000595 Thermostat 1
5 7000596 Element Clip 1
6 7000597 #8 Sheet Metal Screw 1
7 7000598 Motor Sprocket 1
8 7000599 Motor Right 1
9 7000600 Motor Left 1
10 7000608 RR-30 Drip Tray 1
(Mfg. No. 9300400 only)
7000609 RR-50 Drip Tray 1
(Mfg. No. 9300402 only)
7000610 RR-75 Drip Tray 1
(Mfg. No. 9300404 only)
11 7000606 RR-30/RR-50 Foot Assembly 1
(Mfg. No. 9300400 & 9300402 only)
7000607 RR-75 Foot Assembly 1
(Mfg. No. 9300404 only)
12 7000586 RR-30 Element 1
(Mfg. No. 9300400 only)
7000587 RR-50 Element 1
(Mfg. No. 9300402 only)
7000588 RR-75 Element 1
(Mfg. No. 9300404 only)
Item Part Description Qty.
No.
13 7000589 RR-30 Roller 1
(Mfg. No. 9300400 only)
7000590 RR-50/RR-75 Roller 1
(Mfg. No. 9300402 & 9300404 only)
14 7000602 Grease Seal 1
15 7000603 White Bearing 1
16 7000605 Black Bearing 1
17 7000604 Idler Arm Assembly 1
18* 7000582 RR-30/RR-50 Cord Set 1
(Mfg. No. 9300400 & 9300402 only)
19* 7000583 RR-30/RR-50 Cord Grip 1
(Mfg. No. 9300400 & 9300402 only)
20* 7000584 RR-75 Cord Set 1
(Mfg. No. 9300404 only)
21* 7000585 RR-75 Cord Grip 1
(Mfg. No. 9300404 only)
22* 7000611 RR-30/RR-50 Chain 1
(Mfg. No. 9300400 & 9300402 only)
23* 7000613 RR-75 Chain 1
(Mfg. No. 9300404 only)
24* 7000614 RR-75 Chain 1
(Mfg. No. 9300404 only)
25* 7000601 Small Brass Washer 1
for Idler Arm Assembly (No. 17)
26* 7000636 Divider Kit for RR-50 1
27* 7000637 Divider Kit for RR-30 1
28* 7000638 Divider Kit for RR-75 1
29 0506800 Bracket, Roller 1
P/N 1011067 Rev. E 06/14
* not shown
11
Page 12

LIMITED WARRANTY
Equipment manufactured by Roundup Food Equipment Division of A.J. Antunes & Co. has been constructed of
the finest materials available and manufactured to high quality standards. These units are warranted to be free
from electrical and mechanical defects for a period of one (1) year from date of purchase under normal use and
service, and when installed in accordance with manufacturer’s recommendations. To insure continued operation of the units, follow the maintenance procedures outlined in the Owner’s Manual. During the first 12 months,
electro-mechanical parts, non-overtime labor, and travel expenses up to 2 hours (100 miles/160 km), round trip
from the nearest Authorized Service Center are covered.
1. This warranty does not cover cost of installation, defects caused by improper storage or handling prior to placing of the Equipment. This warranty does not cover overtime charges or work done by unauthorized service
agencies or personnel. This warranty does not cover normal maintenance, calibration, or regular adjustments
as specified in operating and maintenance instructions of this manual, and/or labor involved in moving adjacent
objects to gain access to the equipment. This warranty does not cover consumable/wear items. This warranty
does not cover damage to the Load Cell or Load Cell Assembly due to abuse, misuse, dropping of unit/shock
loads or exceeding maximum weight capacity (4 lbs). This warranty does not cover water contamination problems such as foreign material in water lines or inside solenoid valves. It does not cover water pressure problems
or failures resulting from improper/incorrect voltage supply. This warranty does not cover Travel Time & Mileage
in excess of 2 hours (100 miles/160 km) round trip from the nearest authorized service agency.
2. Roundup reserves the right to make changes in design or add any improvements on any product. The right
is always reserved to modify equipment because of factors beyond our control and government regulations.
Changes to update equipment do not constitute a warranty charge.
3.
If shipment is damaged in transit, the purchaser should make a claim directly upon the carrier. Careful inspection
should be made of the shipment as soon as it arrives and visible damage should be noted upon the carrier’s receipt.
Damage should be reported to the carrier. This damage is not covered under this warranty.
4. Warranty charges do not include freight or foreign, excise, municipal or other sales or use taxes. All such freight
and taxes are the responsibility of the purchaser.
5. THIS WARRANTY IS EXCLUSIVE AND IS IN LIEU OF ALL OTHER WARRANTIES, EXPRESSED OR IMPLIED,
INCLUDING ANY IMPLIED WARRANTY OR MERCHANTABILITY OR FITNESS FOR A PARTICULAR PURPOSE, EACH OF WHICH IS HEREBY EXPRESSLY DISCLAIMED. THE REMEDIES DESCRIBED ABOVE
ARE EXCLUSIVE AND IN NO EVENT SHALL ROUNDUP BE LIABLE FOR SPECIAL CONSEQUENTIAL OR
INCIDENTAL DAMAGES FOR THE BREACH OR DELAY IN PERFORMANCE OF THIS WARRANTY.
 Loading...