


EXOS-9
Quick Start Guide
v:16.1

THANK YOU.
We’ve resurrected the iconic Aiwa brand in the passionate pursuit of bringing people together around music. We do this with a simple formula; creating amazing speakers that deliver the music you love, the way it was meant to be heard.
We’re thrilled that you’ve chosen the Exos-9 to enhance your listening experience. Welcome to the Aiwa family.
1

GETTING STARTED - BATTERY
Setting up your Exos-9 couldn’t be easier. First, install the battery pack.
There is a small latch on the bottom of the unit that keeps the battery in place. When installing the battery, insert the tabs on the left first, and push the battery in until the latch clicks. To remove the battery, pull the catch on the latch outward.
2
GETTING STARTED - PAIRING
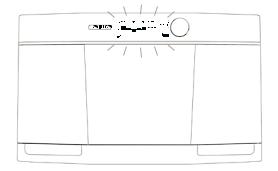
Connect the power cord to the back of the Exos-9 and turn the power on using the switch, located in the rear near the power cord. The screen will illuminate. Now you’re ready to listen!
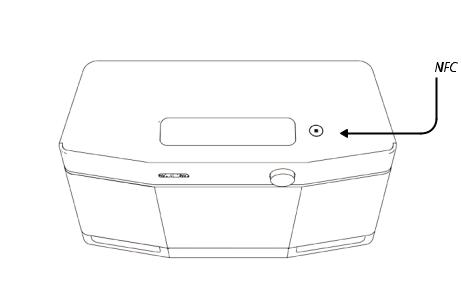
The Exos-9 is always available to pair - in other words, there is no need for “pairing mode.” Just turn it on and search for it on your smartphone or other Bluetooth-capable device, or simply tap your phone to the NFC touch-point on top of
the speaker.
The Exos-9 will remember the last 8 devices paired, and will automatically connect when in range and powered on.
Note: The LINK button is only for connecting two Exos-9 speakers in mirror or stereo mode. Since it’s always in “pairing” mode, there is no need for an extra button to connect to your device.
3
GETTING STARTED - PAIRING
Make sure Bluetooth is active on your device. If your device supports NFC pairing, touch it to the NFC icon in the circle on top of the device, just to the right of the button panel.
Otherwise, search for nearby Bluetooth devices. The speaker will appear as “Aiwa Exos-9.”
4
 Loading...