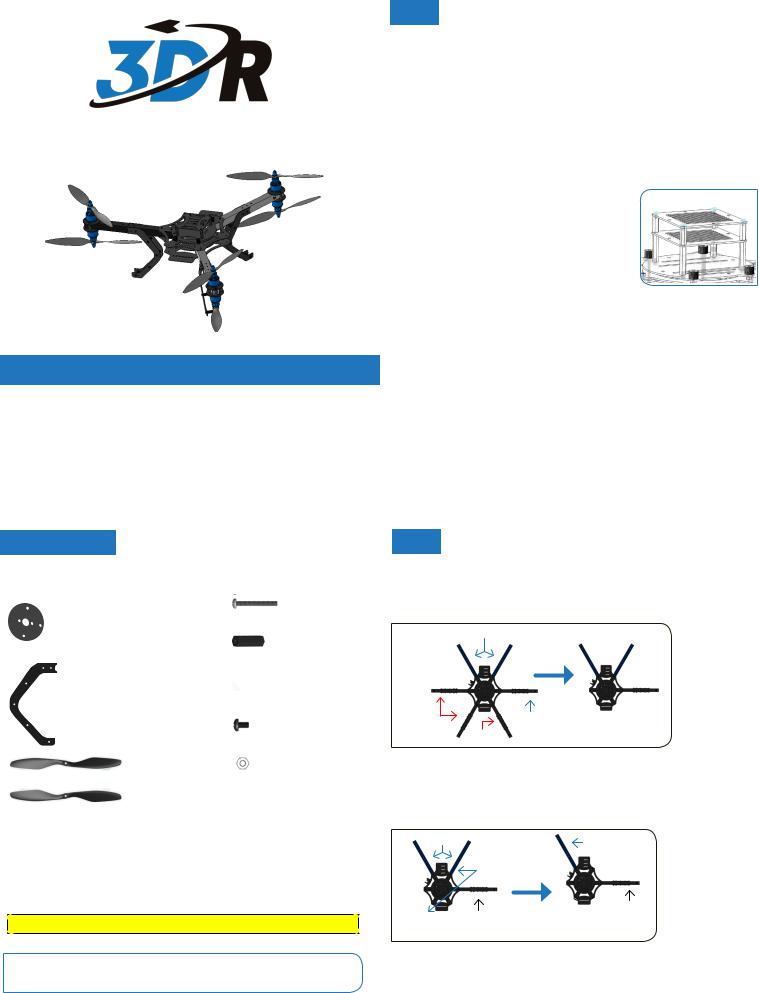
3D Robotics 3DR Hexa-to-Y6 User Manual

3DR Hexa-to-Y6 Conversion Kit
ASSEMBLY INSTRUCTIONS
Introducing the 3DR Y6 – an exciting new option in the 3D Robotics product lineup. With its lightweight and compact design, the Y6 provides enhanced agility and stability in all conditions, an open-view camera platform, and operational redundancy to withstand in-flight motor failure. This manual will guide you through the process of transforming your 3DR Hexa into a Y6.
1 Deconstruct frame
First deconstruct your Hexa’s frame to allow us to alter the configuration of the motors and arms.
Remove legs
Remove the two bolts securing leg to the arm. Repeat for all three legs.
Remove propellers
Unscrew nut; remove spacer and propeller. Repeat for all six propellers.
Separate stack-ups, APM, and mounting plate |
|
|
Unscrew the top four bolts of the stack. |
Stack-ups |
|
Remove top plate. Disconnect any cables |
||
|
||
connected to your APM. |
|
|
Unscrew spacers; remove bottom stack-up |
|
|
plate (with APM). |
|
|
Remove remaining spacers and thumbnuts |
|
|
to detach mounting plate. |
|
Disconnect ESCs
Disconnect electronic speed controller (ESC) three-wire cables from power distribution board (PDB) signal pins. Disconnect ESC Deans connectors from Deans connectors on PDB.
Disconnect ESC bullet connectors from motor cables; cut zip ties attaching ESC to arm. Repeat for all six ESCs.
Note: If you soldered ESCs directly to motor cables, you’ll need to cut the cables between ESCs and motors attached to arms we will remove in the next step.
Wait to resolder until you’ve verified motor spin direction.
Disconnect motors
Remove two bolts attaching motor to arm. Repeat for all six motors.
CONTENTS
Thank you for purchasing a 3DR Y6 conversion package!
This kit contains: |
x12 |
|
|
||
|
25 mm stainless steel bolt |
|
x6 |
x12 |
|
Co-axial motor mounting plate |
||
18 mm threaded hex spacer |
||
|
||
|
x12 |
|
|
19 mm hollow spacer |
x6
C-type landing gear
11 x 4.7 normal propellerx2
11 x 4.7 pusher propeller x1 (+1 spare)
You will also need:
»» A fully assembled 3DR Hexa-C or Hexa-B »» Phillips screwdriver (small)
»» 5.5 mm (7/32) wrench
»» Threadlock compound
x24
5 mm black nylon bolt
x12
Metal hex nut
Safety Check! Disconnect battery before modifying your copter.
Make sure to save your parts during the following steps. We’ll reuse them later in the conversion process.
2 Create the Y
Detach extra arms
Remove three black arms, leaving one black arm directly to the right of the blue arms.
Blue arms: keep!
Remove |
Keep! |
extra black |
Remove |
arms |
For each extra arm, remove the two bolts securing arm to frame. Remove motors completely from detached arms.
Move blue arm
Blue arms |
Blue arm |
|
Move to position |
|
directly across |
Black arm
Black arm
 Blue arm
Detach the blue arm adjacent to remaining black arm. Move to position directly across frame. Reattach to frame in new position using the same two bolts. Your copter’s arms should now form an evenly spaced Y.
©2013 3D Robotics
 Loading...