


VL Visual Editor
Manual
Important Notices
The VL Visual Editor (the Visual Editor) provides an easy, intuitive way to create, edit, and save basic voices for Yamaha VL Plug-in Board.
Do not operate the “mother” synthesizer/ tone generator while editing voices using the Visual Editor since you may inadvertently change the voice edit parameters by operating the hardware.
Copyright Notices
• The software and this owner’s manual are the exclusive copyrights of Yamaha Corporation.
•Copying of the software or reproduction of this manual in whole or in part by any means is expressly forbidden without the written consent of the manufacturer.
•Copying of the commercially available music sequence data and/or digital audio files is strictly prohibited except for your personal use.
Trade Marks and Registered Trade Marks
•OMS® and 
 are trademarks of Opcode Systems, Inc.
•The company names and product names in this Owner’s Manual are the trademarks or registered trademarks of their respective companies.
Notices
•Yamaha makes no representations or warranties with regard to the use of the software and documentation and cannot be held responsible for the results of the use of this manual and the software.
•The windows and illustrations in this manual are for instructional purposes only, and may slightly different from the ones shown on your software.
About this manual
The screens shown in this manual are almost all on Windows systems. Although some screens may differ for Macintosh systems, the basic operations are the same.
For Windows users
When you use the VL Visual Editor, set “Font Size” to “Small Fonts” at the “Control Panel | Display | (Settings |) Advanced” page. If “Large Fonts” is selected, messages in some dialog boxes may not be displayed properly.
For Macintosh users
When you use the VL Visual Editor on MacOS 8.5 or later, set “Large System Font” to “Charcoal” at the “Control Panels | Appearance | Font” page. Also, uncheck the “Smooth all fonts on screen” check box.
Copyright (c) 2001 Yamaha Corporation. All rights reserved.
Version 1.0, 2001
YAMAHA CORPORATION

Editing Procedure
The Visual Editor mainly consists of two windows: the Synthesis Window and Edit Window.
Synthesis
Edit
zSelect the combination of the Driver, Pipe/Strings and Variation to synthesize in the Synthesis Window.
xSwitch to the Edit Window after the selection. This process automatically creates a voice (a set of new voice parameters).
cMake detailed changes on the parameters in the Edit Window to complete the new voice.
2

MIDI Settings
Windows
Select [VL Visual Editor MIDI...] from the [Setup] Menu to open the dialog box, which lets you select the MIDI Port, Device Number and Transmit Channel to send. Set the same MIDI Port, Device Number and Transmit Channel as the ones you set for the tone generator.
The Visual Editor is valid for the VL voice assigned to Part 1. Set the VL voice to Part 1 by operating the “mother” synthesizer/ tone generator.
Macintosh
Select [MIDI…] or [Choose Input/Output…] from the [Window] Menu to open the following dialog boxes.
3
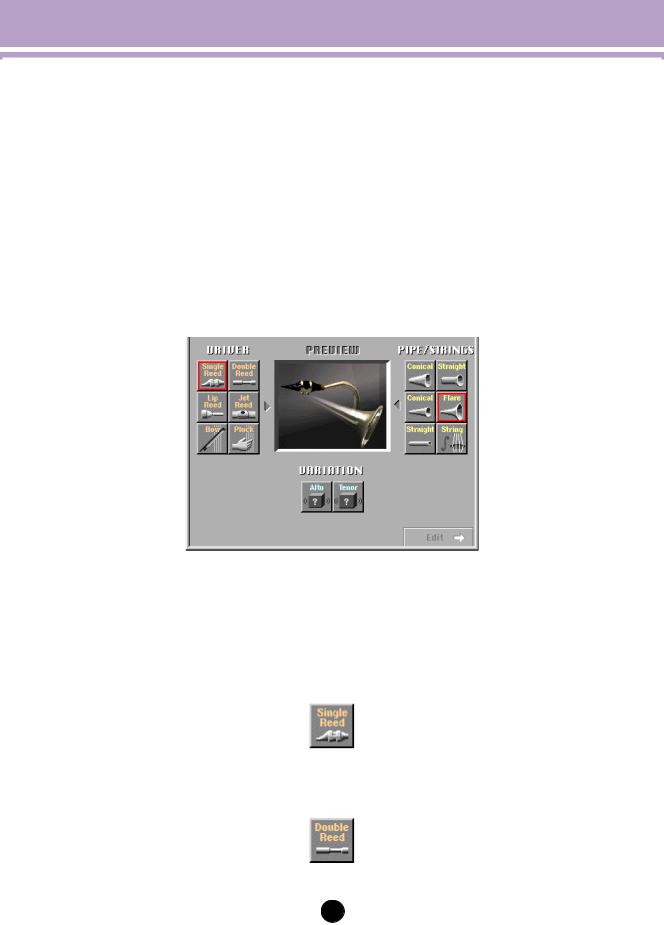
Synthesis Window
Click on any of the “DRIVER” options to the left of the window to select it (the selected driver will be outlined in red). Next click on one of the PIPE/STRINGS options to the right of the window — the selected PIPE/STRINGS option will be outlined in red. A composite image representing the selected DRIVER and PIPE/STRINGS options will appear in the “PREVIEW” window. TheVARIATION“ ” buttons will also appear and be selectable. If one of the “VARIATION” buttons in the lower part of the window is now clicked, the corresponding voice data will be transmitted to, and can be played via, the connected tone generator. The transmitted voice will sound briefly when the data has been successfully transmitted.
When the transmission process is completed, the Visual Editor informs you of it by playing a broken chord using the transmitted voice. You can audition the edited voice as a broken chord by clicking the composite image.
The DRIVER Options
The Visual Editor provides 6 DRIVER options. This is the part of the instrument which generates the energy which will be converted into sound and subsequently “shaped” by the PIPE/STRINGS section.
• Single Reed
A single-reed woodwind mouthpiece like the type used on a saxophone or clarinet.
• Double Reed
A double-reed woodwind mouthpiece like the type used on an oboe or bassoon. The “grass flute” also works on this principle.
4
Synthesis Window
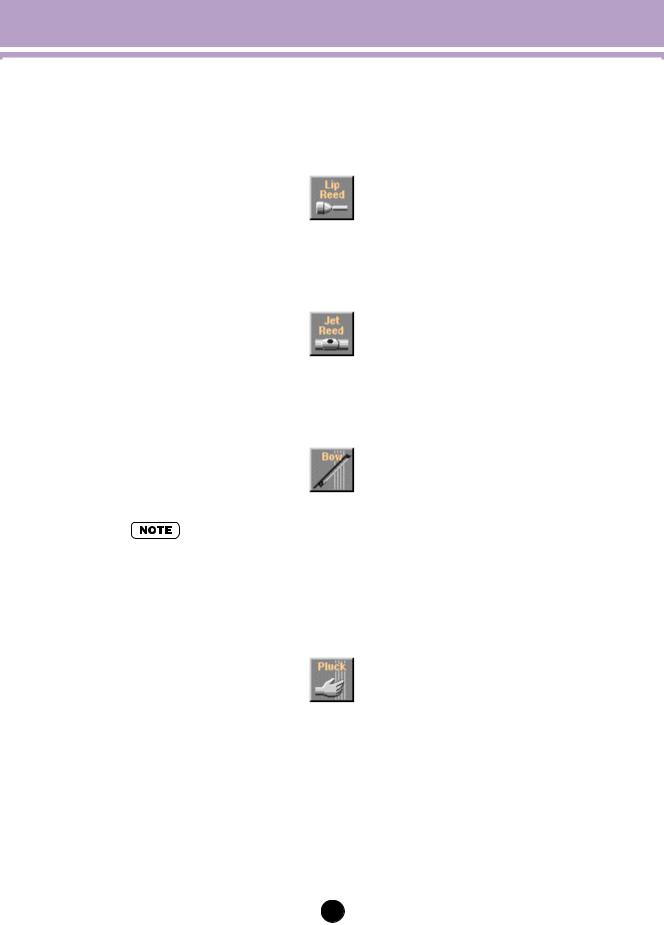
• Lip Reed
In a trumpet, the player’s lips are pressed against a specially-shaped mouthpiece and forced to vibrate in response to the player’s breath pressure. The trombone, horn, tuba, and most other brass instruments work on this principle.
• Jet Reed
The flute, pan pipes and shakuhachi all work on the “jet reed” principle: i.e. sound is generated by the air turbulence produced by blowing across a solid edge.
• Bow
A bow drawn across a string causes the string to vibrate, thereby generating rubbedstring instrument sound: violin, cello, contrabass, etc.
•Selecting the Bow (DRIVER) and String (PIPE/STRINGS) combination allows you to select Analog synthesizer waves in VARIATION.
•Pluck
Guitar, mandolin, and harp are all plucked string instruments. “Pizzicato” is plucked violin, viola, etc. This driver corresponds to plucking a string to produce sound.
5
Synthesis Window
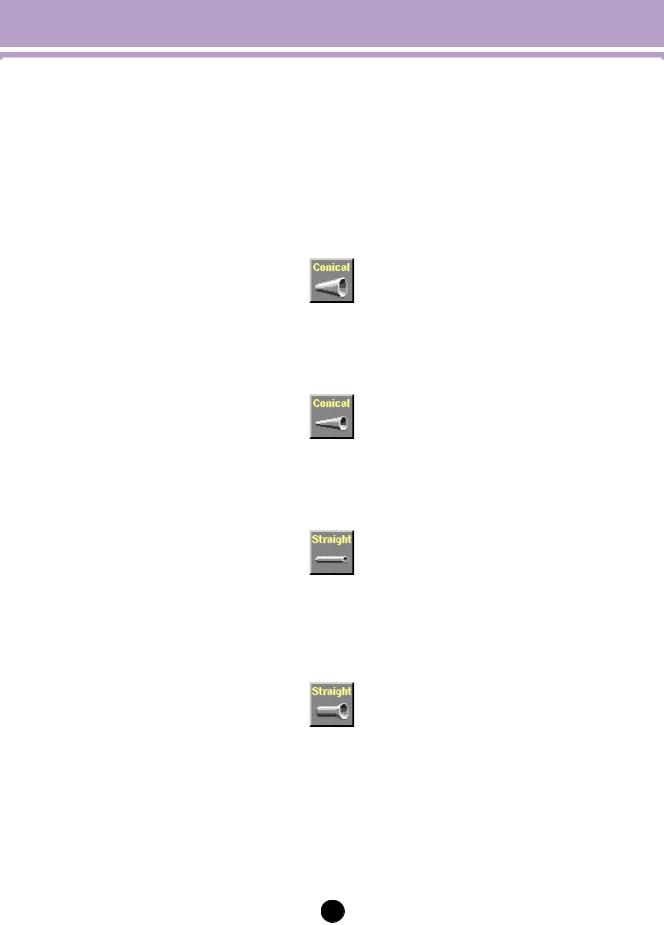
The PIPE/STRINGS Options
The Visual Editor provides 6 PIPE/STRINGS options. The pipe or string is the section of the instrument that amplifies and adds distinctive tonal characteristics to the sound energy generated by the driver.
• Conical (large)
This option simulates the type of conical horn used in instruments like the saxophone — a small entrance aperture, gradually expanding to a relatively large bell.
• Conical (small)
This conical pipe has a much smaller taper than the above, more like the type of pipe used in an oboe.
• Straight (double-ended)
A flute pipe, for example, is essentially straight along its length, but is driven at a point somewhere between its two ends. This type of pipe is “double-ended”.
• Straight (single-ended)
Similar to a clarinet pipe — driven from one end and essentially straight right up to the flare at the other end. In physical modelling terminology, this type of pipe is considered to be “single-ended”.
6
Synthesis Window
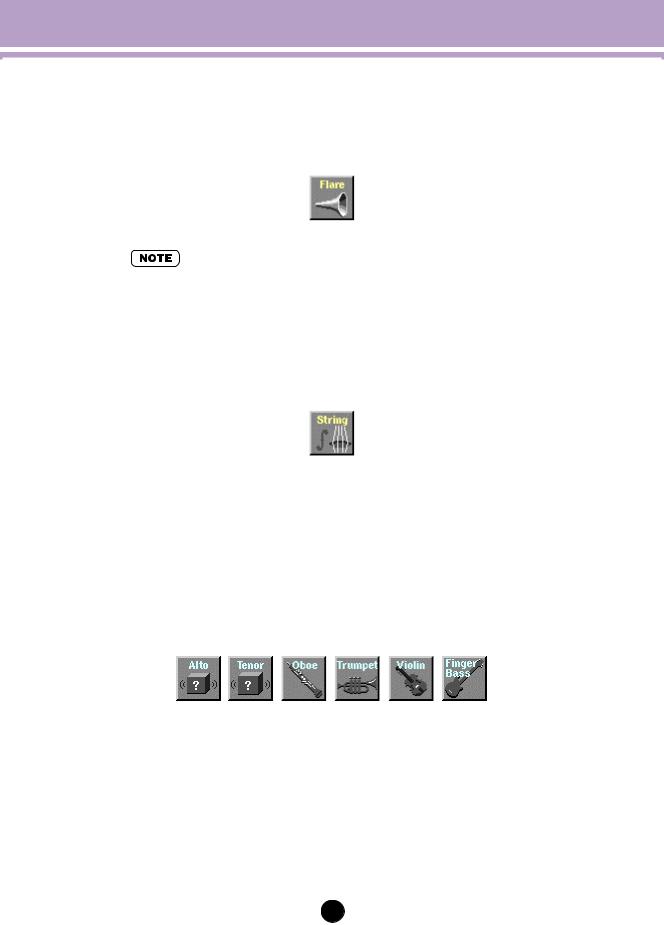
• Flare
This is the type of pipe found on the trumpet and other brass instruments. Although it depends on the type of DRIVER selected, this type of pipe generally produces a relatively bright sound.
•If the Pluck driver is combined with the Flare pipe, the resultant pitch can be unpredictable. This is because the Flare pipe is inherently ambiguous — e.g. a trumpet player can vary the pitch of his instrument over a wide range simply by adjusting his embouchure (the way he uses his lips).
•String
A drawn string, like the type used on a violin or guitar. The final result depends on the DRIVER selected, but the string generally has a relatively long decay.
The VARIATION Options
Depending on the DRIVER and PIPE/STRINGS combination selected, two or more VARIATIONs corresponding to different instrument sizes and characteristics may be available. If the DRIVER and PIPE/STRINGS combination is a standard one (e.g. Lip Reed with Flare), the corresponding instrument names will appear in the VARIATION buttons (e.g. Trumpet, Trombone, etc.).
You can also select VARIATION by double-clicking, and it takes you to Edit window automatically.
7
 Loading...