


Z
|
TEAC CORPORATION |
3-7-3, Nakacho, Musashino-shi, Tokyo 180-8550, Japan Phone: (0422) 52-5081 |
||
|
|
|
||
|
TEAC AMERICA, INC. |
7733 Telegraph Road, Montebello, California 90640 Phone: (323) 726-0303 |
||
|
|
|
|
|
|
TEAC CANADA LTD. |
5939 Wallace Street, Mississauga, Ontario L4Z 1Z8, Canada |
Phone: (905) 890-8008 |
|
|
|
|
||
|
TEAC MEXICO, S.A. De C.V |
Campesinos N°184, Colonia Granjas Esmeralda, Delegacion Iztapalapa, CP 09810, México DF Phone: (525) 581-5500 |
||
|
|
|
||
|
TEAC UK LIMITED |
Unit 19 & 20, The Courtyards, Hatters Lane, Watford, Hertfordshire, WD18 8TE, U.K. Phone: (0845) 130-2511 |
||
|
|
|
||
|
TEAC EUROPE GmbH |
Bahnstrasse 12, 65205 Wiesbaden-Erbenheim, Germany Phone: 0611-71580 |
||
|
|
|
|
|
|
TEAC AUSTRALIA PTY., LTD. |
30 Tullamarine Park Road, Tullamarine, VIC 3043, Australia |
Phone: (03) 8336-6500 |
|
|
A.B.N. 11 113 998 048 |
|
|
|
|
|
|
||
|
This appliance has a serial number located on the rear panel. Please record |
|
||
|
the model number and serial number and retain them for your records. |
|
||
|
Model number |
Serial number |
|
0806 . MA-1110A UK |
9A10505800
Z
MC-DX220i
Micro Hi-Fi System
OWNER’S MANUAL
Includes adapters for: iPod nano iPod with video iPod mini
iPod with Click Wheel iPod with color display
Adapters sold separately: iPod with dock connector
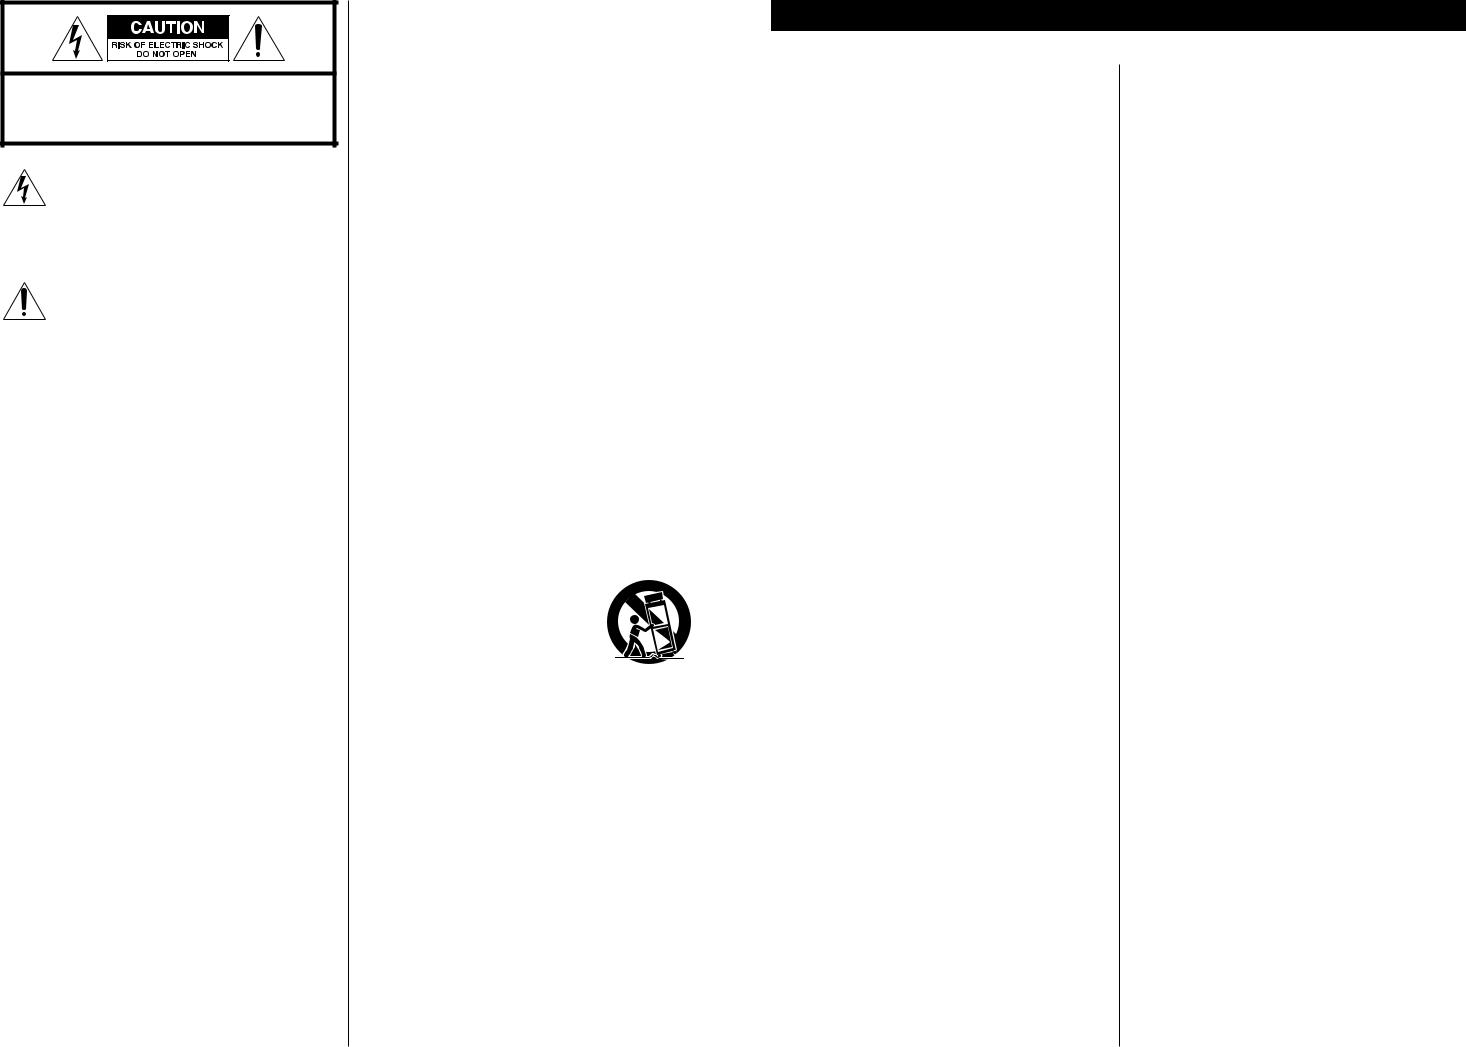
CAUTION: TO REDUCE THE RISK OF ELECTRIC SHOCK, DO NOT REMOVE COVER (OR BACK). NO USERSERVICEABLE PARTS INSIDE. REFER SERVICING TO QUALIFIED SERVICE PERSONNEL.
The lightning flash with arrowhead symbol, within an equilateral triangle, is intended to alert the user to the presence of uninsulated “dangerous voltage” within the product’s enclosure that may be of sufficient magnitude to constitute a risk of electric shock to persons.
The exclamation point within an equilateral triangle is intended to alert the user to the presence of important operating and maintenance (servicing) instructions in the literature accompanying the appliance.
IMPORTANT SAFETY INSTRUCTIONS
1)Read these instructions.
2)Keep these instructions.
3)Heed all warnings.
4)Follow all instructions.
5)Do not use this apparatus near water.
6)Clean only with dry cloth.
7)Do not block any ventilation openings. Install in accordance with the manufacturer’s instructions.
8)Do not install near any heat sources such as radiators, heat registers, stoves, or other apparatus (including amplifiers) that produce heat.
9)Do not defeat the safety purpose of the polarized or grounding-type plug. A polarized plug has two blades with one wider than the other. A grounding type plug has two blades and a third grounding prong. The wide blade or the third prong are provided for your safety. If the provided plug does not fit into your outlet, consult an electrician for replacement of the obsolete outlet.
10)Protect the power cord from being walked on or pinched particularly at plugs, convenience receptacles, and the point where they exit from the apparatus.
11)Only use attachments/accessories specified by the manufacturer.
12)Use only with the cart, stand, tripod,
bracket, or table specified by the manufacturer, or sold with the apparatus. When a cart is used, use caution when moving the cart/apparatus combination to avoid injury from tip-over.
13)Unplug this apparatus during lightning storms or when unused for long periods of time.
14)Refer all servicing to qualified service personnel. Servicing is required when the apparatus has been damaged in any way, such as power-supply cord or plug is damaged, liquid has been spilled or objects have fallen into the apparatus, the apparatus has been exposed to rain or moisture, does not operate normally, or has been dropped.
Specifications
AMPLIFIER section
Output Power (L+R) . . . . . . . . . . . . . . . . . . . . . . . 5 W + 5 W Output Power (Subwoofer) . . . . . . . . . . . . . . . . . . . . . . 15 W Input Sensitivity. . . . . . . . . . . . . . . . . . . . . . . . . . . . . 300 mV Frequency Response. . . . . . . . . . . . . . . . . . . 50 to 20,000 Hz
TUNER Section (FM)
Frequency Range . . . . . . . . . . . . . . . . . 87.50 to 108.00 MHz
Sensitivity (S/N30dB). . . . . . . . . . . . . . . . . . . . . . . 20 dBµV/m
TUNER Section (AM)
Frequency Range . . . . . . . . . . . . . . . . . . . . 522 to 1,620 kHz
Sensitivity (S/N20dB). . . . . . . . . . . . . . . . . . . . . . . 54 dBµV/m
CD PLAYER Section
Frequency Response . . . . . . . . . . . . . 20 to 20,000 Hz (±1 dB)
Signal-to-Noise Ratio . . . . . . . . . . . . . . . . . . . . . . . . . . 55 dB
Wow and Flutter . . . . . . . . . . . . . . . . . . . . . . . Unmeasurable
SPEAKER
Type . . . . . . . . . . . . . . . . . . . . . . . . . . . . . Full range flat type Impedance. . . . . . . . . . . . . . . . . . . . . . . . . . . . . . . . . 4 ohms
SUBWOOFER
Impedance. . . . . . . . . . . . . . . . . . . . . . . . . . . . . . . . . 8 ohms
GENERAL
Power Requirements . . . . . . . . . . . . . . . . . . 230 V AC, 50 Hz
Power Consumption . . . . . . . . . . . . . . . . . . . . . . . . . . . 80 W
Dimension (W x H x D)
Main Unit . . . . . . . . . . . . . . . . . . . . 255 x 169.5 x 115 mm L & R Speakers . . . . . . . . . . . . . . . . . 210 x 169.5 x 81 mm Subwoofer. . . . . . . . . . . . . . . . . . . . . 160 x 245 x 335 mm
Weight (Net)
Main Unit . . . . . . . . . . . . . . . . . . . . . . . . . . . . . . . . 1.4 kg L & R Speakers . . . . . . . . . . . . . . . . . . . . . . . . . 0.7 kg each Subwoofer . . . . . . . . . . . . . . . . . . . . . . . . . . . . . . . 5.3 kg
Standard Accessories
Remote Control Unit (RC-1103) x 1
Battery for Remote Control Unit x 1
Subwoofer Cable x 1
Speaker Cable x 2
FM Antenna x 1
AM Antenna x 1
Stereo mini plug cable x 1
Dock adapter x 8
(adapter “60GB (color) + Photo 40GB/60GB” premounted) Cover for the Dock x 1
Wall Mount Brackets x 2
Screw (short) x 8
Screw (long) x 4
Tapered Plastic Wall Anchor x 4
Guide sheet for wall mounting x 2
Owner’s Manual x 1
Warranty Card x 1
•Design and specifications are subject to change without notice.
•Weight and dimensions are approximate.
•Illustrations may differ slightly from production models.
2 |
31 |
Troubleshooting
If you have problems with your system, look through this chart and see if you can solve the problem yourself before calling your dealer or TEAC service center.
General
No power
eCheck the connection to the AC power supply. Check and make sure the AC source is not a switched outlet and that, if it is, the switch is turned on. Make sure there is power to the AC outlet by plugging another item such as a lamp or fan into the outlet.
No sound from speakers.
eSelect the source by pressing the FUNCTION button. eCheck the connection to the speakers.
eAdjust the volume.
ePull out the headphone’s plug from the PHONES jack. eIf “MUTING” is blinking, press the MUTING button.
The sound is noisy.
eThe unit is too close to a TV or similar appliances. Install the unit apart from them, or turn them off.
Remote control doesn’t work.
ePress the STANDBY/ON switch to turn the unit on. eWhen the battery has run out, put in a new one.
eUse remote control unit within the range (5 m) and point at the front panel.
eClear obstacles between the remote control unit and the main unit.
eIf a strong light is near the unit, turn it off.
CD Player
Will not play.
eLoad a disc with the playback side facing away. eIf the disc is dirty, clean the surface of the disc.
eA blank disc has been loaded. Load a prerecorded disc.
eDepending on the disc, etc. it may not be possible to play back CD-R/RW discs. Try again with another disc.
eYou cannot play back unfinalized CD-R/RW discs. Finalize such a disc in a CD recorder and try again.
Sound skips.
ePlace the unit on a stable place to avoid vibration and shock. eIf the disc is dirty, clean the surface of the disc.
eDon’t use scratched, damaged or warped discs.
iPod Player
Cannot insert the iPod.
eCheck the dock adapter.
eRemove dust or obstacles from the Dock connector of the MC-DX220i and the iPod, and insert the iPod again.
Will not play.
eRemove the iPod from the dock, wait a few seconds, and insert it again.
eSoftware update may solve the problem. Visit the Apple website and download the latest iPod Software.
Tuner
Cannot listen to any station, or signal is too weak. eTune in the station properly.
eRotate the FM or AM antenna for the best reception position.
Though the broadcast is stereo, it sounds monaural. ePress the FM MODE button.
If normal operation cannot be recovered, unplug the power cord from the outlet and plug it again.
If the power switch of the subwoofer turned off, the settings kept in memory (clock, preset stations, timer setting) will be erased.
Beware of condensation
When the unit (or a disc) is moved from a cold to a warm place, or used after a sudden temperature change, there is a danger of condensation; vapor in the air could condense on the internal mechanism, making correct operation erratic or impossible. To prevent this, or if this occurs, leave the unit for one or two hours with the power turned on. The unit will stabilize at the temperature of its surroundings.
Maintenance
If the surface of the unit gets dirty, wipe with a soft cloth or use diluted mild liquid soap. Never spray liquid directly on this unit. Apply your cleaner to your cleaning cloth and wipe gently. Be sure to remove any excess completely. Do not use thinner, benzene or alcohol as they may damage the surface of the unit. Allow the surface of the unit to dry completely before using.
<Do not expose this apparatus to drips or splashes.
<Do not place any objects filled with liquids, such as vases, on the apparatus.
<Do not install this apparatus in a confined space such as a book case or similar unit.
<The apparatus draws nominal non-operating power from the AC outlet with its POWER switch in the off position.
<The apparatus should be located close enough to the AC outlet so that you can easily grasp the power cord plug at any time.
<An apparatus with Class ! construction shall be connected to an AC outlet with a protective grounding connection.
<Batteries (battery pack or batteries installed) shall not be exposed to excessive heat such as sunshine, fire or the like.
WARNING: TO PREVENT FIRE OR SHOCK HAZARD, DO NOT EXPOSE THIS APPLIANCE TO RAIN OR MOISTURE.
CAUTION
<DO NOT REMOVE THE EXTERNAL CASES OR CABINETS TO EXPOSE THE ELECTRONICS. NO USER SERVICEABLE PARTS ARE WITHIN!
<IF YOU ARE EXPERIENCING PROBLEMS WITH THIS PRODUCT, CONTACT TEAC FOR A SERVICE REFERRAL. DO NOT USE THE PRODUCT UNTIL IT HAS BEEN REPAIRED.
<USE OF CONTROLS OR ADJUSTMENTS OR PERFORMANCE OF PROCEDURES OTHER THAN THOSE SPECIFIED HEREIN MAY RESULT IN HAZARDOUS RADIATION EXPOSURE.
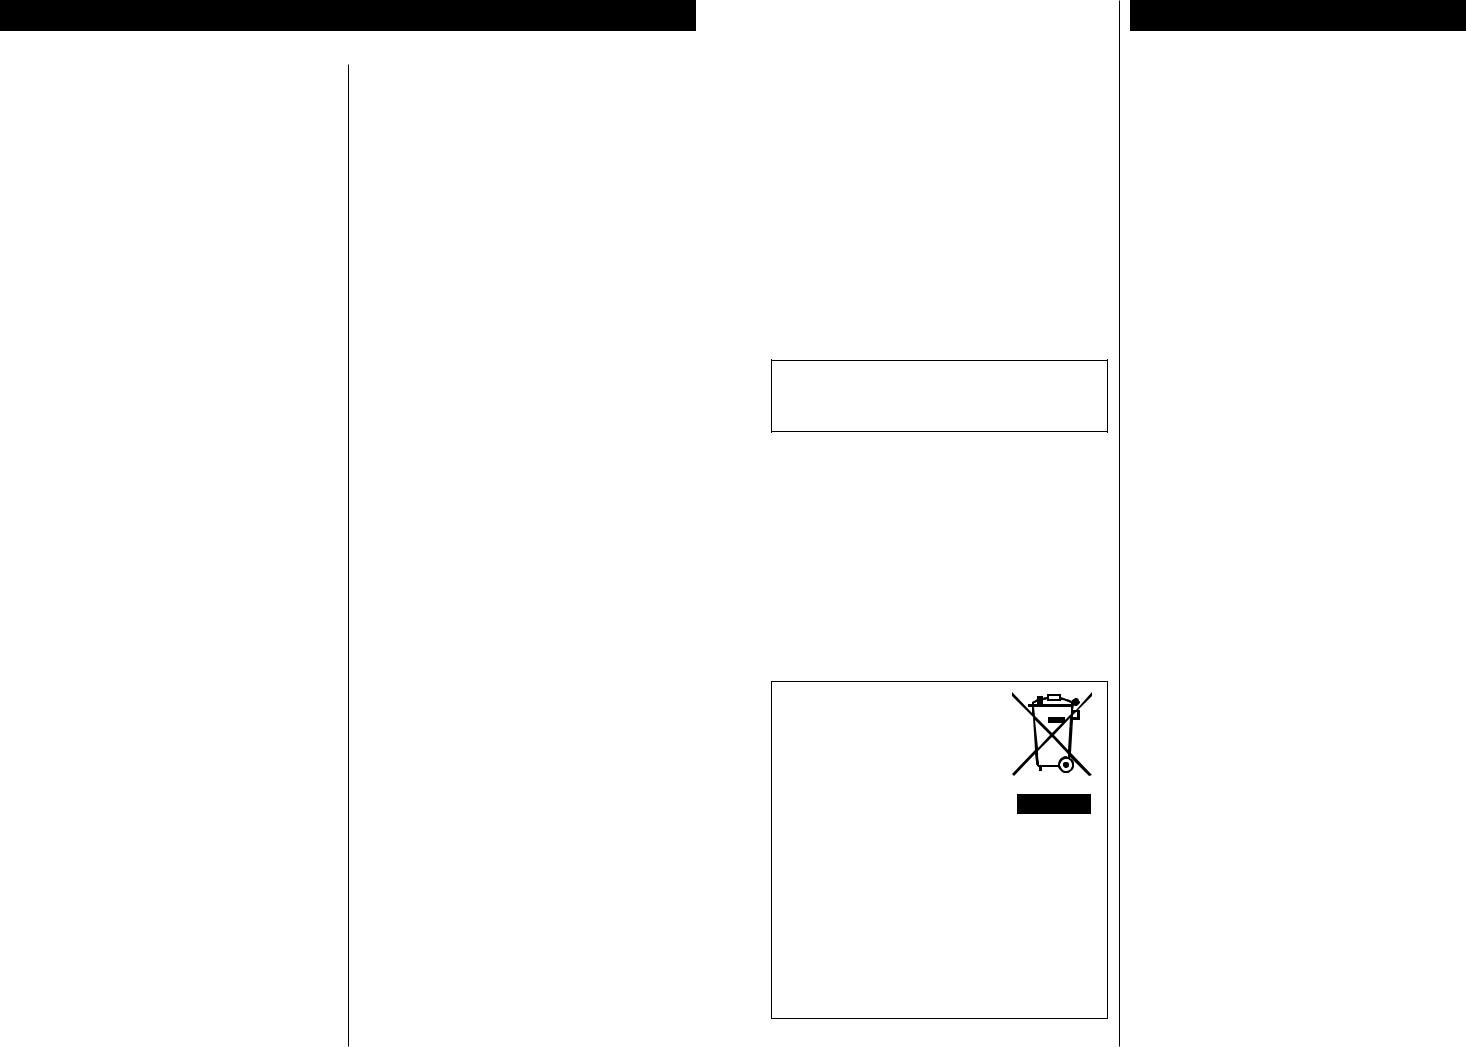
Disposal of your old appliance
1.When this crossed-out wheeled bin symbol is attached to a product it means the product is covered by the European Directive 2002/96/EC.
2.All electrical and electronic products should be disposed of separately from
the municipal waste stream via designated collection facilities appointed by the government or the local authorities.
3.The correct disposal of your old appliance will help prevent potential negative consequences for the environment and human health.
4.For more detailed information about disposal of your old appliance, please contact your city office, waste disposal service or the shop where you purchased the product.
Contents
Thank you for choosing TEAC. Read this manual carefully to get the best performance from this unit.
Important Safety Instructions . . . . . . . . . . . . . . . . . . . . . . . . . . 2 Before Using the Unit . . . . . . . . . . . . . . . . . . . . . . . . . . . . . . . . 4 Remote Control Unit. . . . . . . . . . . . . . . . . . . . . . . . . . . . . . . . . 4 Discs . . . . . . . . . . . . . . . . . . . . . . . . . . . . . . . . . . . . . . . . . . . . . 5 Connection. . . . . . . . . . . . . . . . . . . . . . . . . . . . . . . . . . . . . . . . 6 Wall Mounting . . . . . . . . . . . . . . . . . . . . . . . . . . . . . . . . . . . . . 8 Getting started . . . . . . . . . . . . . . . . . . . . . . . . . . . . . . . . . . . . . 9 Unit Functions. . . . . . . . . . . . . . . . . . . . . . . . . . . . . . . . . . . . . 10
Basic Operation. . . . . . . . . . . . . . . . . . . . . . . . . . . . . . . . . . . . 12
iPod
Listening to iPod . . . . . . . . . . . . . . . . . . . . . . . . . . . . . . . . . . . 14
CD/MP3
Listening to CD/MP3 . . . . . . . . . . . . . . . . . . . . . . . . . . . . . . . . 16 Search Mode (MP3 only) . . . . . . . . . . . . . . . . . . . . . . . . . . . . . 18 Shuffle Playback . . . . . . . . . . . . . . . . . . . . . . . . . . . . . . . . . . . 19 Programmed Playback. . . . . . . . . . . . . . . . . . . . . . . . . . . . . . . 20 Repeat Playback . . . . . . . . . . . . . . . . . . . . . . . . . . . . . . . . . . . 22
TUNER
Listening to the Radio . . . . . . . . . . . . . . . . . . . . . . . . . . . . . . . 23 Preset Tuning . . . . . . . . . . . . . . . . . . . . . . . . . . . . . . . . . . . . . 24 RDS . . . . . . . . . . . . . . . . . . . . . . . . . . . . . . . . . . . . . . . . . . . . 25 RDS (PTY Search) . . . . . . . . . . . . . . . . . . . . . . . . . . . . . . . . . . 25
AUX
Listening to an External Source . . . . . . . . . . . . . . . . . . . . . . . . 26
Setting the Clock . . . . . . . . . . . . . . . . . . . . . . . . . . . . . . . . . . 27
Setting the Timer . . . . . . . . . . . . . . . . . . . . . . . . . . . . . . . . . . 28
Troubleshooting . . . . . . . . . . . . . . . . . . . . . . . . . . . . . . . . . . . 30
Specifications . . . . . . . . . . . . . . . . . . . . . . . . . . . . . . . . . . . . . 31
30 |
3 |

Before Using the Unit
Read this before operation
<As the unit may become warm during operation, always leave sufficient space around the unit for ventilation.
The ventilation holes should not be covered. Make sure there is at least 5 cm of space on each side of the unit. Do NOT place anything on top of the unit.
<The voltage supplied to the unit should match the voltage as printed on the rear panel. If you are in any doubt regarding this matter, consult an electrician.
<Choose the installation location of your unit carefully. Avoid placing it in direct sunlight or close to a source of heat. Avoid locations subject to vibrations and excessive dust, heat, cold or moisture.
<Do not place the unit on any other electronic components.
<Do not open the cabinet as this might result in damage to the circuitry or electrical shock. If a foreign object should fall into the unit, contact your dealer or service company as soon as possible.
<When removing the power plug from a wall outlet, always pull directly on the plug. Do not pull on the line cord.
<To keep the laser pickup clean, do not touch it and always close the CD door after each use.
<Do not attempt to clean the unit with chemical solvents as this might damage the finish. Use a clean, dry, lint-free cloth.
<Keep this manual in a safe place for future reference.
CAUTION: DO NOT MOVE THE UNIT DURING PLAYBACK
During playback, the disc rotates at high speeds. Do NOT lift or move the unit during playback. Doing so may damage the disc or the unit.
WHEN MOVING THIS UNIT
When changing places of installation or packing the unit for moving, be sure to remove the disc. Moving this unit with the disc loaded may result in malfunction or other damage.
NXT is a trademark of New Transducers Ltd.
4
Remote Control Unit
The provided Remote Control Unit allows the unit to be operated from a distance.
When operating the remote control unit, point it towards the remote sensor on the front panel of the unit.
<Even if the remote control unit is operated within the effective range, remote control operation may be impossible if there are any obstacles between the unit and the remote control.
<If the remote control unit is operated near other products which generate infrared rays, or if other remote control devices using infrared rays are used near the unit, it may operate incorrectly. Conversely, the other products may also operate incorrectly.
Battery Installation
1
2
3
1Remove the battery compartment cover.
2Put in the lithium battery (CR2032, 3V).
3Close the cover.
Battery Replacement
If the distance required between the remote control unit and main unit decreases, the battery is exhausted. In this case, replace the battery with a new one.
Precautions concerning batteries
Do not heat or disassemble batteries and never dispose of old batteries by throwing them in a fire.
6Press the SKIP button (.//) to select a source
(TUNER, CD or iPod), and then press the TIMER button.
7Press the SKIP button (.//) to set the volume, and then press the TIMER button.
Setting the timer is now completed and the timer is turned on. Your timer setting is displayed one by one, and the TIMER indicator lights on the display.
8Prepare the source.
If you selected “TUNER” in step 6 , tune in a station. If you selected “CD” in step 6 , set a disc.
If you selected “iPod” in step 6 , insert an iPod.
9Press the STANDBY/ON button to turn the unit off (standby).
The clock and the TIMER indicator are displayed.
The unit will turn on and off at the specified time every day.
Don’t forget to turn the unit off (standby), or the timer won’t work.
If the power switch of the subwoofer turned off, the settings kept in memory (clock, preset stations, timer setting) will be erased.
<Playback volume will gradually increase up to your set volume when the unit is turned on by timer.
<If the source is set to “iPod” but no iPod is set, the unit will turn on into TUNER mode.
<If the source is set to “CD” but no disc is set, the unit will turn on into TUNER mode.
<When the source is set to “TUNER” and the unit turns on, it will tune in to the station you selected last time.
To turn on or off the timer
When you don’t use the timer, press the TIMER button to turn it off. (The TIMER indicator disappears from the display.) Press the TIMER button again to turn it on.
<When the timer is turned on, the timer settings are displayed one by one, and the TIMER indicator lights on the display.
29

Setting the Timer
 TIMER
TIMER

 /
/
<The unit can be programmed to turn on and off at a specified time.
<Adjust the clock before setting the timer.
1Press and hold the TIMER button until the TIMER indicator and “ON” appear on the display.
The “hour” value starts flashing.
<When no button is pressed for 10 seconds, the timer setting mode will be cancelled.
3Press the SKIP button (.//) to set the start time
(minute), and then press the TIMER button.
“TIMER” and “OFF” indiactors appear on the display and the “hour” value starts flashing.
4Press the SKIP button (.//) to set the stop time
(hour), and then press the TIMER button.
2 Press the SKIP button (.//) to set the start time
(hour), and then press the TIMER button.
The “minutes” value starts flashing.
5 Press the SKIP button (.//) to set the stop time
(minute), and then press the TIMER button.
The “minutes” value starts flashing.
Discs
Discs which can be played on this unit:
•Conventional audio CDs bearing the COMPACT DISC DIGITAL AUDIO logo on the label:
•Properly finalized CD-R and CD-RW discs
•MP3 CDs
Note:
<Depending on the quality of the disc and/or the condition of the recording, some CD-R/CD-RW discs may not be playable.
<Copy-protected discs and other discs that do not conform to the CD standard may not play back correctly in this player. If you use such discs in this unit, TEAC Corporation and its subsidiaries cannot be responsible for any consequences or guarantee the quality of reproduction. If you experience problems with such non-standard discs, you should contact the producers of the disc.
<Always place the disc on the disc tray with the label side up. (Compact discs can be played or recorded only on one side.)
<To remove a disc from its storage case, press down on the center of the case and lift the disc out, holding it carefully by the edges.
How to remove the disc |
How to hold the disc |
<Should the disc become dirty, wipe the surface from the center hole outward towards the outer edge with a soft, dry, lint-free cloth:
<Never use chemicals such as record (LP) sprays, antistatic sprays or fluids, benzine or thinner to clean the discs. Such chemicals will do irreparable damage to the disc’s plastic surface.
<Discs should be returned to their cases after each use to avoid dust and scratches that may eventually cause your disc to skip.
<Do not expose discs to direct sunlight, high humidity, or high temperatures for extended periods. Long exposure to high temperatures will warp the disc.
<Do not play any disc that is warped, scratched, deformed or damaged. Playing such discs may cause irreparable harm to the playback mechanism.
<CD-R and CD-RW discs are more sensitive to the effects of heat and ultraviolet rays than ordinary CDs. It is important that they are not stored in a location with direct sunlight and keep your discs away from sources of heat such as radiators or heat-generating electrical devices.
<Printable discs aren’t recommended because the label side might be sticky (or contain glue), which will damage the unit.
<Do not stick papers or protective sheets on the discs and do not use any protective coating spray.
<Use a soft oil-based felt-tipped pen to write information on the label side of a disc. Never use a ball-point or hard-tipped pen, as this may cause damage to the recorded side of the disc.
<Never use a stabilizer. Using commercially available CD stabilizers with this unit will damage the mechanisms and cause them to malfunction.
<Do not use irregular shape CDs (octagonal, heart shaped, business card size, etc.). CDs of this sort can damage the unit:
<If you are in any doubt as to the care and handling of any disc, read the precautions supplied with the disc, or contact the disc manufacturer directly.
MP3 compatibility
<File names of MP3 should be alphanumeric characters. This unit cannot display symbols and full-size or 2 bytes-wide characters (such as Japanese, Chinese, etc.) correctly. Also, be sure to use the file extension “.mp3”.
<The disc must be finalized in order to play.
<The CD-ROM must be ISO 9660 compatible.
<When more than 200 files or folders are recorded on the disc, the unit might not be able to play it correctly.
<The file must be mono or stereo MPEG-1 Audio Layer 3 format, 44.1 or 48 kHz, fixed bit-rate.
28 |
5 |
 Loading...