


 Loading...
Models
GM-WAC-15ESE-C
GM-WAC-18ESE-C
Electronic Window A/C
Operating Instructions
Thank you for choosing a Soleus Air powered by Gree Air Conditioner. This owner’s manual will provide you with valuable information necessary for the proper care and maintenance of your new product. Please take a few moments to thoroughly read the instructions and familiarize yourself with all the operational aspects of your new air conditioner.
For your own records, please attach a copy of your sales receipt to this manual. Also, write the store name/location, date purchased, and serial number below:
Store Name: ____________________________________________________
Location: ______________________________________________________
Date Purchased: _________________________________________________
Serial Number (located on back of unit): ______________________________
IMPORTANT SAFETY INSTRUCTIONS
Before installing and using your air conditioner, please read this owner’s manual carefully. Store this manual in a safe place for future reference. Your safety and the safety of others is very important to us. Please pay attention to all safety messages outlined in this owner’s manual.
WARNING: To reduce the risk of fire, electrical shock or injury when using your air conditioner, follow the following basic precautions:
• Plug into a grounded 3 prong outlet. |
• Do not use an extension cord. |
||
• |
Do not remove the ground prong. |
• |
Unplug the air conditioner before servicing |
• |
Do not use a plug adapter. |
• |
Use two or more people to move and install the air |
|
|
|
conditioner |
This is a safety alert symbol.
This symbol alerts you to potential hazards that can harm you or others or even cause death.
All safety messages will directly follow the safety alert symbol and/or the words “DANGER” or “WARNING”.
Failure to immediately follow these instructions may cause serious injury or even death.
All Safety messages alert you of potential hazards, how to reduce the chance of injury, and what can happen if instructions are not followed correctly.
2
ELECTRICAL REQUIREMENTS
The electrical ratings for your air conditioner are listed on the model and serial number label located on the front left side of the unit (when facing the front).
Specific electrical requirements are listed in the chart below. Follow the requirements below for the type of plug on the power supply cord.
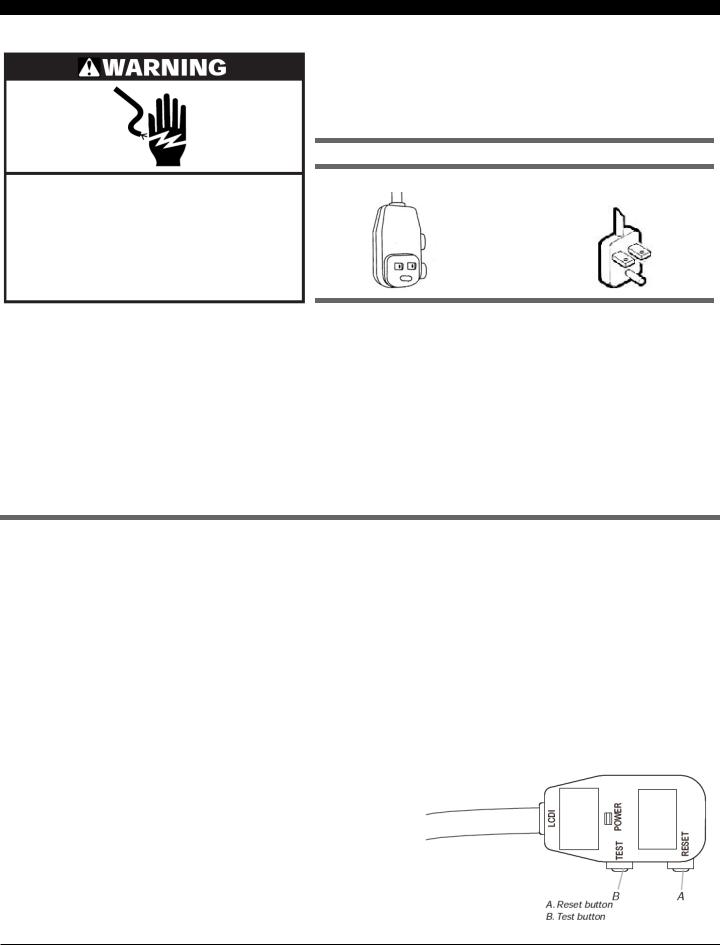
Power Supply Cord
GM-WAC-15ESE-C: NEMA 5-15P |
GM-WAC-18ESE-C: NEMA 6-15P |
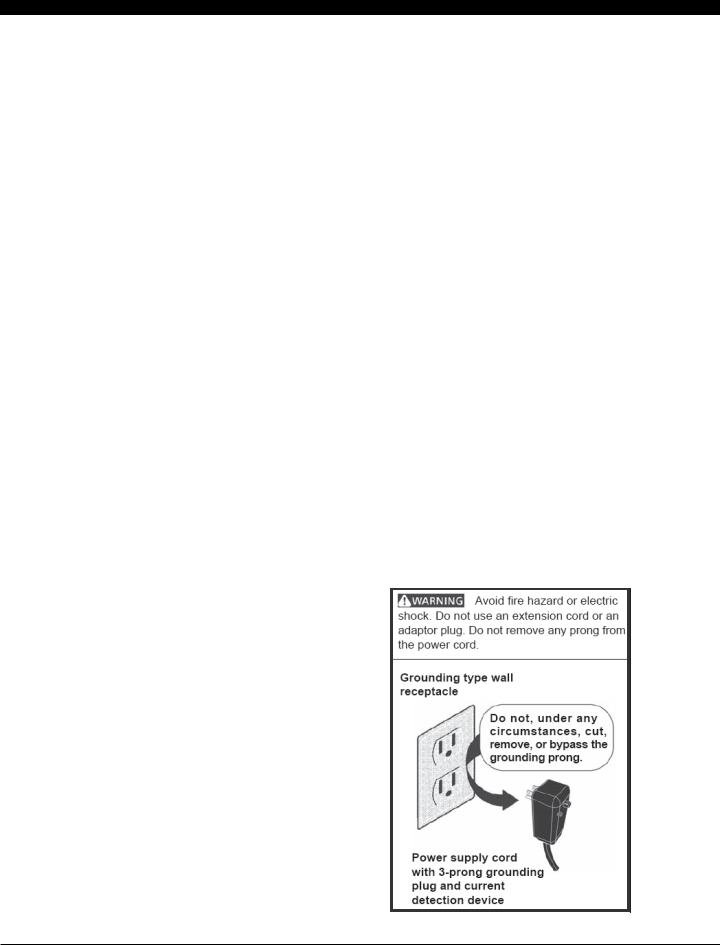
Electrical Shock Hazard Plug into a grounded 3 prong outlet.
Do not remove the ground prong. Do not use an adapter
Do not use an extension cord.
Failure to follow these instructions can result in death, fire, or electrical shock
Recommended Ground Method
For your personal safety, this air conditioner must be grounded. This air conditioner is equipped with a 3 prong power supply cord with a grounded plug. To minimize the possibility of electrical shock, the cord must be plugged into a 3 prong outlet and grounded in accordance with all local codes and ordinances. If a 3 prong outlet is not available, it is the customer’s responsibility to have a properly grounded 3 prong outlet installed by a qualified electrician.
It is the customer’s responsibility:
•To contact a qualified electrician
•To assure that the electrical installation is adequate and in conformance with the National Electrical Code, ANSI/NFPA 70 - latest edition, and all local codes and ordinances.
Copies of the standards listed may be obtained from:
National Fire Protection Association One Batterymarch Park Quincy, Massachusetts 02269
LCDI Power Cord and Plug
This air conditioner is equipped with an LCDI (Leakage Current Detection and Interruption) power cord that is required by UL. This power supply cord contains state-of-the-art electronics that sense leakage current. If the cord is damaged and leakage occurs, power will be disconnected from the unit.
The test and reset buttons on the LCDI Plug are used to check if the plug is functioning properly. To test the plug:
1.Plug power cord into a grounded 3 prong outlet
2.Press RESET (on some units a green light will turn on).
3.Press the TEST Button, the circuit should trip and cut all power to the air conditioner (on some units a green light may turn off.
4.Press the RESET button for use. You will hear a click and the A/C is not ready for use.
NOTES:
•The RESET button must be engaged for proper use.
•The power supply cord must be replaced if it fails to trip when the TEST button is pressed and the unit fails to reset.
•Do not use the power supply cord as an ON/OFF switch. The power supply cord is designed as a protection device.
•A damaged power supply cord must be replaced with a new power supply cord from Soleus Air Powered by Gree.
•The power supply cord contains new user serviceable parts. Opening the tamper-resistant case voids all warranty and performance claims.
NOTE: Your units power cord and plug may differ from the one shown.
3

PARTS LIST
WINDOW SASH SEAL
SAFETY LOCK AND
3/4" ROUND-HEAD SCREW
TOP ANGLE
FOAM GASKET
FRAME
ASSEMBLY (LEFT)
SIDE RETAINER
SEAL-BOTTOM RAIL TO UNIT
1/2" LONG |
|
|
SCREWS AND |
FRAME |
|
LOCKNUTS |
ASSEMBLY |
|
|
|
(RIGHT) |
LOCKNUT |
|
WINDOW SUPPORT |
3/4" LONG |
|
BRACKET |
|
|
|
FLAT HEAD |
|
|
BOLT |
SILLANGLE |
|
|
BRACKET |
|
Non-Hardware Packing List
•Window Air Conditioner
•AAA Batteries (2)
•Top Mounting Rail
•Foam Top Mounting Rail Seal Strip
•Accordion Panels (2)
•Side Retainer (2)
•Window Sash Seal
•Foam Seal for Bottom Rail
•Owner’s Manual
TOOLS NEEDED
Large Flathead Screwdriver
Tape Measurer Adjustable Wrench or Pliers Pencil
Level
Socket Wrenches
Phillips Head Screwdriver
4
SPECIFICATIONS
•Noise level is measured at a distance of 3.28 ft away from the front of the unit in cooling mode.
•Power consumption is measured when the fan runs at the highest speed setting.
•These specifications are for reference only. For actual data, please refer to the rating label on the back of the unit.
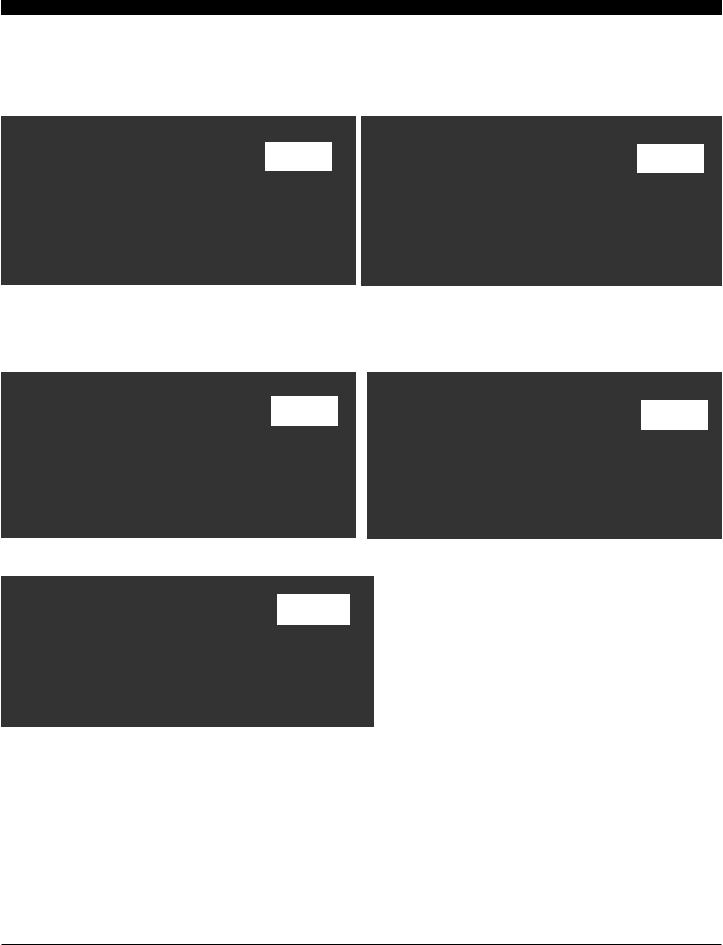
Model |
GM-WAC-15ESE-C |
GM-WAC-18ESE-C |
|
|
|
Power Supply (Ph/V/Hz) |
1/115/60 |
1/230~208/60 |
Rated Cooling Capacity (BTU/h) |
15,000 |
18,000/17,600 |
Cooling Power Input (Watts) |
1400 |
1,680/1,650 |
Rated Current Cooling (Amperage) |
12 |
8.1/8.8 |
EER/C.O.P |
10.7 |
10.7/10.7 |
Noise Level dB(A) (H/M/L) |
58/56/54 |
58/56/54 |
CFM (H/M/L) |
470/430/390 |
470/430/390 |
Dehumidifying Capacity |
100 Pints per day |
132 Pints per day |
Product Dimensions (W” x H” x D”) |
23.625 x 17.75 x 25.5 |
23.625 x 17.75 x 25.5 |
Package Dimensions (W” x H” x D”) |
28.25 x 20 x 26.125 |
28.25 x 20 x 26.125 |
Net/Gross Weight (Lbs) |
108/120 |
113/125 |
|
|
|
Refrigerant Type |
R-410A |
R-410A |
Plug Type |
NEMA 5-15P |
NEMA 6-15P |
|
|
|
DISCLAIMER
ALL INFORMATION AND THE TECHNICAL SPECIFI-
CATIONS PRESENTED IN THIS USER’S MANUAL
ARE THE PRESENTATION OF THE MANUFAC-
TURER. SOLEUS INTERNATIONAL HAS NOT CON-
DUCTED INDEPENDENT TEST TO THE INFORMA-
TION AND THE SPECIFICATIONS PRESENTED
HEREWITHIN.
5

INSTALLATION & ASSEMBLY INSTRUCTIONS
Window Preparation
Please read all instructions prior to installing your air conditioner. Two people are recommended to install this product. If a new electrical outlet is required, have the outlet installed by a qualified electrician before installing the unit.
Before installing the unit, check the dimensions of your window to make sure the air conditioner will fit. This unit is made to fit inside a standard double-hung window. Make sure the window is in good shape and able to firmly hold the needed screws. If not, make repairs prior to installing the unit.
Model |
GM-WAC-15ESE-C |
GM-WAC-18ESE-C |
Unit Height |
17 7/8” |
17 7/8” |
Unit Width |
23 5/8” |
23 5/8” |
Min. Window Opening (See |
18 1/2” |
18 1/2” |
FIG 1) |
|
|
Min. Window Width |
28 |
28 |
Max Window Width |
41 |
41 |
|
|
|
Storm Window Requirements
A storm window frame will not allow the air conditioner to tilt properly which in turn will keep it from draining properly. To adjust for this, attach a board or piece of wood to the sill. The board or wood piece should have a depth of at least 1 1/2”. Make sure the board or piece of wood is approximately 1/2” higher than the storm window frame. This will allow the air conditioner to tilt enough for proper drainage. (See FIG. 2).
FI
Storm window frame or obstruction
Prior to Installing the Air Conditioner
Board or wood piece must be approximately 1/2” higher than the storm window frame for proper drainage
1.Check for anything that could block airflow. Check the area outside of the window for things such as shrubs, trees, or awnings. Check the inside area to make sure curtains, drapes, or blinds will not prevent proper airflow.
2.Check the available electrical outlet. The power supply must be the same as shown on the unit serial nameplate (located on the left side of the unit, near the front faceplate). Be sure the outlet is close enough for the power cord to reach.
3.Carefully unpack the air conditioner. Remove all packing material and make sure the floor is protected when removing. Due to the large size of this air conditioner, two people should move the unit together.
When handling the unit, be careful to avoid cuts from the sharp metal edges and aluminum fins on the front and rear coils.
6
INSTALLATION & ASSEMBLY INSTRUCTIONS - WINDOW MOUNTING
REMOVE CHASSIS
1.Pull down the front panel and remove the filter (FIG. 1 below)
2.Lift the front panel upwards to remove and place to the side.
FIG. 1 |
|
FIG. 2 |
|
|
|
3.Locate the four faceplate screws and remove. These screws will need to be re-installed prior to mounting the air conditioner (FIG. 2 above)
4.After removing the screws, gently pull away the faceplate from the air conditioner cabinet (FIG. 3 & 4).
FIG. 3 |
|
|
|
FIG. 4 |
|
|
|
|
5. Remove the two control panel screws from the front panel (FIG 5).
FIG. 5
7
Loading...