


E 140.2
Nil sk E 130.2
Nil sk E 140.2
Nil sk E 145.2
User Manual

Copyright © 2011 Nilfisk, Division of Nilfisk-Advance A/S
Index
1 Safety precautions and warnings .............................................3
2 Description ...............................................................................4
3 Before you start using your pressure washer ...........................5
4 Operating your pressure washer ..............................................6
5 Fields of Application
and Working Methods .............................................................10
6 After using your pressure washer ...........................................12
7 Maintenance ...........................................................................13
8 Trouble Shooting ....................................................................14
9 Further information .................................................................15
10 EC Declaration of Conformity .................................................17
1 Safety Precautions and Warnings
Symbols used to mark instructions
Do not let children or people
who have not read the instruction manual ope rate the machine.
Before starting up your machine
please check it carefully for any
defects. If you fi nd any, do not
start up your machine and contact your Nilfi sk distributor.
Especially check:
The insulation of the electric
cable should be faultless
and without any cracks. If the
electric cable is damaged, an
authorized Nilfi sk distributor
should replace it.
Before starting up
your high-pressure washer for
the fi rst time, this
instruction manual
must be read through carefully.
Save the instructions for later
use.
Safety instructions
marked with this
symbol must be
observed to pre-
vent danger to persons.
WARNING!
High pressure jets can be
dangerous. Never direct the
water jet at persons, pets,
live electrical equipment or
the machine itself.
Never try to clean clothes or
footwear on yourself or other
persons.
Hold the spray lance fi rmly
with both hands. The spray
lance is affected by a thrust
of up to 16.4 N during operation.
The operator and anyone in
the immediate vicinity of the
site of cleaning should take
action to protect themselves
from being struck by debris
dislodged during operation.
Wear goggles during operation.
This symbol is
used to mark
safety instruc-
tions that must
machine and its performance.
to simplify work and to ensure a
safe operation.
Never use the machine in
an environment where there
could be a danger of explosion. If any doubt arises,
please contact the local
authorities.
It is not allowed to clean
asbestos- containing surfaces
with high pressure.
This high pressure washer
must not be used at temperatures below 0°C.
Never let any persons stay
under the product when
stored on the wall.
WARNING!
Inadequate extension cables
can be dangerous. Cables on
drums should always be completely unwinded to prevent the
cable from overheating.
be observed to
prevent damage to the
This symbol
indicates tips
and instructions
3
Extension cables should be of
a watertight construction and
comply with the below-mentioned requirements for length
and cable dimensions.
1.0 mm² max. 12.5 m
1.5 mm² max. 20 m
2.5 mm² max. 30 m
Cable connections should be
kept dry and off the ground.
Mains power connection
The following should be observed when connecting the
high pressure washer to the
electric installation:
Only connect the machine to
an installation with earth connection.
The electric installation shall
be made by a certifi ed electrician.
It is strongly recommended
that the electric supply to this
machine should include a residual current device (GFCI).
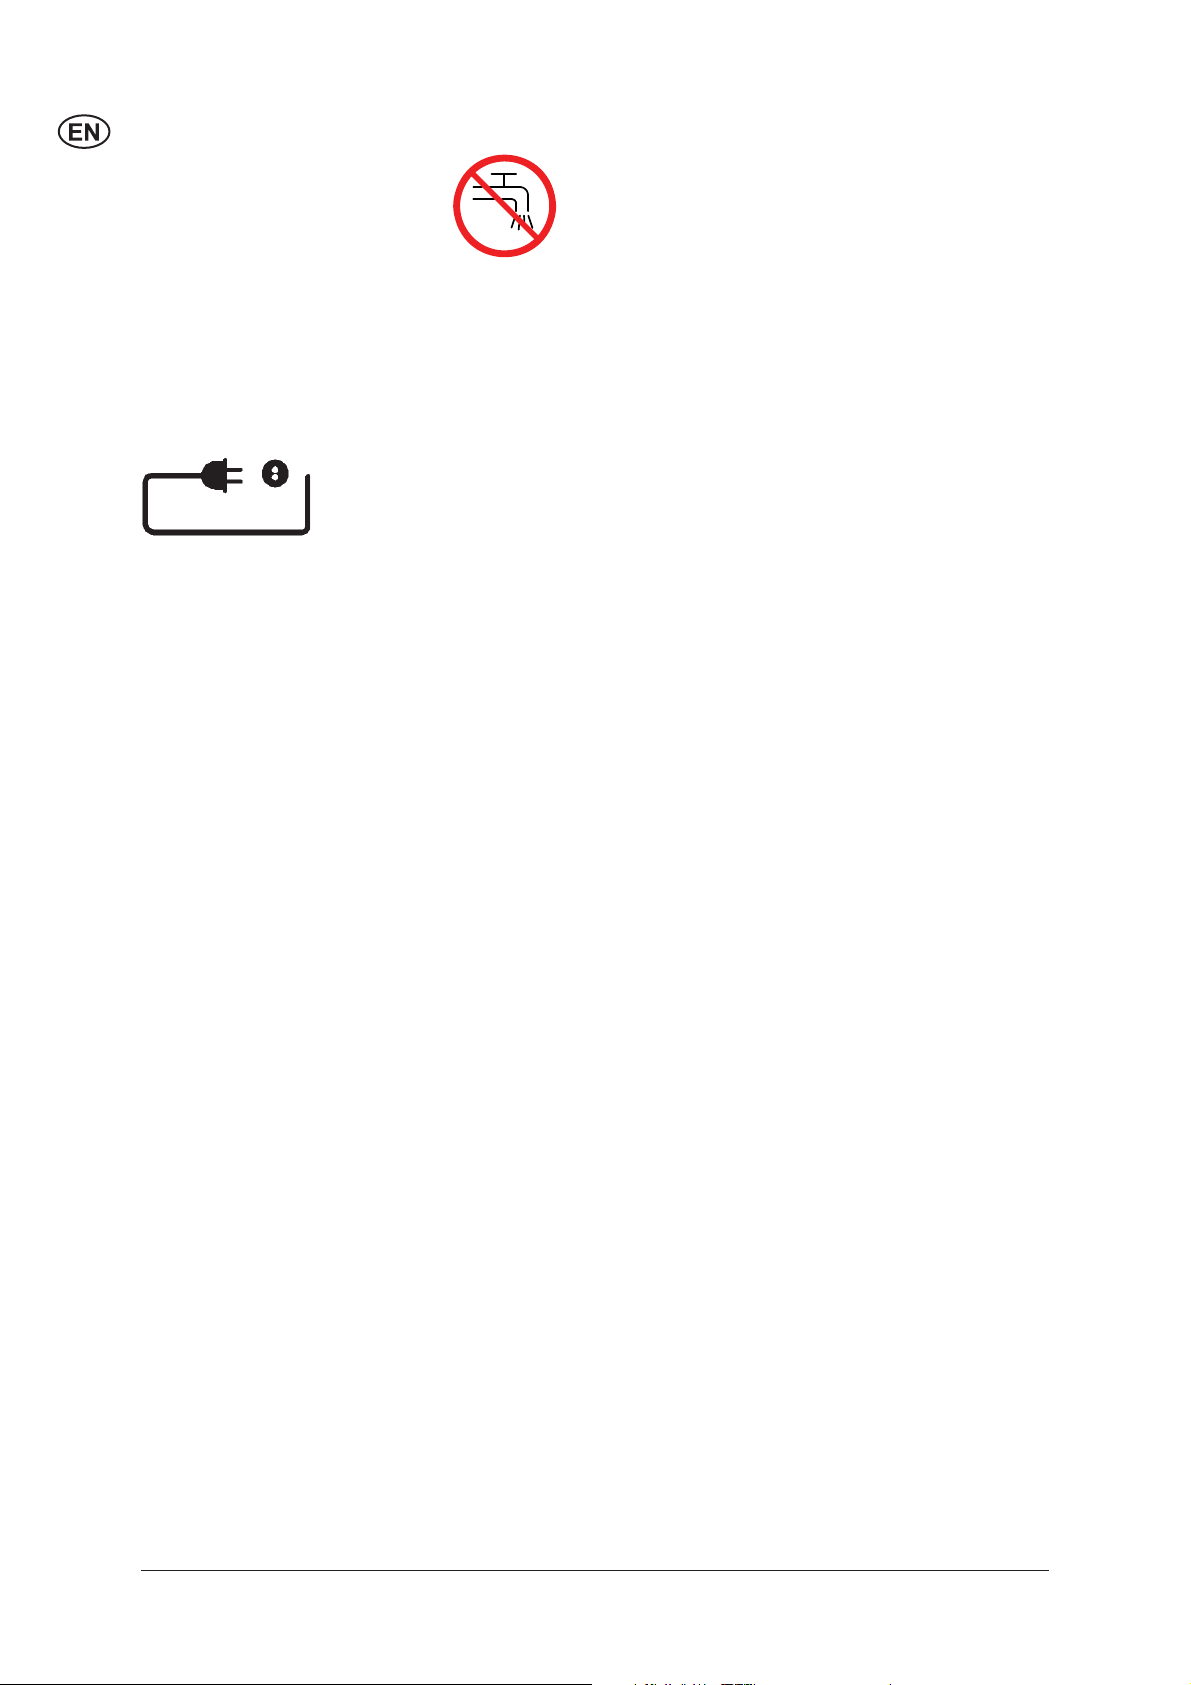
Water connection
Connection to
the public mains
according to regu-
lations.
This high pressure washer is only allowed to
be connected with the drinking
water mains, when an appropriate backfl ow preventer has
been installed, Type BA according to EN 1717. The backfl ow
preventer can be ordered under
number 106411177. The length
of the hose between the backfl ow preventer and the high
pressure washer must be at
least 10 metres to absorb possible pressure peaks (min diameter ½ inch).
Operation by suction (for example from a rainwater vessel)
is carried out without backfl ow
preventer. Recommended suction set: 126411387.
As soon as water has fl own
through the BA valve, this water
is not considered to be drinking
water any more.
IMPORTANT! Only use water without any impurities. If
there is a risk of running sands
in the inlet water (i.e. from your
own well), an additional fi lter
should be mounted.
Repair and maintenance
WARNING! Always remove the
electric plug from the socket before carrying out maintenance
work on the machine.
Safety devices
Locking device on spray gun
(7a) (see foldout at the end of
this manual):
The spray gun features a locking device. When the pawl is
activated, the spray gun cannot
be ope rated.
Thermal sensor:
A thermal sensor protects the
motor against overloading. The
machine will restart after a few
minutes when the thermal sensor has cooled.
Pressure safety device
An integrated hydraulic safety
valve protects the system from
excessive pressure.
2 Description
2.1 Application
4
This high-pressure washer has
been developed for domestic
use within:
- Car, motorbike, boat, cara-
Section 5 describes the use of
the high-pressure washer for
vaious cleaning jobs.
van, trailer, patio/drive/fl agstones, woodwork, brickwork,
barbecue, garden furniture,
lawn mower
Only use the high-pressure
washer for purposes described
in this manual.
The safety precautions must be
observed to prevent damage
to the machine, the surface to
be cleaned or severe personal
injuries.
2.2 Operation elements
and model survey
See illustration at the end of
this manual.
1 Start/stop switch
2 Water inlet (with fi lter)
3 High pressure connection
(only models without hose
reel)
4 High pressure hose
5 Electric cable
6 Click & Clean spray lance
7 Spray gun with lock
8 Click & Clean Tornado
nozzle
9 Click & Clean Powerspeed®
nozzle
10 Click & Clean foam sprayer
11 Nozzle cleaning tool
12 Trolley handle (telescopic
handle)
®
PR
13 Hose reel (not standard)
14 Hose hook
15 Model tag
16 Quick coupling
17 Button for telescopic handle
18 Turnable cable hook
Specifi cations: See model tag
(15) of machine.
Sound pressure level measures in accordance with ISO
3744 EEC directive 2000/14/
EEC: L
dB(A).
Hand/arm vibrations measured
according to ISO 5349 is < 2.5
m/s2.
We reserve the right to alter the
specifi cations.
= 69,9 dB(A), L
pA
WA
= 84
3 Before you start using your
pressure washer
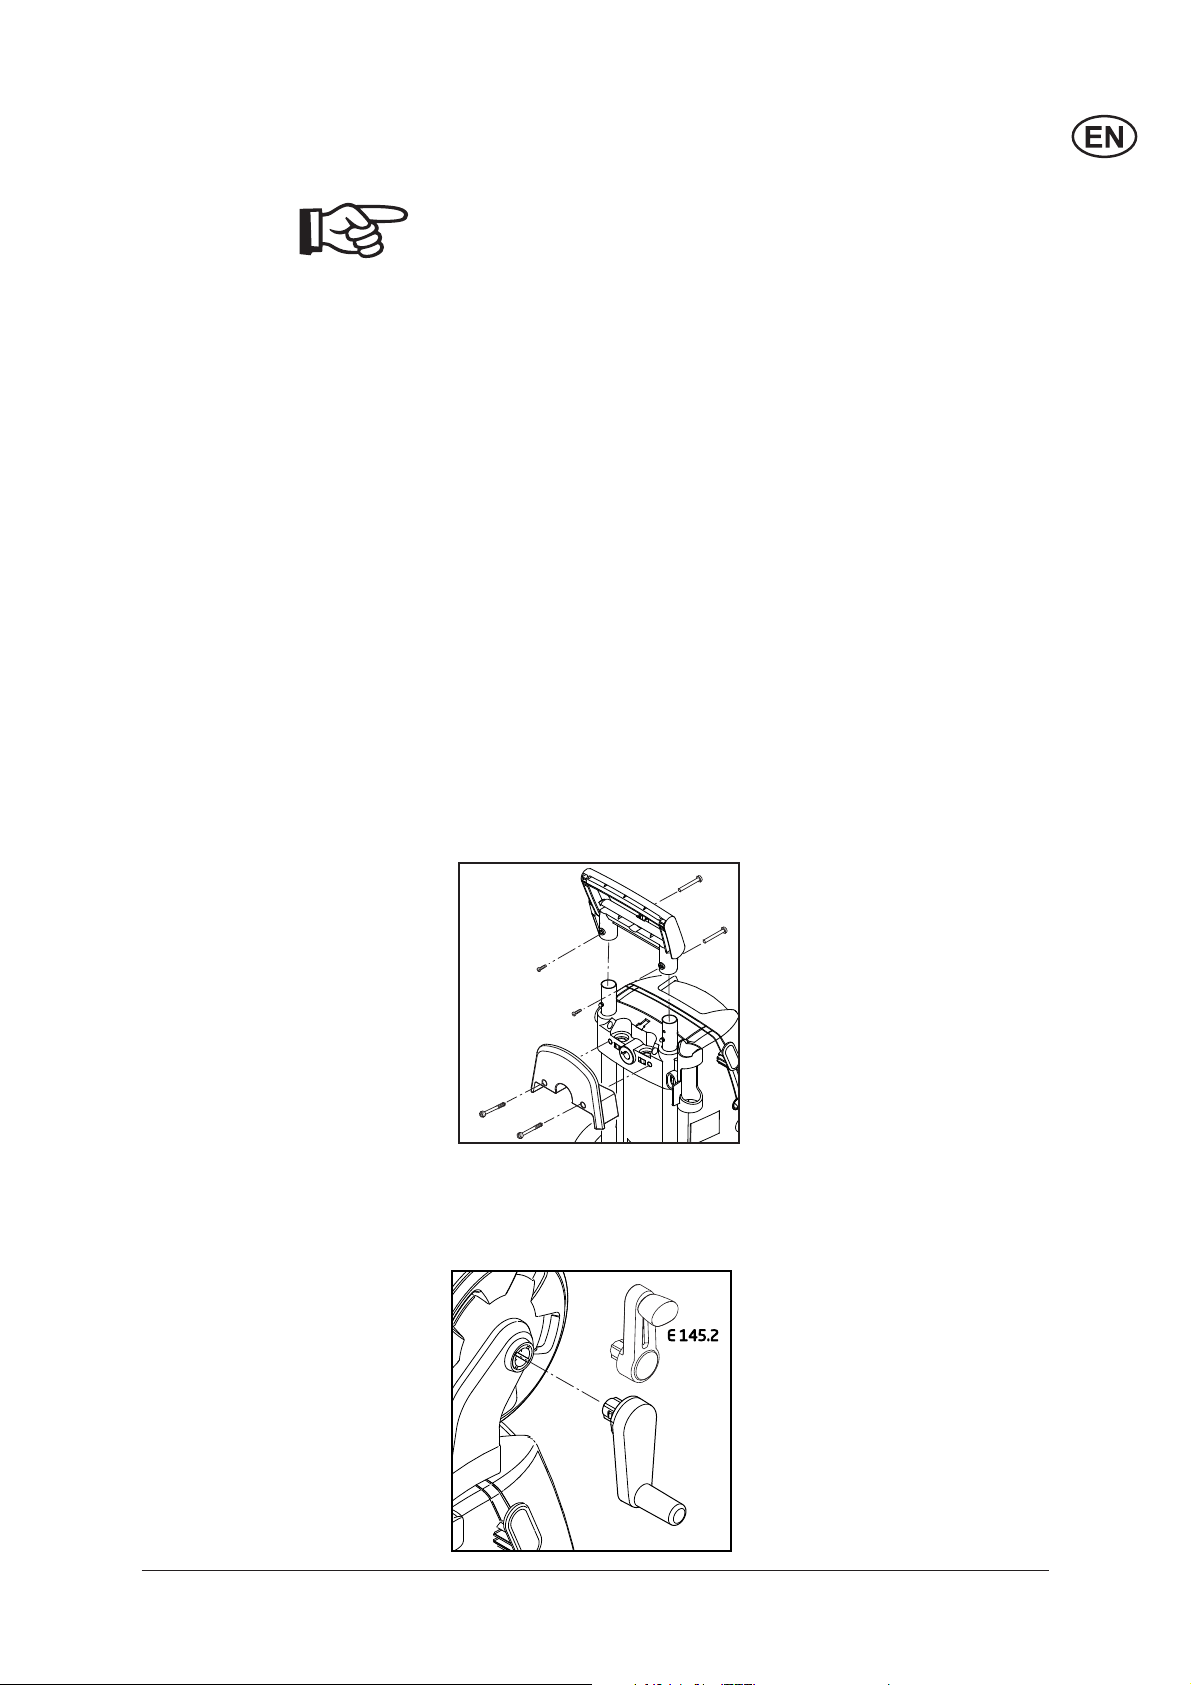
3.1 Mounting of trolley
handle and hose hook
(standard models)
3.2 Mounting of hose reel
handle (models with
hose reel)
1. Push down the trolley handle
(12) over the two metal tubes.
Make sure that the handle is
mounted as illustrated. Mount
screws with nuts (make sure
that the screws go through
handle as well as tube).
2. Mount the hose hook (14)
on the machine (2 screws).
Note: the hose hook can be
mounted on the front as well
as on the back. Front position
is to be used if the product is
used together with a special
wall hook for wall storage.
1. Click the hose reel handle
on to the trolley handle (no
screws).
5
3.3 Mounting of quick
coupling
1. Screw the quick coupling (16)
tight on to the water inlet (2).
Note: The inlet fi lter must always be fi tted in the water inlet
pipe to fi lter out sand, lime stone
and other impurities as these
will damage the pump valves.
Caution: Failure
to fi t the fi lter will
invalidate the
guarantee.
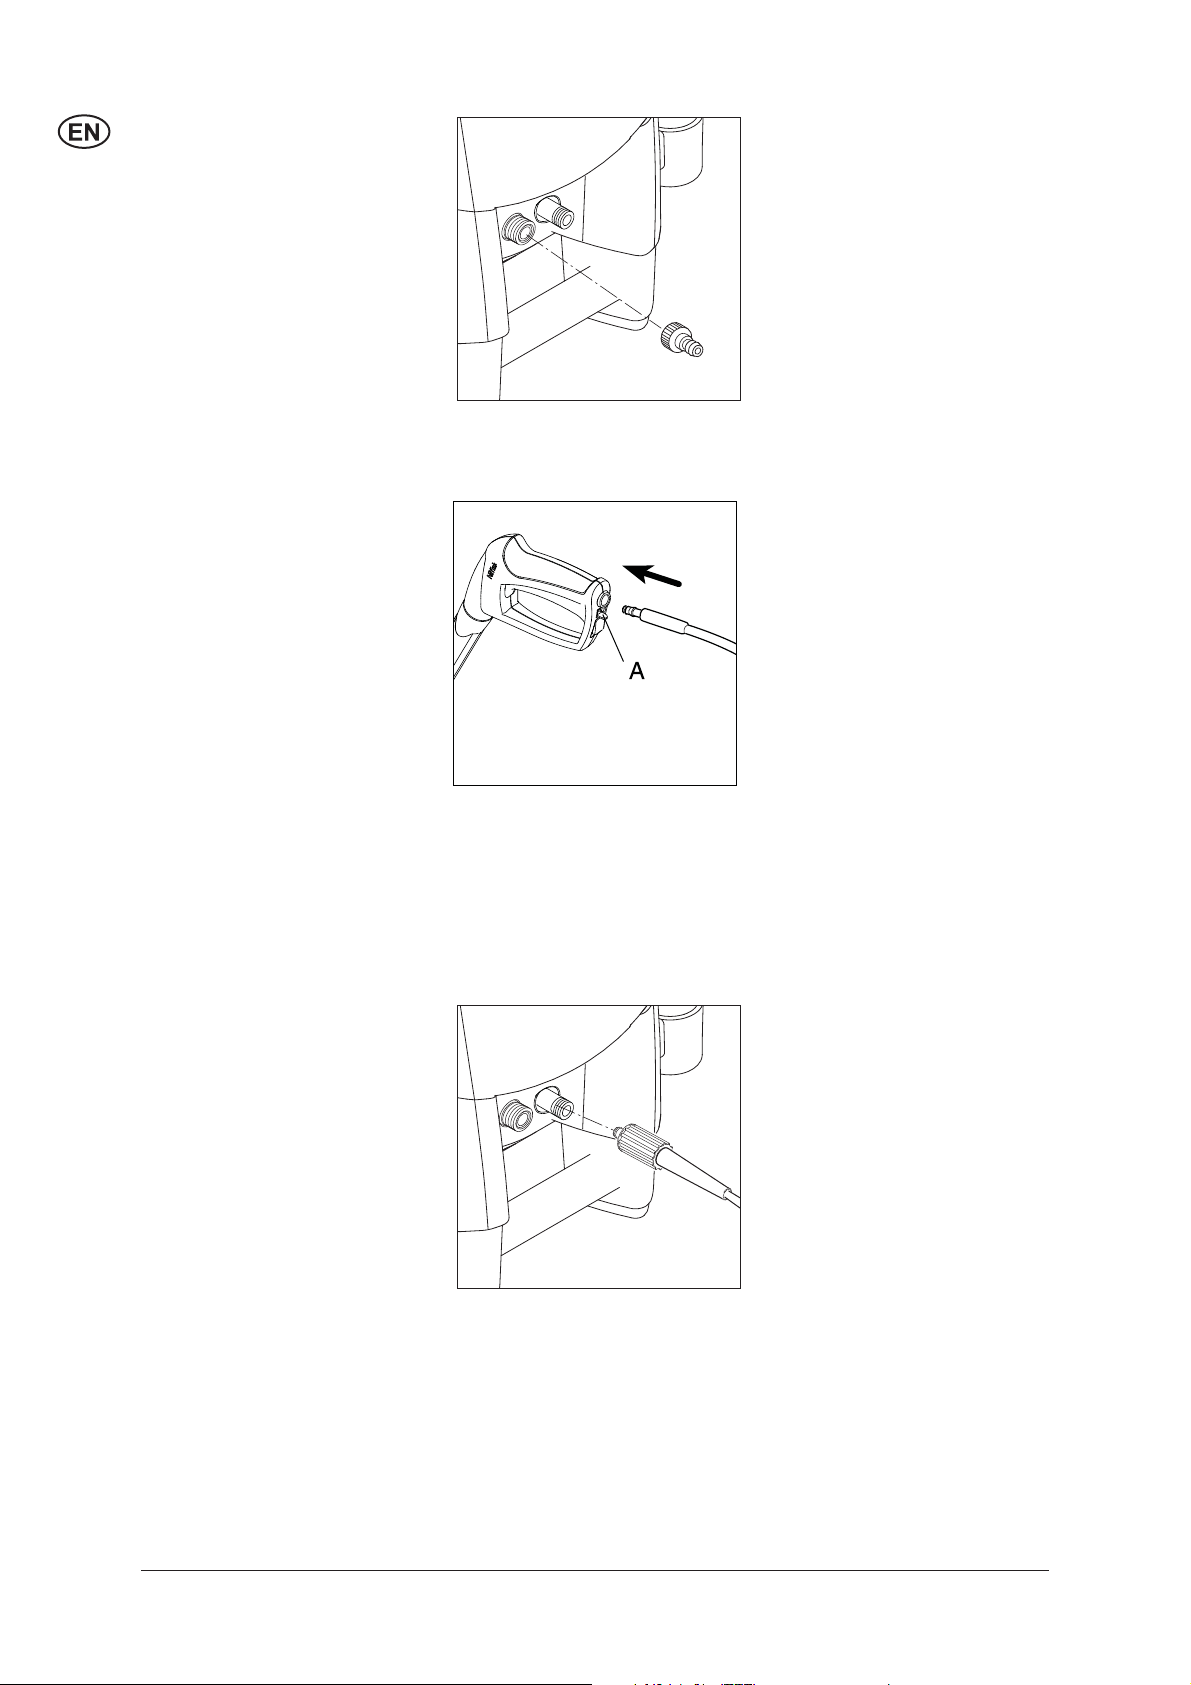
3.4 Mounting of high
pressure hose
Attach the high pressure hose
(4) to the spray gun (7).
De h the high pressure hose by
pressing the pawl (A).
4 Operating your pressure washer
4.1 Connection of high
pressure hose (models
without hose reel)
1. Mount the high pressure
hose on the outlet (3).
6
 Loading...