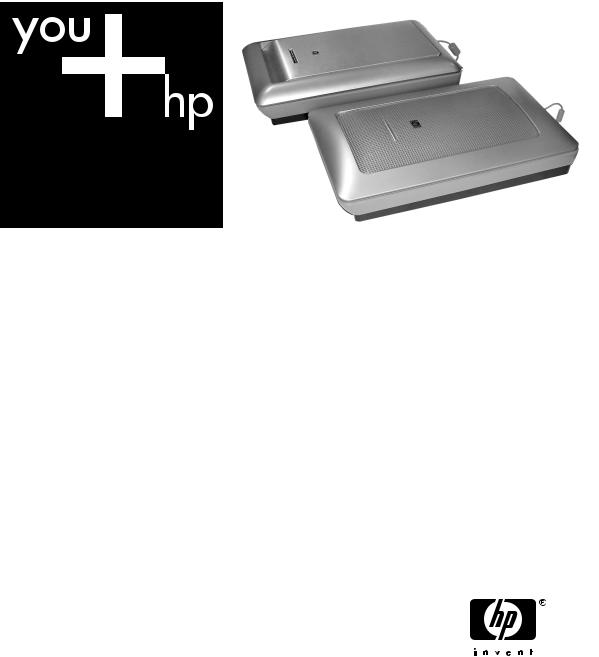
HP SCANJET 4800 User Manual

HP Scanjet 4800 series Photo Scanner
User's manual

HP Scanjet 4800 series
User's Manual
Copyright and license
© 2005 Copyright Hewlett-Packard Development Company, L.P.
Reproduction, adaptation or translation without prior written permission is prohibited, except as allowed under the copyright laws.
The information contained herein is subject to change without notice.
The only warranties for HP products and services are set forth in the express warranty statements accompanying such products and services. Nothing herein should be construed as constituting an additional warranty. HP shall not be liable for technical or editorial errors or omissions contained herein.
Trademark credits
ENERGY STAR is a U.S. registered service mark of the United States Environmental Protection Agency.
Microsoft and Windows are registered trademarks of Microsoft Corporation.
Contents
1 How to use the scanner ...................................................................................... |
2 |
|
|
Scanner setup and initialization ............................................................................. |
2 |
|
Where to get additional information ....................................................................... |
2 |
|
How to use the HP Image Zone software .............................................................. |
2 |
|
Front panel and accessories overview ................................................................... |
3 |
|
Scanning overview ................................................................................................ |
3 |
|
Scan pictures and documents ............................................................................... |
4 |
|
Scan multiple pictures with one scan ..................................................................... |
6 |
|
Scan film ................................................................................................................ |
7 |
|
Make copies ........................................................................................................ |
14 |
|
Share a scanned document or picture ................................................................. |
14 |
|
Change scan settings .......................................................................................... |
15 |
2 |
Care and maintenance ...................................................................................... |
16 |
|
Clean the scanner glass ...................................................................................... |
16 |
|
Clean the transparent materials adapter (TMA) ................................................... |
16 |
3 |
Troubleshooting ................................................................................................ |
17 |
|
Scanner installation or setup problems ................................................................ |
17 |
|
Scanner initialization or hardware problems ........................................................ |
18 |
4 |
Product support ................................................................................................. |
20 |
|
Accessibility Web site .......................................................................................... |
20 |
|
HP Scanjet Web site ............................................................................................ |
20 |
|
Support process .................................................................................................. |
20 |
5 Regulatory information and product specifications ....................................... |
22 |
|
|
Scanner specifications ......................................................................................... |
22 |
|
Transparent materials adapter (TMA) specifications ........................................... |
22 |
|
Environmental specifications ............................................................................... |
23 |
User's Manual |
1 |

1 How to use the scanner
This manual describes how to use the HP Scanjet 4800 series scanner and its accessories, resolve installation problems, and reach customer support.
Scanner setup and initialization
To set up your scanner and install the scanning software, see the setup poster shipped with your scanner.
Where to get additional information
More information about the scanner and software can be found in the onscreen Help. If you have installed the HP Image Zone software that came with the scanner, doubleclick the HP Solution Center icon on your desktop, and then click Onscreen Guide.
Macintosh Users: See the onscreen Help in the Macintosh HP Image Zone software for information about scanning procedures.
How to use the HP Image Zone software
When you install the HP Image Zone software, you will have two icons on your desktop. These icons open two programs for scanning and editing your scans.
For information on how to use the HP Solution Center and HP Image Zone, see the onscreen Help.
HP Solution Center is the program that gets you started scanning pictures and documents. From the Solution Center you can:
●Perform scanning and copy functions
●Access help and troubleshooting information
●Access HP Image Zone to edit your scans
●Modify settings and preferences
HP Image Zone is the program to use for manipulating, printing, archiving, and sharing your images after they have been scanned. You can get to HP Image Zone from the desktop icon or through the HP Solution Center.
To start a scan:
Double-click the HP Solution Center icon on the desktop, click the tab for the scanner, and then click on the task you want to perform.
Note If the HP Solution Center icon is not available on the desktop, click
Start, click Programs (or All Programs), click HP, and then click HP Solution Center.
2 |
HP Scanjet 4800 series |

Front panel and accessories overview
This section presents an overview of the scanner front panel and the transparent materials adapter (TMA).
Front panel buttons
Icon |
Feature name |
Description |
|
Scan button |
Scans pictures, graphics, documents, or objects. |
|
Scan Film |
Scans transparent positives (such as 35 mm slides) |
|
button |
and negatives. Scanning film requires that you use |
|
|
the transparent materials adapter (TMA) located on |
|
|
the underside of the scanner lid. |
|
Copy button |
Scans the item and sends it to the printer to make a |
|
|
copy. |
Scan to Share Scans items for sharing. Easily share pictures with button HP Instant Share, or send multiple-page documents
as e-mail attachments.
Transparent materials adapter (TMA)
You can use the transparent materials adapter (TMA) to scan 35 mm slides or negatives. For more information about the TMA, see Scan film.
Note The HP Scanjet 4890 Photo Scanner supports scanning positives and negatives larger than 35 mm.
Scanning overview
Start scanning in one of three ways:
●From the front panel buttons — to get started quickly using basic functions
●From the HP Solution Center – to have more control during the scanning process
●From other software programs
Scan from the scanner front panel buttons
Use the front panel buttons on the scanner for basic scanning functions, such as scanning pictures and documents. Instructions for using the front panel buttons are located in this manual. For more advanced functions, see the onscreen Help in HP Solution Center.
User's Manual |
3 |

Chapter 1
Scan from the HP Solution Center
Scan from the HP Solution Center when you want more control during the scanning process, such as when you want to preview the image before the final scan, use more advanced features, or change scan settings.
To start the HP Solution Center:
1.Do one of the following:
a.On the Windows desktop, double-click the HP Solution Center icon.
b.On the taskbar, click Start, point to Programs or All Programs, point to HP, and then click HP Solution Center.
2.If you have installed more than one HP device, click the tab for the scanner. The HP Solution Center shows only the functions, settings, and support options that are appropriate for the selected HP device.
Scan from other software programs
You can scan an image directly into one of your software programs if the program is TWAIN compliant. Generally, the program is compliant if it has a menu option such as Acquire, Scan, or Import New Object. If you are unsure whether the program is compliant or what the option is, see the documentation for that program.
Scan pictures and documents
Use the Scan button to scan pictures or documents quickly.
●Select original type — document or picture
●Scan pictures
●Scan documents
Select original type — document or picture
You have two choices for original type: Document or Picture. The scanner optimizes settings based on your choice. Use the following guidelines to determine the best original type for your needs.
If your original consists of |
Select this original type |
Text, or both text and graphics |
Document |
A printed photograph or graphic |
Picture |
Scan pictures
Use the Scan button ( ) to scan photos and graphics.
For scanning slides or negatives, see Scan film.
4 |
HP Scanjet 4800 series |

Note If you want to preview scans before they are sent to their destination, select Show Preview in the HP Scanning dialog box. Also see Preview a scanned image in the onscreen Help.
1.Place the original face down on the scanner glass, as indicated by the reference marks, and then close the lid.
2.Press the Scan button ( ).
).
The HP Scanning dialog box appears.
3.Click Scan.
4.When the scan is finished, place an item on the scanner glass and then click Scan to scan another picture, or click Done. The software saves the scan to a subfolder in the My Scans folder located within the My Documents folder. The subfolder is named for the current year and month. The scanned image is also sent to HP Image Zone by default.
Note If Show Preview was selected, you must click the Accept button in the preview screen to initiate the scan. When prompted, click Yes to scan additional pictures, or click No to send the scanned image(s) to the specified location.
Tip The HP Scanning software can automatically correct your pictures or restore faded colors in old pictures. To turn picture correction on or off, select Auto Correct Photos from the Basic menu of the HP Scanning software, and then choose the options you want. To use this feature, Show Preview must be selected.
Scan documents
Use the Scan button ( ) to scan documents.
The scanner scans an original document to whatever destination is selected in the HP Scanning dialog box.
User's Manual |
5 |

Chapter 1
Note If you want to preview scans before they are sent to their destination, select Show Preview in the HP Scanning dialog box, or begin your scan from HP Solution Center. Also see Preview a scanned image in the onscreen Help.
1.Place the original face down on the scanner glass, as indicated by the reference mark.
2.Press the Scan button ( ). The HP Scanning dialog box appears.
3.Under the What are you scanning? heading, click Document, and then select one of the following options:
–Color – scans in millions of colors, 200 dpi. This is the default setting.
–Grayscale – converts any colored original to grayscale, and creates a smaller file size than the Color option.
–Black & White – the best setting for scanning a black and white graphic, but not suitable for color or grayscale originals if you want to preserve detail.
4.Click Scan.
5.When you are finished with that page, place the next page on the glass and click Scan to scan another document or page.
6.When you are finished with all pages, click Done. After you click Done, the software sends the scanned file to the specified location.
Note If Show Preview was selected, you must click the Accept button in the preview screen to initiate the scan. When prompted, click Yes to scan additional pages, or click No to send the scanned page(s) to the specified location.
Scan multiple pictures with one scan
You can scan multiple pictures at the same time from the scanner glass.
Arrange the pictures that you want to scan on the HP scanning device glass. For the best results, leave at least 0.25 inches (6 mm) of space between the edges of the pictures. Then follow the steps for scanning a picture. For more information, see Scan pictures.
Tip Use the Scan ( ) button on the scanner lid or HP Solution Center to scan multiple pictures with one scan.
6 |
HP Scanjet 4800 series |
 Loading...