


EPILEPSY WARNING
A very small percentage of individuals may experience epileptic seizures when exposed to certain light patterns or flashing lights. Exposure to certain patterns or backgrounds on a television screen or while playing video games may induce an epileptic seizure in these individuals. Certain conditions may induce previously undetected epileptic symptoms even in persons who have no history of prior seizures or epilepsy. If you,
or anyone in your family, have an epileptic condition, consult your physician prior to playing. If you experience any of the following while playing a video game—dizziness, altered vision, eye or muscle twitches, loss of awareness, disorientation, any involuntary movement, or convulsions—IMMEDIATELY discontinue use and consult a physician before resuming play.
PRECAUTIONS TO TAKE DURING USE
•This game disc is intended for use exclusively on Windows®-based systems with the minimum
configurations specified on the system requirements of the game purchased.
•Do not sit too close to the screen. Sit a good distance away from the monitor, as far away as the length
of the cable allows.
•Avoid playing if you are tired or have not had much sleep.
•Make sure that the room in which you are playing is well lit.
•Rest for at least 10 to 15 minutes per hour while playing a video game.
HANDLING YOUR GAME DISC
•Avoid bending the disc. Do not touch, smudge or scratch its surface.
•Do not leave the disc in direct sunlight or near a radiator or other source of heat.
•Take occasional rest breaks during extended play.
•Always store the disc in its protective case.
ESRB RATING
This product has been rated by the Entertainment Software Rating Board. For information about the ESRB rating, or to comment about the appropriateness of the rating, please contact the ESRB at www.esrb.com.
CONTENTS
IT’S NO JOKE |
2 |
INSTALLING |
4 |
PROJECT: SNOWBLIND™ |
|
STARTING THE GAME |
5 |
DEFAULT CONTROLS |
5 |
GETTING INTO THE GAME |
8 |
GAME SCREEN |
10 |
INVENTORY |
12 |
WEAPONS |
13 |
BIO-AUGMENTATIONS |
15 |
THE SNOWBLIND EFFECT |
16 |
VITAL TASKS |
16 |
HACKING |
17 |
REPUBLIC SECURITY SYSTEMS |
17 |
VEHICLES |
17 |
COLLECTIBLES |
18 |
SAVING GAME DATA |
19 |
PAUSE MENU |
19 |
ONLINE PLAY |
20 |
ONLINE MULTIPLAYER GAMES |
22 |
HOSTING A GAME |
25 |
LOCAL AREA NETWORK |
25 |
MULTIPLAYER GAMES |
|
FRIENDS LIST |
26 |
STATS |
27 |
CLANS |
28 |
Be sure to check the PROJECT: SNOWBLIND Readme file for important updates about the game.
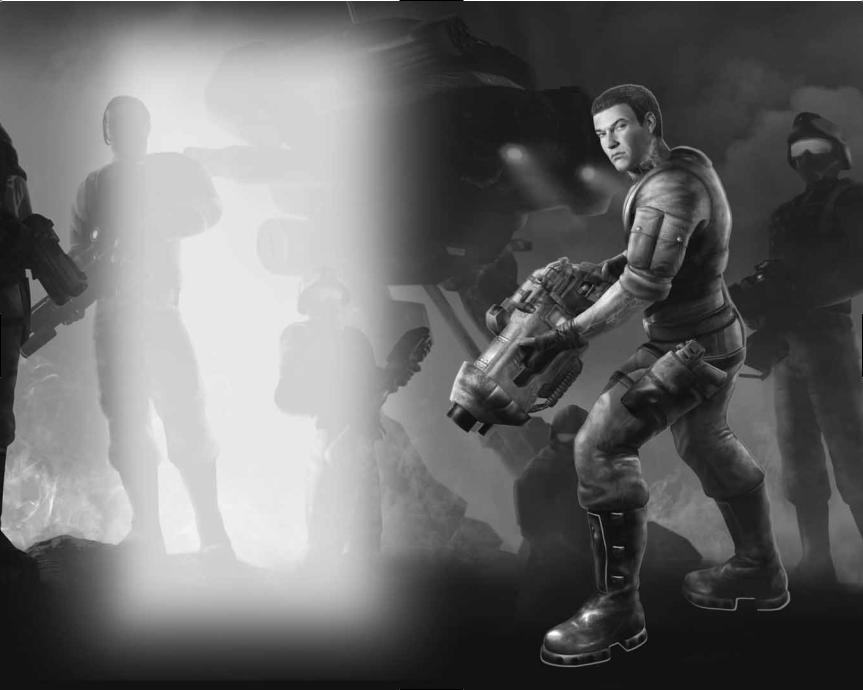
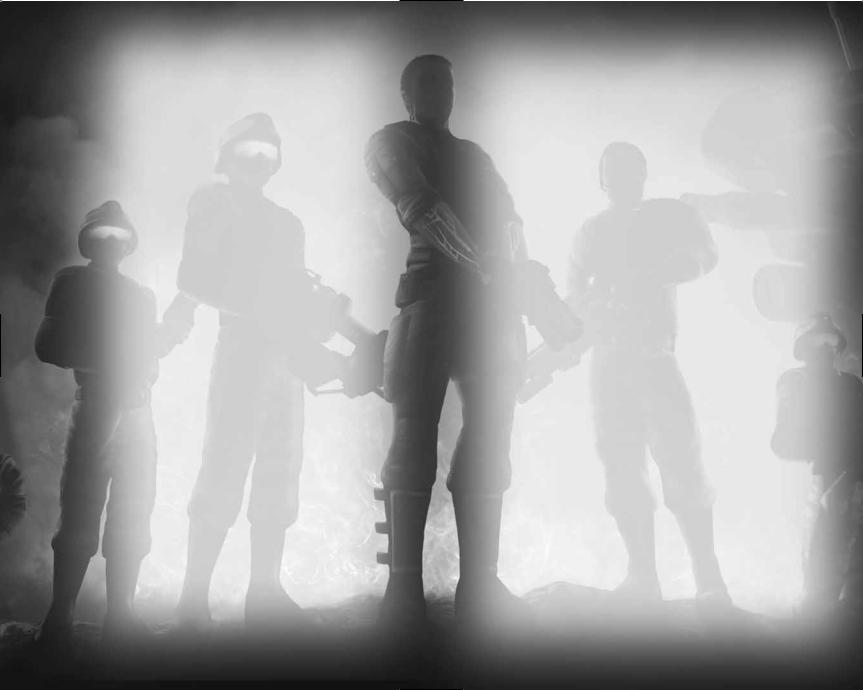
IT’S NO JOKE...
Liberty Coalition Army 2nd Lieutenant Nathan Frost has been transformed. There was that last searing blast from the bomb, an excruciating gurney ride into the surgery unit — Frost wondering if he even had a face left — some strange talk about BP, pulse and … scarecrows?
Now he is alert, standing, disoriented a little, but stronger than before. A sense of extreme power is coursing through him and he sees apprehension in the eyes of all who pass.
Frost has been transformed into the prototype.
He is the first-born in a top secret program to create a bio-augmented super-soldier.
Now that joke about a one-man army is true...
2 |
3 |
INSTALLING
PROJECT: SNOWBLIND
To install PROJECT: SNOWBLIND™, insert the game DVD into your CD/DVD-ROM drive. After a few seconds, the Launch Panel will appear. (If the Launch Panel does not appear when you insert the DVD, double-click the My Computer icon, then double-click the CD/DVD-ROM icon to display the Launch Panel.)
This program will guide you through the installation process via onscreen prompts.
– or –
LClick the Start button.
LChoose Run from the pop-up menu.
LType d:\setup in the box provided (d: designates your CD/DVD-ROM drive letter).
LClick the OK button to begin the install program.
LWhen prompted, select the path and directory on your hard drive where you want to install the game. The default is
C:\Program Files\Project Snowblind. If you like, you can change this to your preferred location.
Click the Readme button to view important information about
PROJECT: SNOWBLIND™.
UNINSTALLING
To uninstall PROJECT: SNOWBLIND™, from your desktop select
Start –>All Programs –>Eidos –>Project Snowblind –>Project Uninstall. When prompted, click Yes to remove PROJECT: SNOWBLIND™ from your computer.
AUTOSAVE
Your PC will automatically save any personal records you achieve. You can then view your records in the Personal Records section in the Options screen.
STARTING THE GAME
Once the game is installed and you are ready to play, click the Play button on the Launch Panel to start the game.
To begin playing the game at a later time, insert the DVD into the CD/DVD-ROM drive. After a few seconds, the PROJECT: SNOWBLIND™ Autorun program will appear via the AutoPlay feature.
LClick the Run button to start the game.
–or –
LSelect Start –>All Programs –>Eidos –>Project Snowblind –>Project Snowblind.
To leave the game, click the Exit button.
DEFAULT CONTROLS
MENU CONTROLS
Pause Menu |
ESC key (P key to pause game) |
Select menu item |
1/2cursor keys |
Change setting |
4/3cursor keys |
Confirm selection |
ENTER key or SPACEBAR |
Cancel/Back to previous menu |
ESC key or BACKSPACE |
INVENTORY CONTROLS
Show/Hide inventory |
hold/release TAB key |
Cycle through primary weapons |
mouse wheel |
Cycle through secondary weapons |
E key |
Cycle through bio-augmentations |
Q key |
Note: You can also cycle through items, using the same controls, with the inventory closed.
4 |
5 |

ON FOOT CONTROLS
Move forward or back |
W or S key |
Look/Aim |
roll mouse |
Close info display |
SPACEBAR |
Fire primary weapon/Throw held object/ |
LEFT mouse button |
Charge Kinetic Kicker (hold) |
|
Alt Fire (primary weapon)/Pull object |
RIGHT mouse button |
Strafe left, right |
A, D key |
Use secondary weapon/Quick detonate |
SHIFT key |
grenade after throwing/Activate riot wall |
|
Select primary weapon 1-9, 10, 11 |
1-9, 0 (zero), |
|
– (minus) key |
Cycle through primary weapons |
mouse wheel |
Cycle through secondary weapons |
E key |
Cycle through bio-augmentations |
Q key |
Punch/Melee attack |
CTRL key |
Use/Cancel selected bio-augmentation |
ALT key |
Crouch |
C key |
Reload primary weapon/Talk/Interact |
R key |
with object/Open unlocked door/Climb |
|
or descend ladder/Pick up/Drop |
|
Jump |
SPACEBAR |
Precision aim/Close look |
Z key |
(primary weapon) |
|
Toggle Navigational Display mode |
F key |
EMPLACEMENT CONTROLS
Use/Exit emplacement |
R key |
Fire emplacement |
LEFT mouse button |
Emplacement control/Aim |
roll mouse |
IN VEHICLE CONTROLS
Enter/Exit vehicle |
R key |
Steer |
A or D key |
Drive forward |
W key |
Brake/Reverse |
S key |
Fire primary weapon (if equipped)/Car horn |
LEFT mouse button |
Fire secondary weapon (if equipped) |
RIGHT mouse button |
Turret control |
roll mouse |
|
|
OGRE CONTROLS
Move Ogre legs |
W, S keys |
Rotate Ogre body/Aim weapons |
roll mouse |
Fire machine gun |
LEFT mouse button |
Fire rockets |
RIGHT mouse button |
SINGLE PLAYER HACKING CONTROLS
Fire icepick into panel/Open hack panel |
LEFT mouse button |
Select option from hacked panel display |
1/2cursor keys |
Execute selected option |
SPACEBAR or ENTER key |
Aim/Control gun turret |
roll mouse |
Fire gun turret |
LEFT mouse button |
Pan surveillance camera |
roll mouse |
Exit hacked panel display |
R key |
|
|
MULTIPLAYER HACKING CONTROLS
Select hack tool/execute hack R key
6 |
7 |
 Loading...