


EPILEPSY WARNING
A very small percentage of individuals may experience epileptic seizures when exposed to certain light patterns or flashing lights.
Exposure to certain patterns or backgrounds on a television screen or while playing video games may induce an epileptic seizure in these individuals. Certain conditions may induce previously undetected epileptic symptoms even in
persons who have no history of prior seizures or epilepsy. If you, or anyone in your family, has an epileptic condition, consult your physician prior to playing. If you experience any of the following while playing a video game – dizziness, altered vision, eye or muscle twitches, loss of awareness, disorientation, any involuntary movement, or convulsions – IMMEDIATELY discontinue use and consult your physician before resuming play.
ESRB RATING
This product has been rated by the Entertainment Software Rating Board. For information about the ESRB rating, or to comment about the appropriateness of the rating, please contact the ESRB at 1-800-771-3772.
HANDLING YOUR COMPACT DISC
•The PC compact disc is intended for use exclusively on IBM compatible systems with the minimum configurations specified on the system requirements of the game purchased.
•Avoid bending the disc. Do not touch, smudge or scratch its surface.
•Do not leave the disc in direct sunlight or near a radiator or other source of heat.
•Take occasional rest breaks during extended play.
•Always store the disc in its protective case.
CAUGHT UNDER FIRE? CAN’T ESCAPE?
CALL THE EIDOS INTERACTIVE HINT LINE
U.S.: 1-900-77EIDOS (773-4367)
Canada: 1-900-64EIDOS (643-4367)
EIDOS INTERACTIVE LIMITED WARRANTY
EIDOS Interactive warrants to the original purchaser that this EIDOS Interactive disc is free from defects in materials and workmanship for a
period of ninety (90) days from the date of purchase. This EIDOS Interactive disc is sold “as is” without expressed or implied warranty of any kind, and EIDOS Interactive
is not liable for any losses or damages of any kind resulting from use of this program. EIDOS Interactive agrees for a period of ninety (90) days to either repair or replace, at its
option, free of charge, any EIDOS Interactive disc, postage paid, with proof of date of purchase, at its Factory Service Center.
This limited warranty is not applicable to normal wear and tear. This limited warranty shall not be applicable and shall be void if the defect in the EIDOS Interactive disc has arisen through abuse, unreasonable use, mistreatment or neglect. This limited warranty is in lieu of all other warranties and no other representations or claims of any nature shall be binding on or obligate EIDOS Interactive. Any implied warranties of merchantability and fitness for a particular purpose are limited to the ninety (90) day period described above. In no event will EIDOS Interactive be liable for any special, incidental or consequential damages resulting from possession, use or malfunction of this disc.
Some states do not allow limitation as to how long an implied warranty lasts and/or exclusions or limitations of incidental or consequential damages, so the above limitations and/or exclusions of liability may not apply to you. This warranty gives you specific legal rights, and you may also have other rights which vary from state to state.
For warranty support please contact our Customer Support department at (415) 547-1244. Our staff is available Monday through Friday, 9:00 a.m. to 5:00 p.m. Pacific Time. You’re responsible for all toll charges. Customer Support Representatives will not provide game hints, strategies or codes.
PRODUCT RETURN PROCEDURE
In the event our support agents determine that your game disc is defective, you will need to forward material directly to us. Please include a brief letter explaining what is enclosed and why you are sending it to us. The agent you speak with will give you an authorization number that must be included. You will also need to include a daytime phone number so that we can contact you if necessary. Any materials not containing this authorization number will be returned to you unprocessed and unopened. Your postage paid package should be sent to the following address:
Eidos Interactive Customer Services 651 Brannan Street, suite 400
San Francisco, CA 94107
RMA# (include your authorization number here)
Note: You are responsible for postage for your game to our service center.
Cost of call: $0.99/minute.
Must be 18 years of age or have parent’s permission. Touch-tone phone required.
CONTENTS |
|
Installation . . . . . . . . . . . . . . . . . . . . . . . . . . . |
2 |
Uninstaller . . . . . . . . . . . . . . . . . . . . . . . . . |
2 |
About the Game . . . . . . . . . . . . . . . . . . . . . . . |
3 |
The Missions . . . . . . . . . . . . . . . . . . . . . . . . |
3 |
Your Career in the Army . . . . . . . . . . . . . . . . |
3 |
Assignment of Objectives . . . . . . . . . . . . . . . |
4 |
The Puzzle . . . . . . . . . . . . . . . . . . . . . . . . . |
4 |
Level of Difficulty . . . . . . . . . . . . . . . . . . . . . |
4 |
Some Geographic & Historic Concessions . . . . |
5 |
Playing the Game . . . . . . . . . . . . . . . . . . . . . . . |
6 |
Viewing the Environment . . . . . . . . . . . . . . . . |
6 |
The Game Interface . . . . . . . . . . . . . . . . . . . |
8 |
Selecting Characters . . . . . . . . . . . . . . . . . |
15 |
Moving Around the Map . . . . . . . . . . . . . . . |
17 |
The Characters . . . . . . . . . . . . . . . . . . . . . . . |
24 |
The Commandos . . . . . . . . . . . . . . . . . . . . |
24 |
Special Characters . . . . . . . . . . . . . . . . . . |
29 |
The Enemy . . . . . . . . . . . . . . . . . . . . . . . . |
29 |
Equipment . . . . . . . . . . . . . . . . . . . . . . . . . . . |
34 |
Objects Selected with One Click . . . . . . . . . . |
34 |
Objects that Can Be Placed on the Scenery . |
36 |
Objects Selected with Two Clicks . . . . . . . . . |
38 |
Weapons . . . . . . . . . . . . . . . . . . . . . . . . . . . . |
42 |
Vehicles . . . . . . . . . . . . . . . . . . . . . . . . . . . . |
44 |
Driving Vehicles . . . . . . . . . . . . . . . . . . . . . |
44 |
Single Player Game . . . . . . . . . . . . . . . . . . . . . |
45 |
Multiplayer Game . . . . . . . . . . . . . . . . . . . . . . |
46 |
Setting Up . . . . . . . . . . . . . . . . . . . . . . . . |
46 |
In-Game Differences |
|
Between Single Player & Multiplayer . . . . . . . |
48 |
Credits . . . . . . . . . . . . . . . . . . . . . . . . . . . . . |
50 |
Eidos Interactive Technical Support . . . . . . . . . . |
52 |
) 1 )
INSTALLATION
If your computer has the Autorun option activated, automatic installation will begin as soon as you insert the first Commandos 2 CD into your CD drive.
If Autorun is disabled, you will need to select the option “Explore” on the icon of your CD unit with the right mouse button (RMB) and run the exe file “Setup.exe” in the root directory of your CD.
The “Install Shield Wizard” will start and after it the license window will appear. If you decide to accept the terms, the next question will be “Where do you want to Install Commandos2?”
All the game files will be saved in the same folder, whose default route is:
\Program files\Commandos2
But of course, you can change it as you wish.
Finally, you will be asked if you want to install the DirectX8.0 files. If you decide to do so and your system already has them. they will not be reinstalled, although if necessary they will be upgraded.
If you have enough space in the hard disk, the game installation will start. When it is finished, if you clicked “Yes” when asked about installing DirectX8.0, the program will check your current version of DirectX and decide whether to install it or not.
Depending on your operating system, you may have to restart your computer for the system to acknowledge the changes made. It will tell you what to do in order to start training with your Commandos as soon as possible.
UNINSTALLER
Remove and Repair: Application that, before removing anything, will offer you the following three options:
Modify: In case you want to change some of the options that you chose when installing.
Repair: Checks the files in game folder and, if it encounters any problems, will try to fix them by reinstalling the necessary files from the CD.
Remove: Remove all the files you installed and change the registry file.
ABOUT THE GAME
THE MISSIONS
In Commandos 2: Men of Courage, you have to successfully take your men through a series of missions inspired by events that took
place during World War II. The missions have several different objectives, new challenges and many possible approaches that will depend on your tactic, skills and weapon dexterity. All the missions have at least one main objective: rescue, espionage, assault or defend. Missions also include sub-objectives and clues that will take you closer to your goal. If you don’t complete your objectives or if you lose some of your team, you will have to try again.
In creating Commandos 2: Men of Courage, we have tried to make an enjoyable game that is more than just a faithful depiction of Commandos activity during WWII. So please note, if your history book contradicts what you see in the game ... trust your history book.
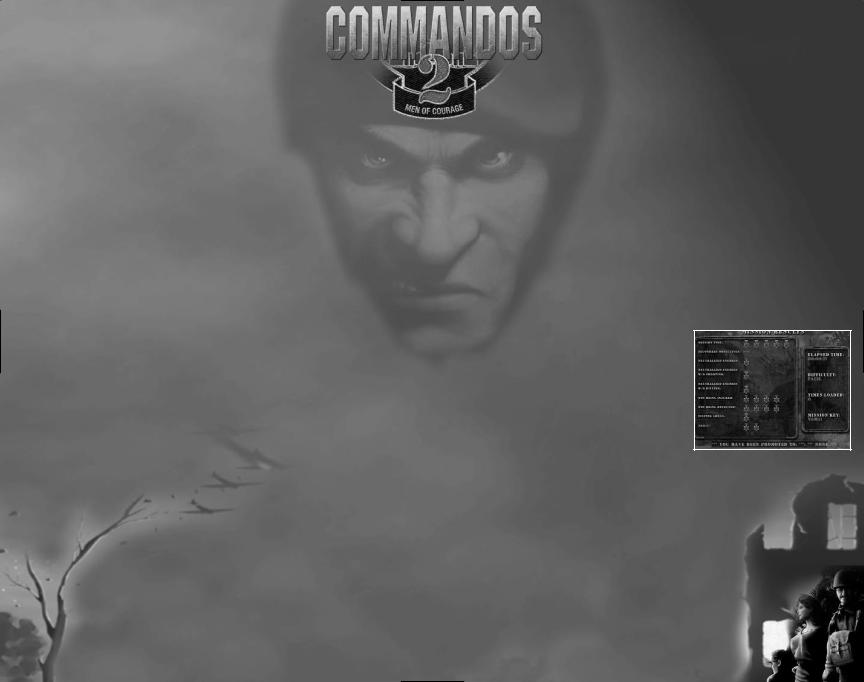
YOUR CAREER IN THE ARMY
The army life is a hard one and to excel you must complete the objectives set out before and during the mission. Once you have completed a mission, you will be able to move to the next one. Each time you successfully finish a mission, you will be assigned a number of points according to your degree of success. The points are based on the number of secondary objectives accomplished, the time it took you to finish, and the damage you received. Not being
detected and visiting different areas of the map also influence your points. The number of enemies neutralized is also a factor when scoring points. You get maximum points if you tie them up, fewer points if you kill
them with a knife and the fewest points of all if you kill them with a firearm.
As you progress through the missions, your points will continue to accumulate and your rank should increase. When you start the game you are the lowest rank. By the time the war ends, if you have successfully completed the missions and displayed exemplary behavior you could attain the rank of Field Marshal. Your honor and your career depend on how effective you are ... and your pension depends on it too.
) 2 ) |
) 3 ) |
ASSIGNMENT OF OBJECTIVES
At the beginning of each mission you will receive brief instructions on what is expected from you and your men. You will be given information in the following areas:
•The overall strategic situation.
•The main mission objectives.
•A tour of the environment, at which point you will be shown where the objectives can be completed and the position of key areas. You’ll also receive some advice on the tactics you should employ.
If you would rather skip the briefing, press the “Esc” key at any point to start the mission. If you need to check any of the objectives while in a mission, you can use the notebook in the interface.
THE PUZZLE
A selection of missions contain pieces of a puzzle. If you can collect these pieces and finish the game you may unlock special missions.
The pieces are scattered all over the map. They could be found on the floor and also inside boxes, cabinets, enemy inventories,
and anywhere items can be stored. The objects will be stored in a table that you can access via an icon placed at the top of the interface.
LEVEL OF DIFFICULTY
The objectives of a particular mission will not change even if the difficulty level is altered. The differences you will experience from one difficulty level to the next will be in the behavior of your enemies and the supply of tools and provisions.
For example, in Normal difficulty, enemies will be less likely to leap into action and will take their time recognizing and shooting at you. Your firearms have the longest range and shoot extremely fast. Your enemies
are more relaxed and their reaction times are far longer, giving you a larger margin of error. If one of your Commandos’ health levels
drops to zero, you can bring him back from the brink of death by using any of the multiple first-aid kits you will find. There is no shortage of ammo and items and grenades and explosives have a larger damage radius.
In Hard difficulty, you will encounter more enemies, the range and speed of your firearms is decreased and the time that it takes the enemies to react is faster.
Enemy firearms are more deadly. When one of your men dies, there is no way to bring him back.
In Very Hard difficulty, the enemies react as soon as they see you, the range of their guns is the longest and their shots even more
deadly. First-aid kits and ammunition are in very short supply; success could rely on a single bullet so they must be used wisely. Just in case this isn’t enough, enemies recover from being knocked out by Commandos far faster. Wine will also affect them for a shorter period of time.
SOME GEOGRAPHIC & HISTORIC
CONCESSIONS
We know that ...
•There are no penguins in the Arctic.
•The submarine bunkers at La Pallice in La Rochelle had more than three hangars.
•The bridge over the river Kwai exists, but it is not made of wood and it was never destroyed.
•The statue of Buddha is not in India but in a temple in Kyoto, Japan.
•The Shinano was sunk before entering into active combat.
•There are no piranhas in Asia, only in the Amazon river.
The dates and historic events are based in real ones but have been adapted for gameplay reasons. We maintain that you should always trust your history books — this is a video game after all!
) 4 ) |
) 5 ) |
PLAYING THE GAME
This section contains information regarding the core areas of Commandos 2. You will be given information about your men, the weapons you will use throughout the missions and the various tactics that will help you accomplish your objectives. Reading them does not guarantee your success, but will help you recognize
your options, rate the enemy's chances and anticipate the different perils you will have to face. Good luck and go for it.
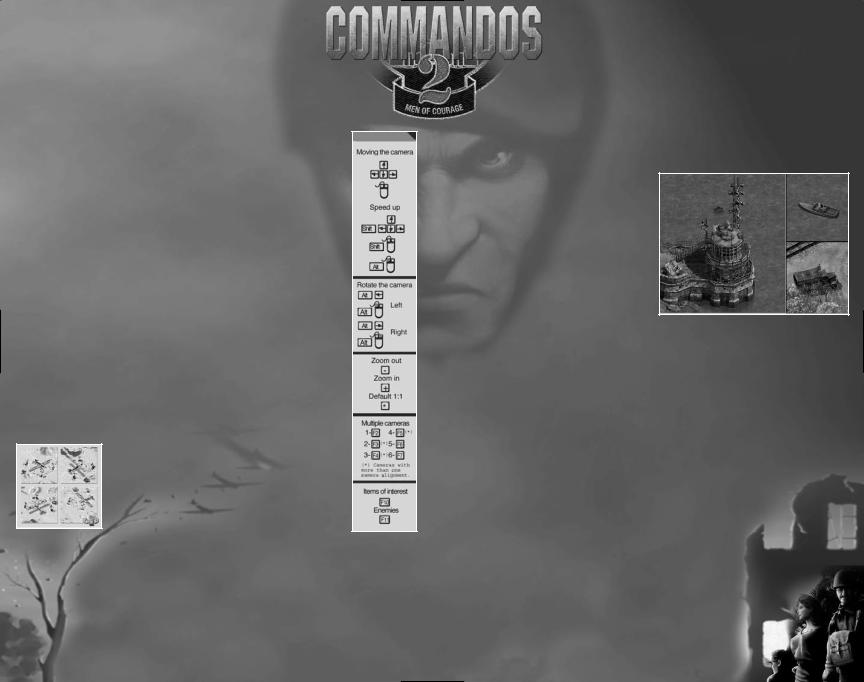
VIEWING THE ENVIRONMENT
MOVING THE CAMERA
From the moment a mission starts you can freely scroll the camera around the whole external environment. It is highly recommended that you do this prior to issuing orders. Doing this will give you a better indication of the global situation.
You can use the cursor keys on the keyboard to move the onscreen cursor toward the screen boundaries. When the screen stops moving you have reached the edge of the map. You can reach every corner of the map in a much faster way if you do the same movements described while keeping the “Shift” key pressed, or by pressing the “Alt” key and moving the mouse at the same time.
ROTATING THE CAMERA
If you move the camera around the map, many of the areas will be hidden by houses, walls, furniture or vegetation. To view the whole environment you must combine the normal moving around the map with the three other camera angles.
If you keep the “Alt” key pressed and press the “left arrow” key or the left mouse
button (LMB), the camera will rotate in angles of 90º to the left. Alternatively, if you press the “right arrow” key or the right
mouse button (RMB) while pressing the “Alt” key, the camera will rotate in angles of 90º to the right.
When inside buildings, passages and tunnels, you can to rotate the camera in exactly the same way as outside. The difference is that the camera rotation angle is free (i.e. not in 90º steps). This will allow you to examine the interiors from the
) 6 ) angle you require.
ZOOMING IN AND OUT
You are able to change the zoom level of a map. Use the “-“ key to zoom out and observe a larger area of the
map. Alternatively press the “+” key to zoom in to view specific areas of the environment.
Whenever you want to revert to the default viewing scale, you can use the “+” and “-“ keys or press the “*” key on the numeric keypad.
MULTIPLE CAMERAS
Sometimes your men or your targets will be scattered around at different points of the environment. In positions like this you may want to keep track of what is happening at each of these points without having to move the camera manually.
The Multiple Cameras function will divide your main screen into several window configurations when you press the function keys from “F2” to “F7.”
This will allow you to coordinate the action at different points. Please note that some of the function keys have alternating window configurations: one configuration for one press and another for two presses.
Each section behaves as a completely independent window. You can select a window by clicking on it with the LMB. The selected window will then be outlined in red. In this active window you will be able to play the game with all its options and features.
To go back to the single window configuration, press the “F2” key. The active window at that point will become the main viewing area and occupy the full screen.
ENVIRONMENT BOUNDARIES
The boundaries of every mission are marked by a shadowed zone which you cannot enter, cross or affect in any way.
) 7 )

LOCATING THE ENEMY
AND INTERACTIVE ELEMENTS
As explained in “Rotating the Camera,” your camera position will determine the elements you can see on the map. Press the “F11” key and a red outline will mark the position of all the enemies in that area regardless of whether they are hidden or not.
In a similar way you can use the “F10” key to locate doors, ammunition, food, tools and other supplies distributed around the scenery. When you press the key, every interactive element on the map will be outlined in red.
These two functions are extremely useful as they provide information on the map and include elements that may be hidden from
you. It will help you plan your strategy far more effectively.
ENEMY FIELD OF VIEW
Click on the “Enemy Eye” icon in the interface and you will see the cursor
change. When you click on an area of a map, a red marker is placed at that point. If any enemy
soldiers can see that position, the appropriate enemy fields of view are displayed.
Enemy fields of view are displayed as a colored triangular area. Avoid these areas as you will be detected if you enter them.
The same cursor, when applied to a specific enemy soldier instead of to a particular point, will display the field of view of that enemy. This will allow you to discover the area he has under surveillance.
Using this tool to observe the movements of the enemy soldiers will allow you to prepare your strategy.
MAP
THE GAME INTERFACE
The interface is your command center. From here you will control the game and give your men the necessary orders to complete the mission. Moving the cursor over the interface options and icons will highlight the ones you are able to use in that particular situation. When you want to use one of them, click the LMB on it or use its hot key. If at any moment you need to use the whole screen, you can press the “~” key (the one directly below the “Esc” key). This will toggle the interface on and off.
THE CURSOR
The “Arrow” cursor is your principal tool for controlling your
|
Commandos during the missions. You can move the cursor |
|
around the screen with the mouse, executing an order with |
|
the LMB or canceling it with the RMB. The cancel function will |
|
only work if the cursor is on the main viewing area and not on |
|
the interface. The cursor is sensitive to the environment and |
|
will change when placed over certain elements. If you press |
) 8 ) |
the “Shift” key as you move the cursor, you will see how it |
changes to indicate the different actions you can perform. These |
|
include hiding, climbing, and opening doors and boxes. |
Clicking the LMB on the “Map Holder” icon will reveal a sketch of the mission map. You will see several points with various colors representing the different elements of the game, as well as a rectangular box representing the area currently viewable on the screen.
If you click on any part of the sketch, both the rectangle and the viewable area will move to the new position. Using this method allows you to immediately locate the areas you are interested in.
To put the map away, click the RMB on the “Map Holder” icon.
) 9 )
ASSIGNING A CAMERA
Select the camera icon on the interface with the LMB. The cursor will
change its form to that of a camera. This indicates that you are
now able to select any element of the game, either still or moving, and make it the focus of attention. This element is automatically kept in the center of the screen until the function is deactivated.
When the element has been selected, a camera icon will appear in the bottom left corner of the screen. Clicking the LMB on this icon will deactivate the camera.
You can combine this option with “Multiple Cameras” and assign different cameras to watch different targets simultaneously. Each window can use only one camera, but remember that you can have up to six windows open at any time.
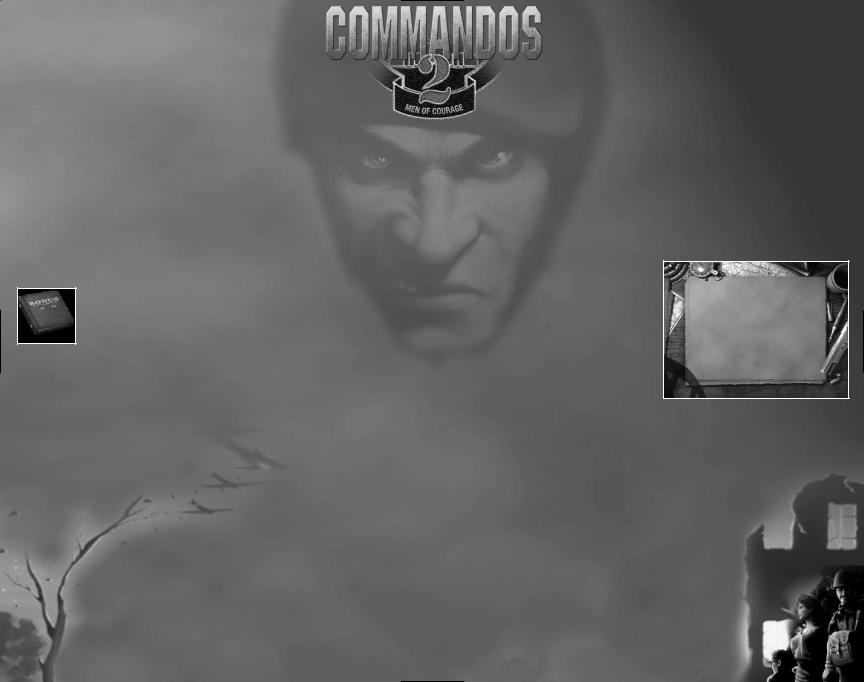
NOTEBOOK
If you are unsure about the mission objectives or about any of the objects in the game, you can view the notebook. In it you will find detailed information on the mission, weapons, equipment and techniques. A general help section
is included to aid your success in the completion of more difficult missions.
To view the pages of the Notebook, click the LMB on the subject you want to more information on. You can alternatively click on the arrow icons located at the bottom of each page. While you’re using the notebook,
the game will remain paused until you exit. This is done by clicking anywhere on the screen with the RMB.
HELP
During the game you can also use the “Question Mark” icon
on the interface to get information regarding elements contained in the environment. When you select this icon, the cursor will
change to a question mark, indicating that when you click the LMB over any element of the mission, the Notebook will
automatically open on the page corresponding to that element.
To go back to the game and exit Help mode, click the RMB anywhere over the environment.
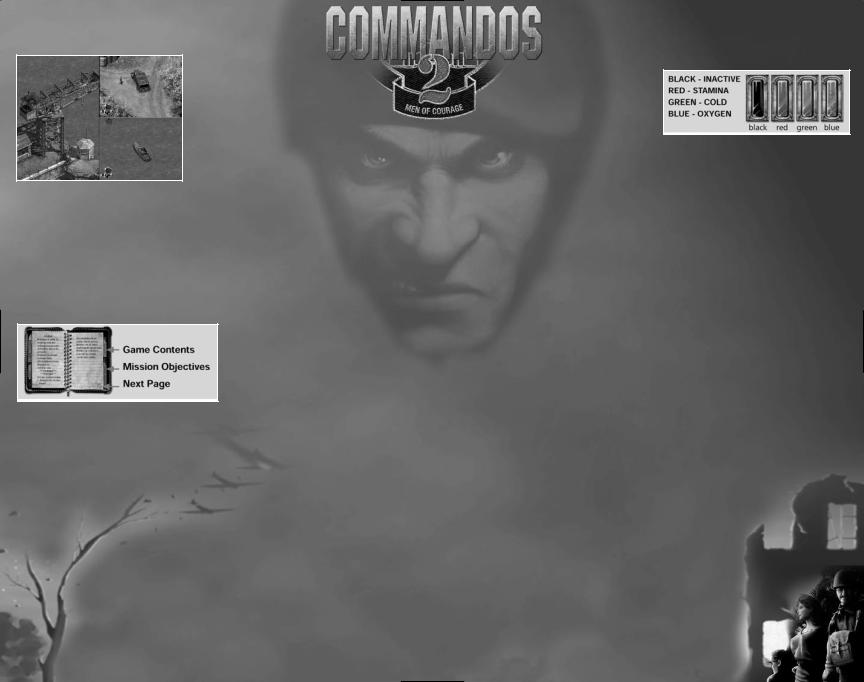
STAMINA, OXYGEN AND BODY TEMPERATURE
INDICATORS
Certain activities and areas will involve
dangerous situations. Climbing and hanging has an impact on
your Commando’s physical condition that is displayed by a
Stamina indicator in the interface. If the Stamina Bar reaches zero, your Commando will run out of stamina and fall to the floor. Damage incurred is proportional to the distance fallen.
The indicator will also display the amount of oxygen left while your Commando is swimming underwater. Again, if the bar reaches zero the Commando’s health will decrease and he will eventually drown.
When a Commando is outdoors in the freezing temperatures of the Arctic without the proper clothing, a Body Temperature bar is displayed. If the bar reaches zero, the Commando’s health will fall and he will freeze to death unless you can get him somewhere warm.
WEAPONS, TOOLS AND ITEMS IN THE BACKPACK
The weapons, tools and items that each character has been trained to use can be controlled through the interface. All characters can carry every item even if they are not trained to use them. If this is the case the item will appear in the Inventory but not in the interface. For example, if the Thief finds a mine and he can pick it up and place it in his Backpack, you will not see it on his interface as he is not trained to use it. He can, however, pass it to the Sapper and it will appear in his interface as he is trained in the use of mines.
You have several empty spaces in your Backpack at the beginning of each mission. You will be able to use these spaces to hold items you find along your exploration of the mission. Space in the Backpacks is limited. Clicking the RMB on the Commando face in the bottom right corner of the screen opens your Backpack/Inventory. This displays the number of items you are currently carrying and the space you have left.
) 10 ) |
) 11 ) |
CRAWL, STAND UP OR EXIT FROM...
Clicking the “Crawl/Stand Up” icon will toggle between walking or needing to crawl to avoid the enemy in certain situations.
Crawling will allow your Commandos and other characters to move around and avoid being detected in the outer view range of the enemy field of view.
If you decide to walk, your Commandos will be able to move faster but will be easily spotted by the enemies at any of the ranges of their field of view. Please note that the faster you move, the more noise you produce. You can be heard when walking if you are very close to an enemy soldier. Crawling is far less noisy than walking or running.
When you are getting in or out of a vehicle or you’re in a hiding place, the icon on the interface will change to show an exit sign instead of the “Crawl/Stand Up” icon. Click on it with the LMB to exit from the vehicle or from your hideout and move back into the environment.
EXAMINE
The “Examine” icon on the Commando interface has different uses, all of them of great assistance. Click on the icon with the LMB and the cursor will change to a magnifying lens graphic. If you then move the lens over the environment you will notice that it changes depending on which element it is currently over.
If you click on dead or bound enemy soldiers, allies, boxes or cupboards, your Commando’s Inventory will be displayed as well as a graphic of the soldier’s backpack or the object’s contents. You can then easily select and transfer items to and fro by clicking the LMB on the item you want to move.
The “Examine” ability also has an important strategic function. The game involves both the interior and exterior of buildings. Therefore, your viewable area will not always be capable of displaying what you would find when using a door or climbing a ladder. If you are inside a building and click the
LMB on a window in Examine mode, the external view will be displayed. Enemy soldiers in the area are outlined in red. When you want to return to the interior view, click the RMB on any
part of the screen.
If you are inside a building and want to move carefully, select the “Examine” icon and click the LMB on doors, trap doors and ladders. A window will pop up in the top
left corner of the screen. You can move the view angle by moving the mouse left and right. To exit this mode and regain control of your Commando, click the RMB anywhere on the screen.
In some missions you will discover switches that activate and deactivate electrified fences, floodlit areas and doors. If you click on them while in Examine mode, a window will pop up displaying the element the switch will activate.
ATTACK MODE
When the enemy attacks on several flanks, Attack mode will provide a method of placing your men at different defensive points. To activate this mode, the Commando must have a firearm selected. When you select a Commando’s attack mode, he will remain stationary at that point and a field of view will be displayed. Any enemies that enter the area will be shot until killed or until the soldier runs out of ammunition.
To change the field of view direction, hold down the “Ctrl” key and click the RMB in the direction you want the Commando to face. Allied soldiers will place their backpacks in front of themselves for protection. If you change an Allied soldier’s direction, his backpack will remain in its original position. You can use this feature to protect an area different to the direction in which the soldiers are facing.
Some firearms have limited ammunition, so be careful not to leave your men unprotected when they run out of bullets or they will be killed.
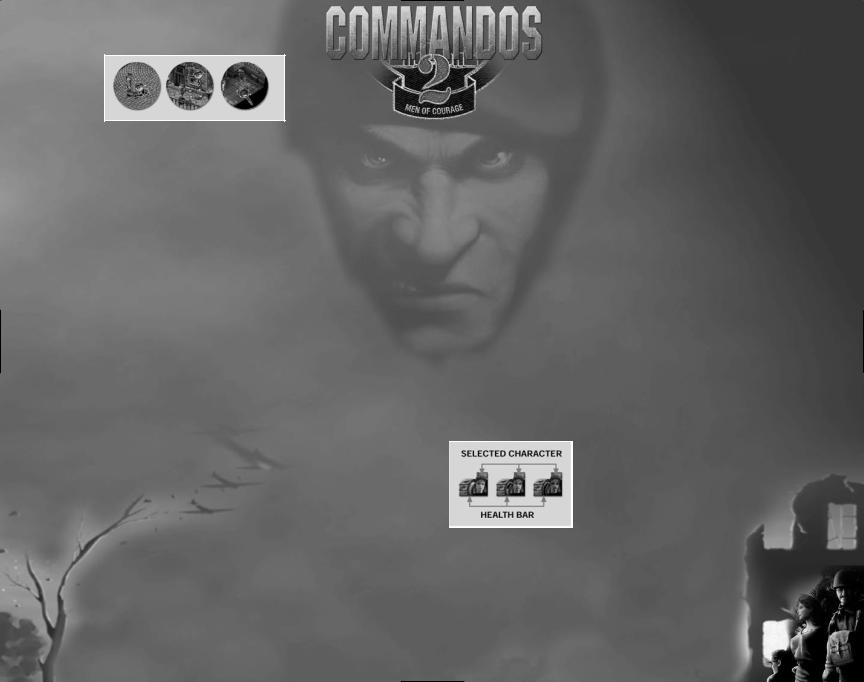
HEALTH BAR
This orange bar indicates your general health level. At the beginning of each mission it will always be full. As the mission progresses you may be shot, fall, suffer from lack of oxygen when swimming underwater or freeze in Arctic conditions.
When these instances occur the Health Bar will diminish, indicating your increasingly precarious situation.
Fortunately you will have the opportunity to regenerate the health level of your Commandos when you find a first-aid kit or a tin of food in houses or other areas in the mission. If your health bar continues to decrease and you fail to find the means to regenerate your Commando’s health, he will soon die. Should this happen a skull will appear on the interface to remind you of the unfortunate end your soldier has met.
) 12 ) |
) 13 ) |
YOUR CHARACTER
An image of the currently selected Commando appears in the bottom right corner of the screen. His expression
and comments aid you in quickly recognizing his current health status and whether he is able to carry out your orders.
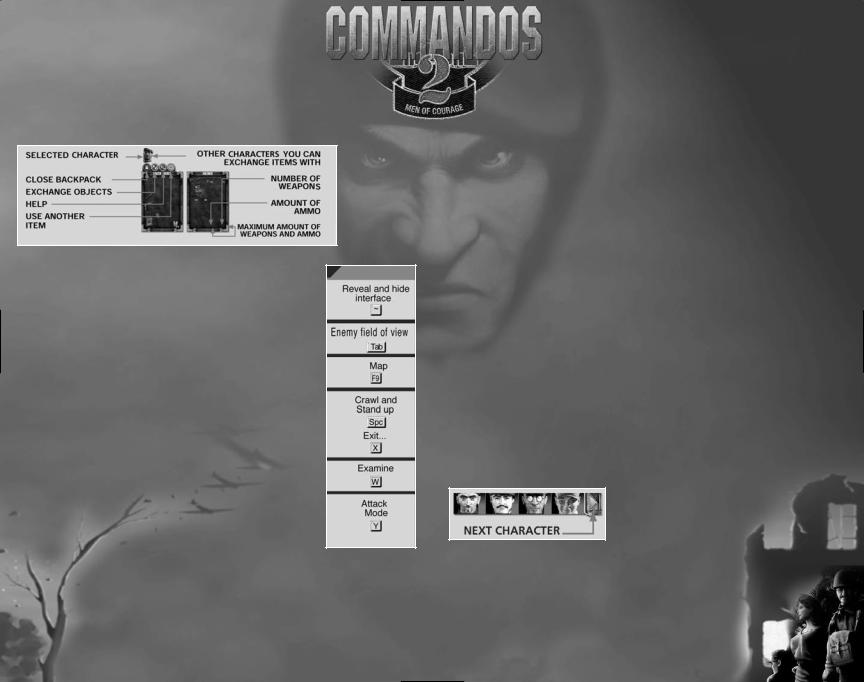
THE BACKPACK/INVENTORY
This is where your Commandos store all the objects they have found during the mission. These can include weapons, ammo, food and enemy uniforms. As you play the game you will find alternate ways of opening your Backpack. The easiest way is to click the RMB on the face of the character in the interface.
DESCRIPTION
The Backpack is displayed as a box divided into sections that indicate the limit on the number of objects that your Commandos can carry. Four icons above the box, from left to right, are: Exit, Exchange, Examine and Use. To select an option, click the LMB on it.
USES
The most common use of the Backpack is to store objects or exchange them with another character in the mission. To select items in a different Backpack, click
“Examine” and search the contents box, cabinet, enemy or ally. In this way the contents of both
Backpacks will open simultaneously. Click on the item you want to move with the LMB and click again when you want to place in an empty space.
If the background color of the section turns blue, the item will occupy no extra room, so it can share space with an item you already possess. This is very useful especially with ammunition and weapons of the same kind.
If the background color turns green, there is space for this object and you can store it in your Backpack.
If the background color turns red, there is no space
in the Backpack for that object. This can occur if the Backpack reaches capacity or the objects you currently possess have been
arranged inefficiently.
You can also pick up items directly from the environment without having to open your Backpack. Hold down the “Ctrl” key and click
on the item with the LMB.
To exchange objects with other characters, move your Commando near another and use the “Examine” ability in the interface. The faces
of the characters nearby will appear at the top of the screen above your Backpack. Select the “Use” option and click on the face of the character you want to exchange items with; his Backpack will open. To exchange objects, click on the item you want to move with the LMB and click again when you want to place in an empty space.
Some items can be combined. For instance, sleeping pills combined with wine will knock out enemy soldiers. Select one object with the LMB and click on the one you want to combine it with.
SELECTING CHARACTERS
INDIVIDUAL SELECTION
To give your Commandos orders, you must first select them. Click the RMB on one of your Commandos. An outline will appear around that Commando and his interface will appear. Your view of the Commando might be obscured by a building, tree or wall. To combat this, each Commando has been assigned a number on the keyboard. By pressing the appropriate number, you can select that Commando. If you press the number twice in quick succession, the screen will center on his position.
Once you have selected a Commando you can then click the LMB on his face
in the bottom right corner of the screen. This will display images of all the other
Commandos in that particular mission and their current health status at the top of your screen. If more than four Commandos are present, you can scroll left or right to view the others using the mouse or the cursor keys. If you click the LMB on any of the faces, you will select that character. When you do not want to have any Commando selected, press a number key.
) 14 ) |
) 15 ) |
 Loading...